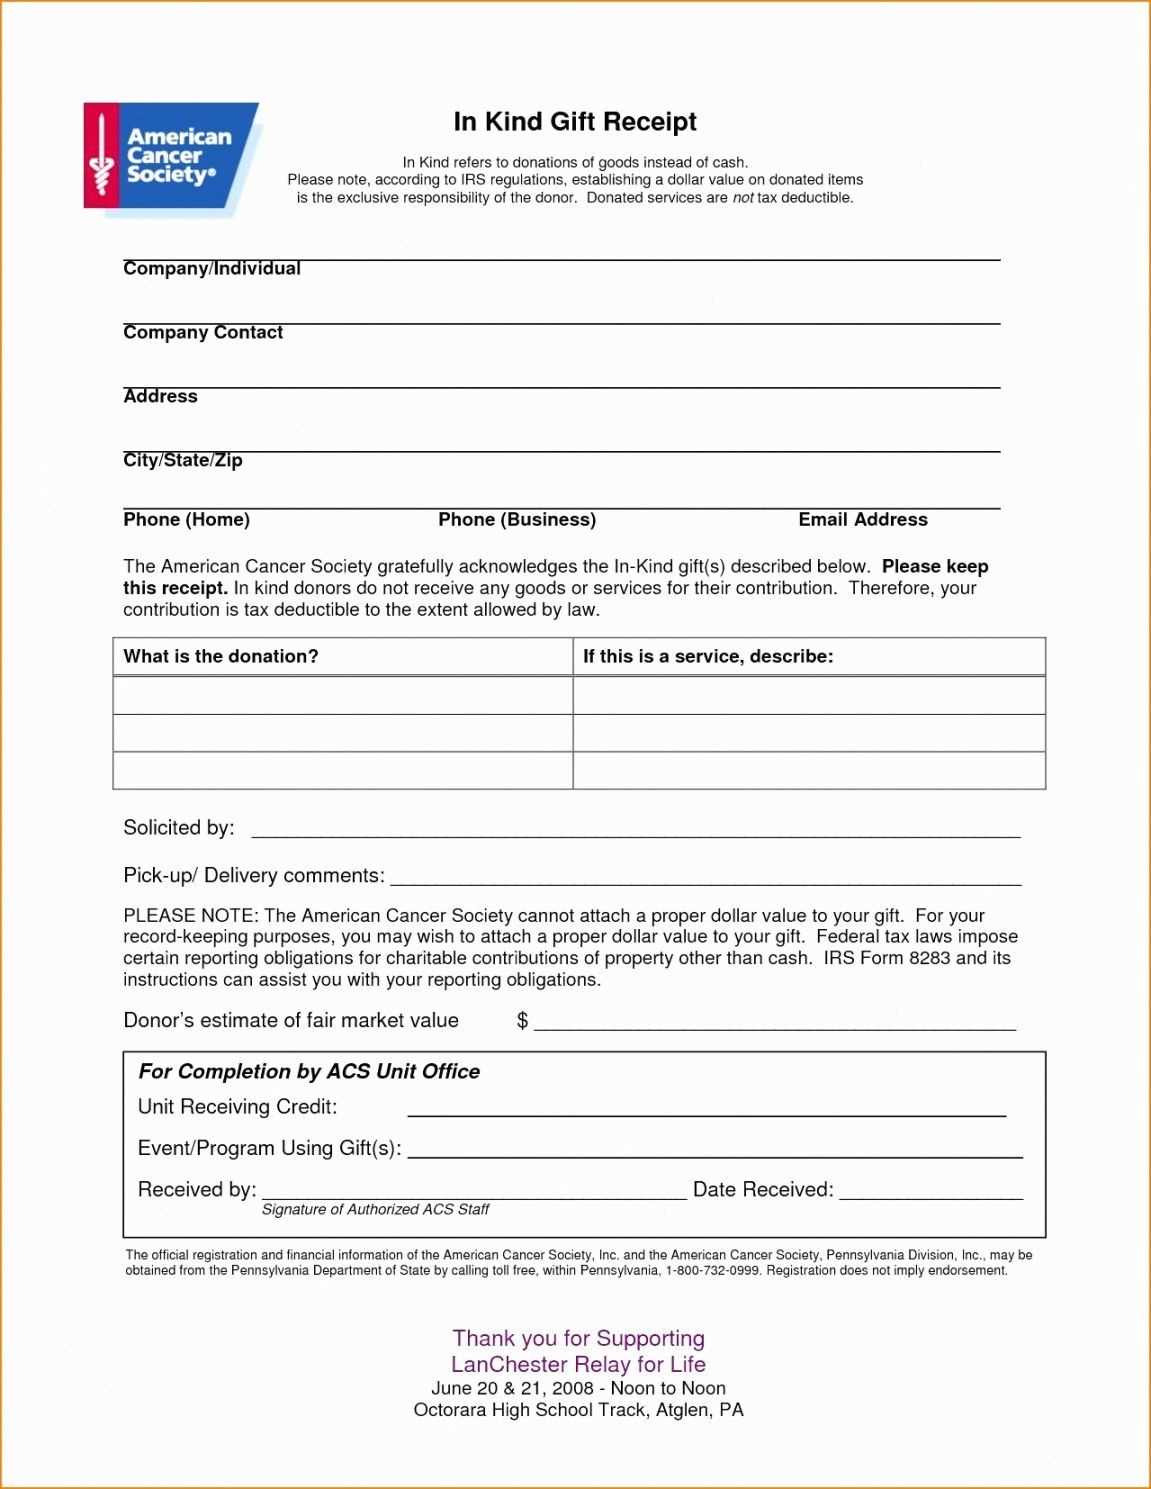
If you’re creating receipts in OpenOffice, a customizable template is the best way to save time and maintain consistency across your documents. Using templates allows for faster document generation with the necessary fields pre-set for easy filling. Here’s how you can make use of OpenOffice’s receipt templates and tips for getting the most out of them.
Choosing a Template
OpenOffice provides several receipt templates, which can be accessed directly from the template manager. These templates offer a basic layout for receipts, but you can customize them as needed. Choose one that fits your specific needs–whether you’re issuing receipts for goods, services, or both.
Key Elements to Include
A well-structured receipt should include the following fields:
- Company/Business Name: Your name or the company name issuing the receipt.
- Date: The date the transaction was completed.
- Receipt Number: A unique identifier for each receipt.
- Item Description: A list of products or services purchased, including quantity and unit price.
- Total Amount: The total payment made.
- Payment Method: Indicate how the payment was made, such as cash, credit, or digital methods.
- Customer Name: The name of the person receiving the goods or services.
Formatting the Template
Once you’ve selected a template, customize the layout for better presentation. Change fonts, adjust alignment, and add your company’s logo or branding elements. OpenOffice makes it easy to add these items through the header/footer options and customizable design features.
Saving and Using Your Template
After personalizing your receipt template, save it to make sure you can easily access it for future transactions. Save the file in the template format (.ott) to allow reuse. You can open it anytime, enter the transaction details, and print or save it digitally.
Printing Receipts
Once all the required fields are filled in, printing is straightforward. Ensure that your receipt layout fits properly on the page, and adjust margins if necessary. For digital receipts, exporting the file to PDF is often the most convenient option.
OpenOffice Receipt Template: Practical Guide
To create a custom receipt template in OpenOffice, begin by opening OpenOffice Calc. Set up a table that includes columns for item descriptions, quantity, unit price, and total price. You can format these cells with borders and colors to create a clean layout. Ensure that your title is bold and prominent at the top of the sheet.
How to Create a Custom Invoice in OpenOffice
To make your receipt template more dynamic, use formulas for automatic calculations. In the “Total Price” column, use a formula to multiply the quantity by the unit price. You can easily extend this to other rows by dragging the fill handle. For tax calculations, add a row that uses the percentage formula to calculate tax based on the total amount.
Automating Calculations in an OpenOffice Form
For a smooth experience, set the cell formats to ensure correct data entry. Use currency formatting for price-related columns. Additionally, you can set validation rules for quantity input to avoid errors. This ensures that only numbers are entered in appropriate cells, improving the reliability of your template.
Once your template is ready, you can export it to PDF or print directly from OpenOffice. To do this, select “File” > “Export as PDF” for a professional-looking receipt ready for distribution. This step ensures that your formatted receipt remains intact when shared or printed.


