Need a receipt fast? Use a free template to create one in minutes. Whether you’re a small business owner, freelancer, or selling a personal item, a well-structured receipt adds professionalism and keeps your records in order.
Choose the right format. A standard receipt should include the date, seller and buyer details, item descriptions, quantities, prices, and payment method. Templates are available in various formats like PDF, Word, and Excel, making customization simple.
Use online generators. Free tools let you fill out fields and download receipts instantly. Some even offer automatic calculations, tax inclusion, and branding options. If you prefer a manual approach, downloadable templates allow full control over the layout.
Ensure accuracy and legality. Double-check that the information is correct and complete. A missing detail, like a transaction ID or company name, can create confusion later. If issuing receipts for tax purposes, confirm compliance with local regulations.
Save time by using a pre-made template instead of starting from scratch. Many free options are available, offering clean, professional designs that fit various needs.
Free Make a Receipt Template
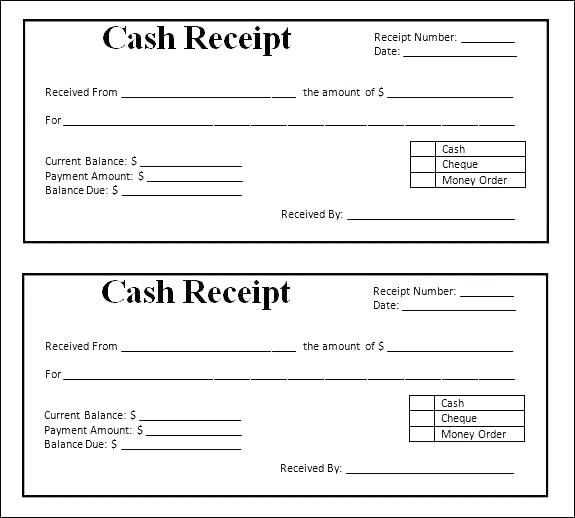
To create a simple and professional receipt template for free, begin by identifying the necessary components: your business name, address, contact information, the date of the transaction, an itemized list of purchased items or services, their prices, total amount, payment method, and a unique receipt number. You can either use a text editor or a dedicated receipt generator tool to create this template.
Designing the Template
Start with a clean layout. Use a large, bold font for your business name at the top. Below it, list your contact details. Under the header, create a table or bullet points for each item sold, including the quantity, price, and total. For clarity, ensure the total amount stands out. Finish by including a section for the payment method and a receipt number for tracking purposes.
Using Free Tools
Free tools like Google Docs, Microsoft Word, or online receipt generators allow you to easily create customizable receipt templates. Many of these platforms offer pre-made templates that you can adjust to fit your needs. This way, you don’t need to start from scratch, saving time while ensuring all critical information is included in your receipts.
Choosing the Right Format for Your Receipt Template
Pick a format that matches the way your business handles transactions. For small businesses or freelancers, a simple receipt with key details like the company name, date, itemized list of services or products, total cost, and payment method is sufficient. Keep it straightforward to avoid confusion.
Consider the Purpose of Your Receipt
If you’re handling physical goods, include product descriptions, quantities, and prices. For services, focus on the task performed and any applicable time spent or rates. Including tax amounts and discounts will make it easier for both you and your customers to track payments.
Account for Your Industry
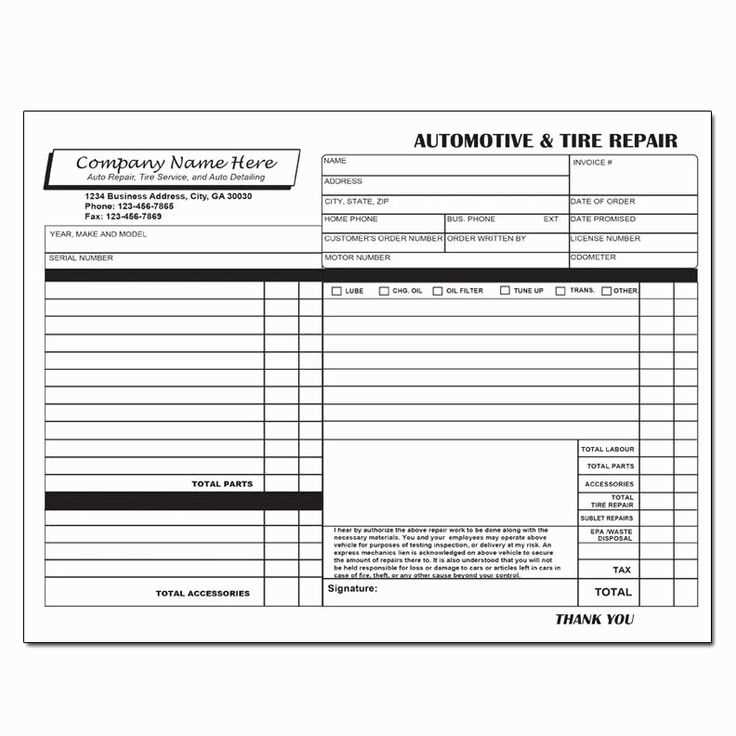
Different industries may require specific details on receipts. For example, a restaurant receipt may need to include tips, while a repair service might focus on labor charges and parts used. Tailor the format to ensure all relevant data is captured. A well-structured receipt can simplify your record-keeping and improve customer trust. Choose a template that can be easily adjusted as your business grows or needs change.
Customizing Receipt Templates for Different Use Cases
Adjust receipt templates based on the type of transaction. For retail businesses, add product details like SKU numbers, item descriptions, and quantity. If you’re running a service-based business, focus on hours worked, service descriptions, and the rate per hour. For events or donations, include a section for event name, date, and donation amount.
Make use of customizable fields for tax information. Depending on the jurisdiction, you may need to include sales tax or VAT breakdowns. For businesses with multiple locations, include the specific store or branch information to avoid confusion.
Offer multiple payment methods. Include options for credit card, cash, and online payment platforms. This flexibility improves the clarity of the transaction record.
If your receipts need to include a return policy or other legal disclaimers, position them at the bottom to ensure they are visible but not intrusive. Some businesses also benefit from adding loyalty points or coupon codes on receipts for customer retention.
Lastly, make sure the template aligns with your brand identity. Include a logo and choose fonts that are easy to read and align with your business style. This makes the receipt not just a record, but a small piece of your branding effort.
Saving, Printing, and Sharing Your Receipts
To keep your receipts organized, save them digitally by downloading or scanning each one immediately after purchase. Store these files in clearly labeled folders on your computer or cloud storage for easy access later.
- Use PDF or image formats for easy viewing and sharing.
- For frequent purchases, consider a dedicated folder for each vendor or category.
For printing receipts, connect to a printer and ensure the document is formatted for clarity. Adjust margins and font size as needed before printing a hard copy.
- Print directly from your receipt template or after saving it to your device.
- Check for any text or images that may cut off at the edges before printing.
Sharing receipts is simple via email, messaging apps, or shared cloud folders. For email, attach the receipt file and provide context in your message.
- Consider password-protecting sensitive receipts for extra security.
- If you need a physical copy, print and mail it or use a courier service.
Keeping receipts accessible and properly saved ensures you have them available for returns, reimbursements, or tax purposes. Regular organization makes managing receipts easier in the long run.


