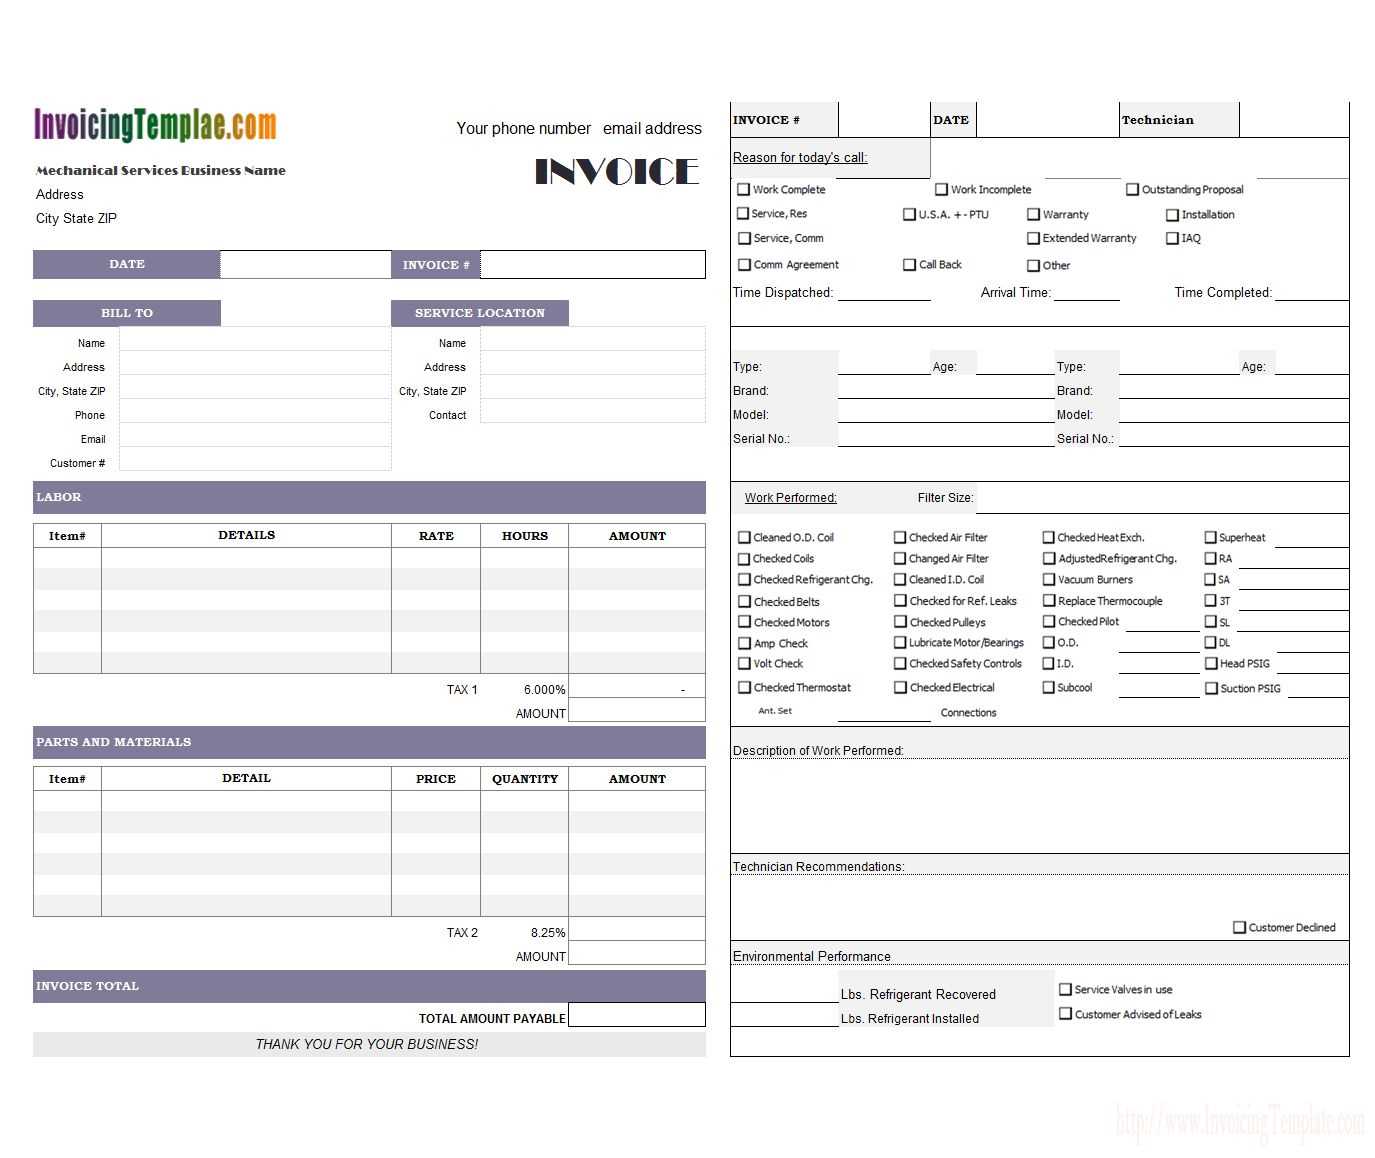
Download a blank service receipt template in Excel format to streamline your record-keeping and ensure accurate documentation of transactions. This template is easy to customize, allowing you to add your business name, logo, and essential details without starting from scratch.
Designed for businesses and freelancers, this receipt template includes fields for service descriptions, quantities, rates, totals, payment methods, and customer details. The built-in formulas calculate totals automatically, reducing the risk of errors.
Using an Excel template saves time and keeps financial records organized. You can edit, print, or share the completed receipt in digital format. If you need a reusable receipt that fits various services, this template provides a practical solution.
Blank Service Receipt Template Excel
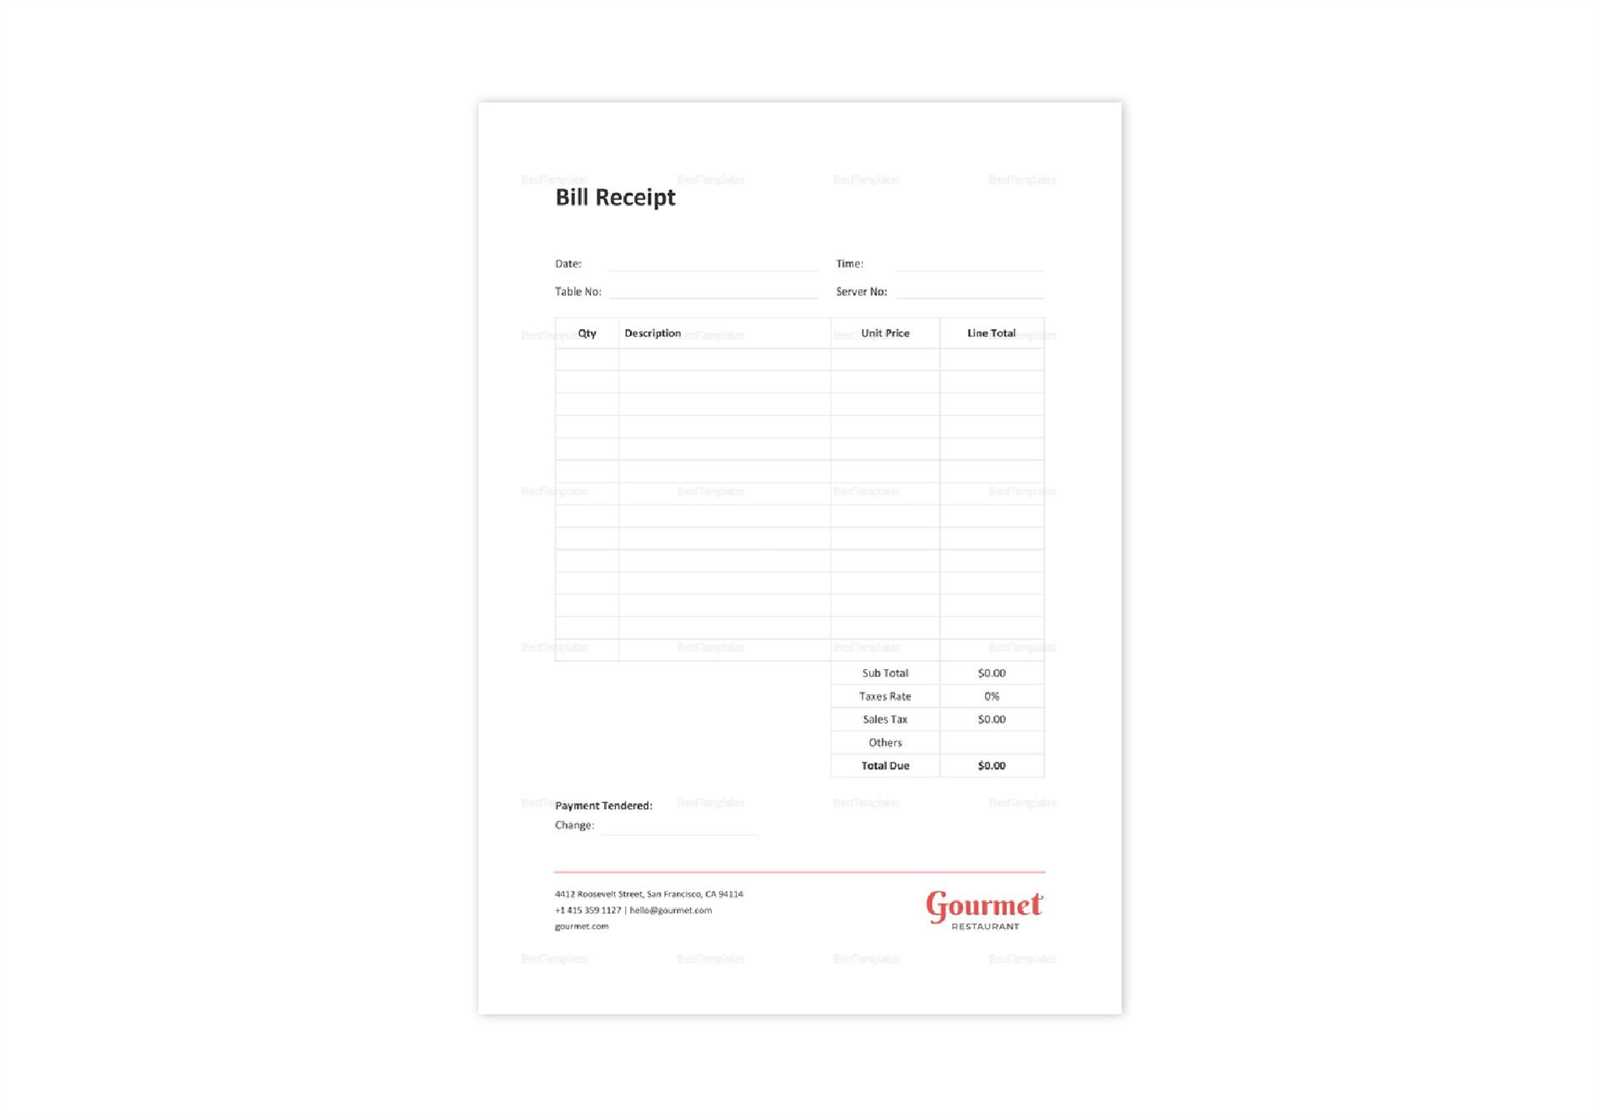
A blank service receipt template in Excel simplifies record-keeping by providing a structured format for listing services, costs, and payment details. Use predefined columns to enter service descriptions, hourly rates, quantities, and totals without manual calculations.
Key Elements to Include
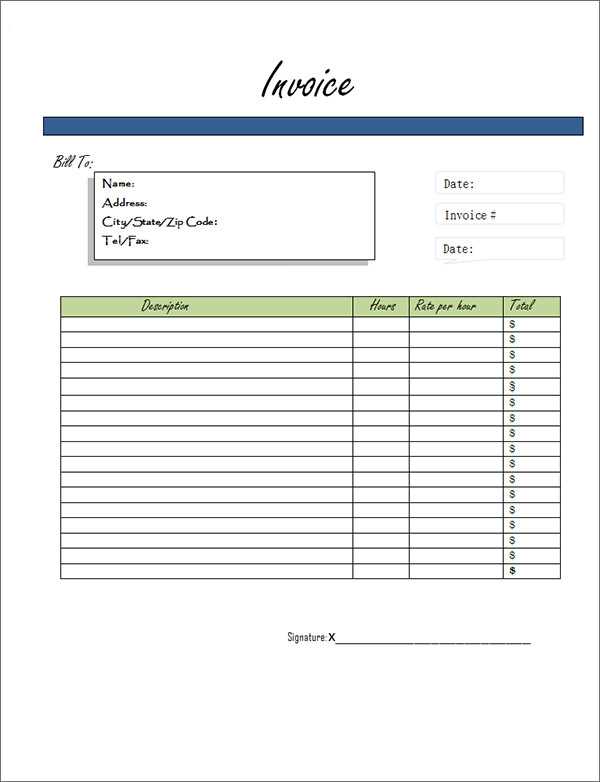
Customize your template with:
- Date and Receipt Number: Ensure accurate tracking.
- Service Details: Clearly describe the work performed.
- Client and Business Information: Include names, addresses, and contact details.
- Payment Breakdown: List subtotal, taxes, discounts, and final amount.
- Payment Method: Specify cash, card, or other forms of payment.
- Signature Line (Optional): Add a section for client confirmation.
How to Use the Template
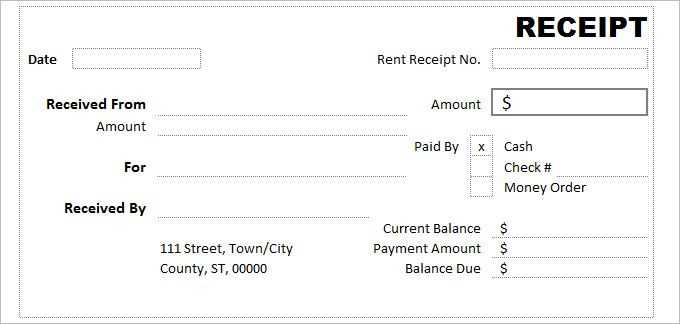
Download a blank Excel service receipt template and modify it to fit your needs. Automate calculations by using formulas for totals and taxes. Save completed receipts as PDFs for digital records or print them as needed.
For frequent use, create a master template with locked fields to prevent accidental changes. Adjust formatting with colors, logos, and custom fonts to match your brand.
How to Customize a Blank Service Receipt in Excel
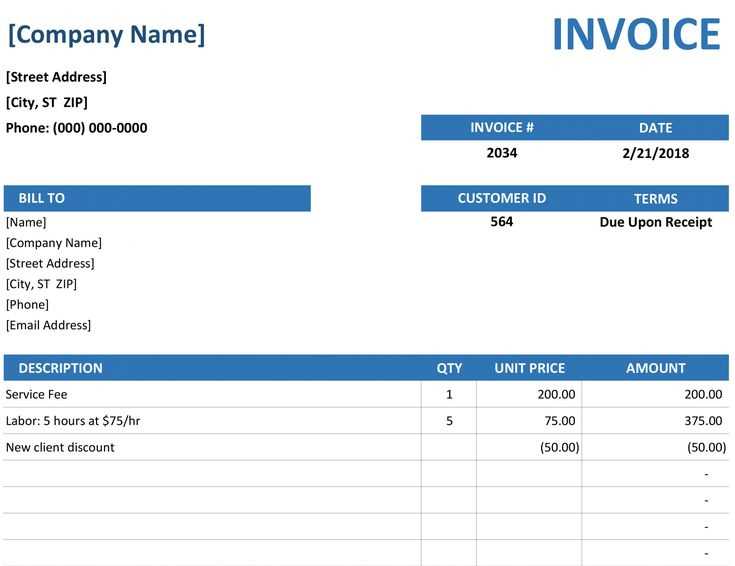
Open the template in Excel and adjust the column widths to ensure all text fits properly. Double-click the border between column headers to auto-adjust or drag manually for precise control.
Update the company details by selecting the header section and replacing the placeholder text with your business name, address, phone number, and email. Use the “Merge & Center” option for a cleaner look.
Modify the table structure by adding or removing rows as needed. Right-click a row number, then choose “Insert” or “Delete” to adjust the number of service entries.
Format currency values by selecting the price columns, clicking “Number Format,” and choosing “Currency.” This ensures all amounts display correctly with currency symbols and decimal points.
Add a logo by selecting “Insert” > “Pictures,” then resize and position it appropriately. Keep it aligned with the header for a professional appearance.
Customize fonts and colors to match your branding. Use “Home” > “Font” to change styles, sizes, and colors. Stick to professional and readable fonts like Arial or Calibri.
Enable automatic calculations by using formulas. In the “Total” column, enter =SUM(range) to calculate sums dynamically. Adjust the range to include all relevant rows.
Save the file as a template by selecting “File” > “Save As” and choosing “Excel Template (*.xltx).” This allows you to reuse the customized layout for future receipts.
Key Elements to Include in a Service Receipt Template
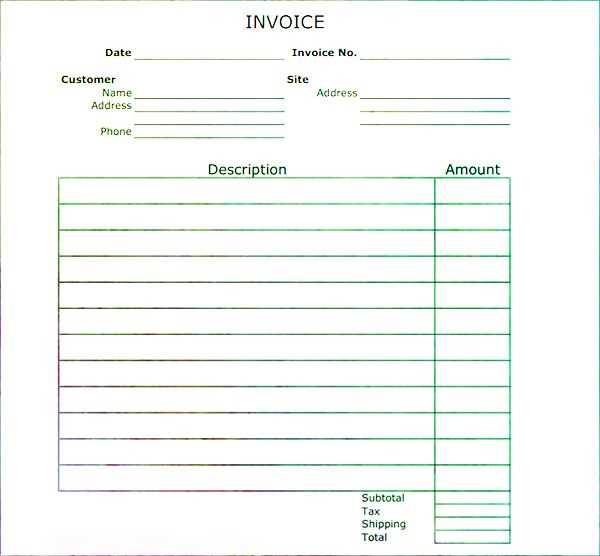
List the business name, address, and contact details at the top. This information ensures the receipt looks professional and provides clients with a way to reach out if needed.
Include the customer’s name and contact information. This helps with record-keeping and makes it easier to track past transactions.
Assign a unique receipt number. This makes referencing and organizing receipts straightforward, especially for accounting purposes.
Specify the date of service. This clarifies when the transaction took place and helps with warranty periods or future inquiries.
Detail the services provided. Use clear descriptions, including the quantity, hours worked, or any relevant specifics. Avoid vague terms to prevent misunderstandings.
Show itemized costs. Break down the price per service, taxes, discounts, and the final total. Transparency in pricing builds trust and avoids disputes.
Indicate the payment method. Whether cash, credit card, or bank transfer, noting this information simplifies bookkeeping.
Add a section for terms and conditions. Briefly outline refund policies, warranties, or any disclaimers related to the service.
Include a signature line if needed. For certain services, a signed receipt provides confirmation that the customer acknowledges the transaction.
Best Formatting Practices for a Clear and Professional Layout
Use a structured format to make the service receipt easy to read. Each section should be clearly defined with consistent spacing and alignment.
- Column Alignment: Keep text and numbers properly aligned. Left-align text fields like “Service Description” and right-align numerical values for better readability.
- Font Choice: Use a standard sans-serif font such as Arial or Calibri, keeping the size between 10 and 12 points for clarity.
- Spacing: Add sufficient padding between rows and sections to prevent visual clutter.
- Headers: Bold and slightly enlarge column headers to differentiate them from data entries.
- Currency Formatting: Apply consistent currency formatting to all monetary values to avoid confusion.
- Date Standardization: Use a uniform date format such as YYYY-MM-DD to prevent misinterpretation.
- Color Contrast: Use a light background with dark text for readability, avoiding excessive colors that may distract from the content.
- Cell Borders: Apply subtle borders to separate fields without overwhelming the layout.
- Print-Friendly Design: Avoid unnecessary graphics and keep margins reasonable to ensure receipts print correctly on standard paper sizes.
Consistency across all receipts strengthens professionalism and ensures easy record-keeping.


