Use LibreOffice Calc to create a flexible and reusable receipt template. With built-in formulas and formatting tools, you can automate calculations, ensuring accuracy while maintaining a professional layout.
Start by setting up labeled columns for date, item description, quantity, price, and total. Use the =SUM() function to calculate subtotals and apply currency formatting for a clear presentation. To generate unique receipt numbers, implement the =ROW() function or a custom sequential system.
For a structured layout, adjust column widths, apply borders, and use bold text for headers. Enhance clarity with conditional formatting, making overdue amounts or discounts stand out. If you need a printable version, configure page settings for proper margins and alignment.
Save the template in .ots format to reuse it effortlessly. You can also export completed receipts as PDFs for easy sharing. By leveraging LibreOffice’s features, you streamline documentation while maintaining a polished and consistent format.
Receipt Template in LibreOffice
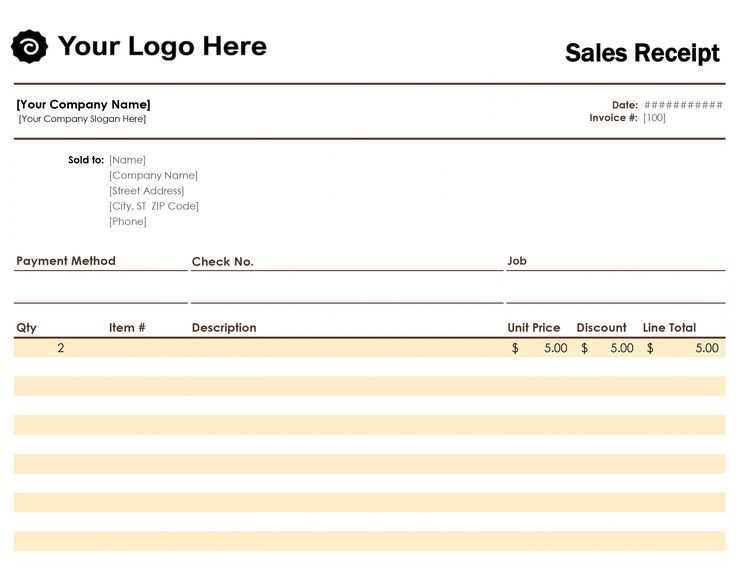
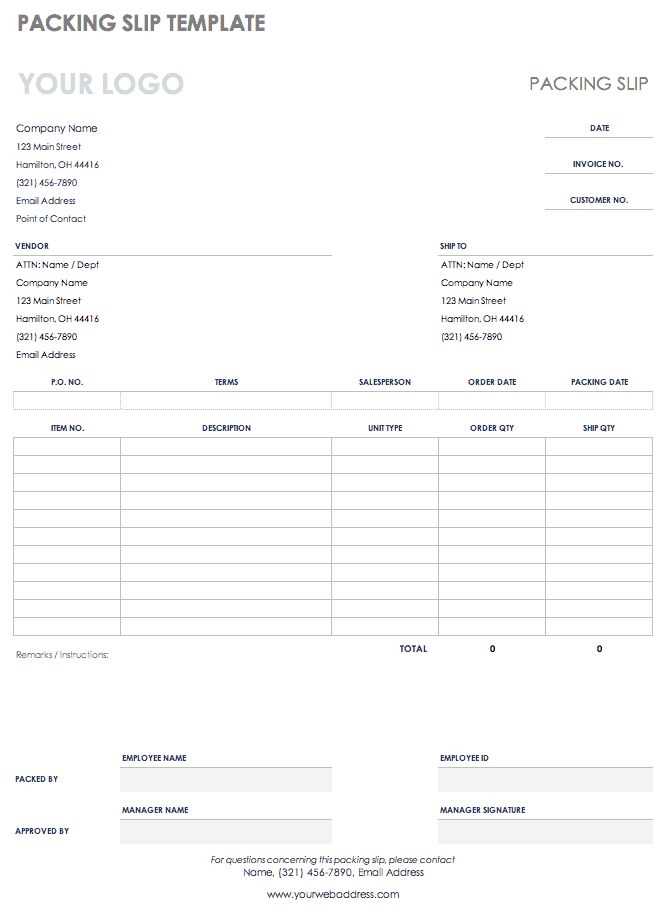
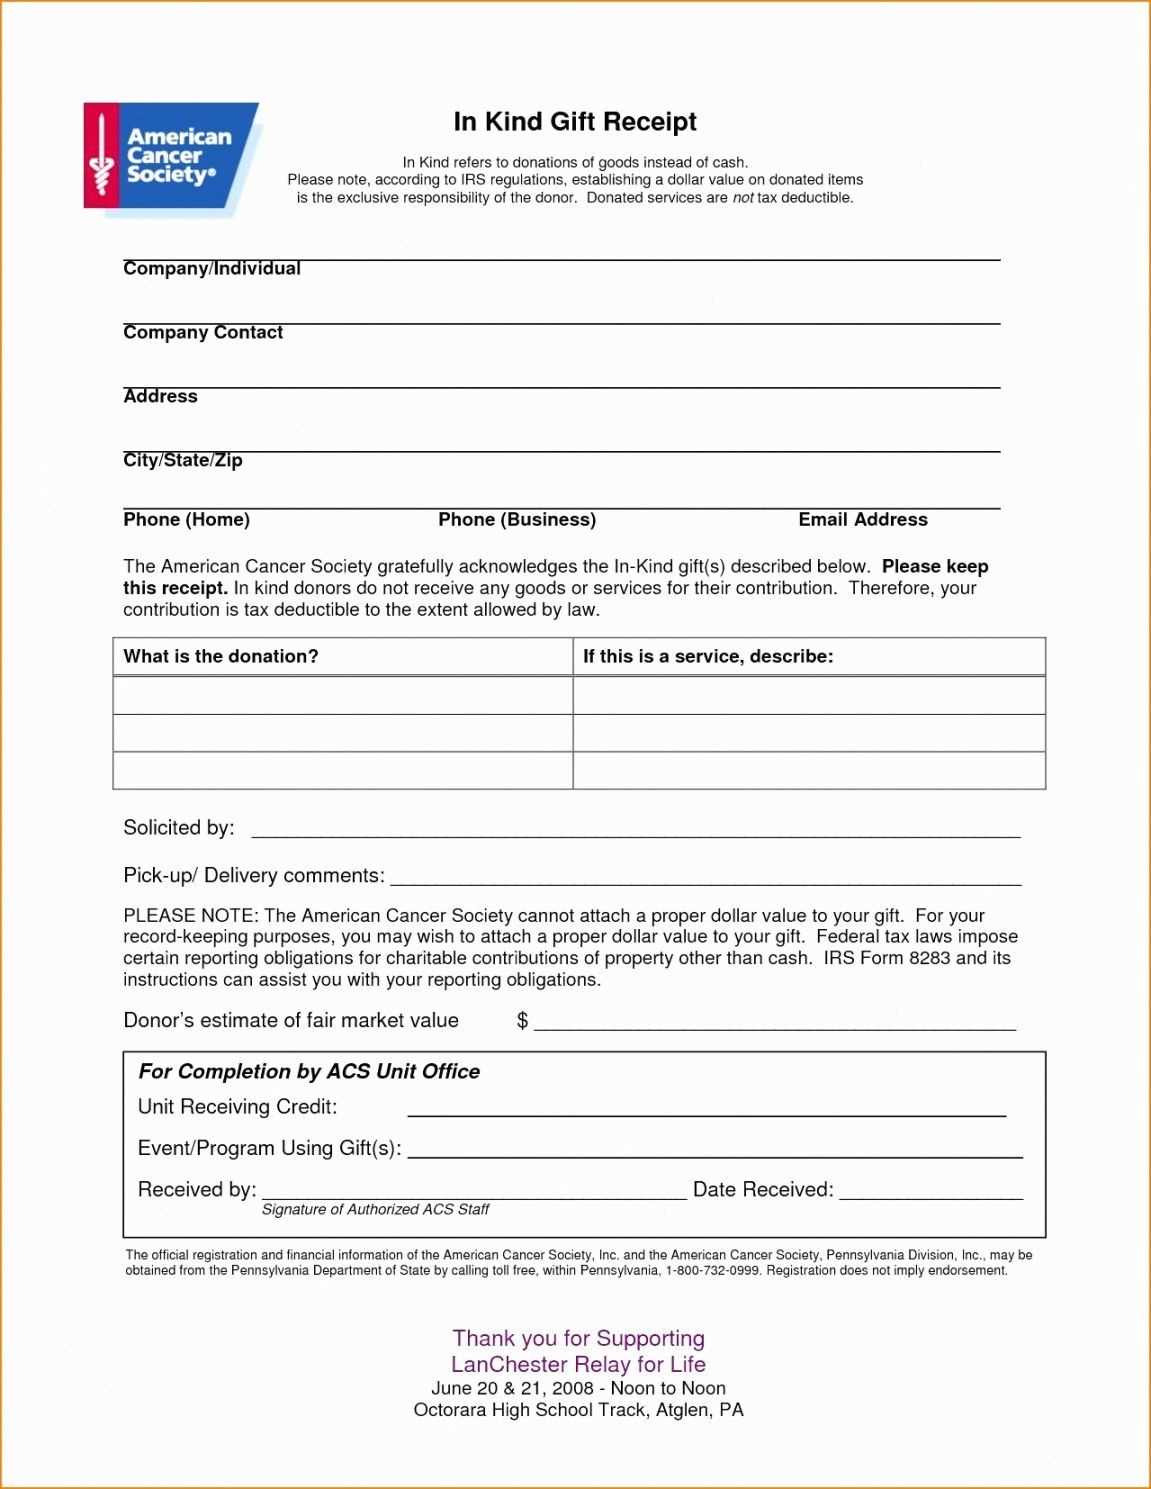
Use the built-in table feature to create a structured layout for a receipt. Open a new document in LibreOffice Writer, then insert a table with columns for item descriptions, quantities, unit prices, and totals. Adjust column widths for clarity and set borders as needed.
Customizing the Layout
Enhance readability by applying bold text to headers and using alignment options for numeric values. Add your business details at the top and include a section for customer information. For automatic calculations, consider using a LibreOffice Calc template instead.
Saving and Reusing the Template
Once formatted, save the document as an ODT file or export it as a template for future use. If multiple receipts are needed, duplicate the template and update the details for each transaction.
Structuring Table-Based Layouts for Clear Formatting
Use a structured table with well-defined columns to keep receipt details clear and readable. Align numerical values to the right for easier comparison, while text-based entries remain left-aligned.
- Header Row: Define clear column labels such as “Item,” “Quantity,” “Unit Price,” and “Total.” Use bold text for emphasis.
- Consistent Column Widths: Ensure uniform spacing, especially for amounts, to avoid misalignment.
- Minimal Borders: Use thin lines or alternate row shading to separate entries without visual clutter.
- Tax and Total Placement: Position summary calculations at the bottom, with clear labels and spacing.
- Date and Reference Number: Place these elements at the top for quick identification.
Avoid excessive formatting, as simplicity enhances readability. Group related details logically, ensuring totals and tax calculations stand out.
Automating Data Entry with Form Fields and Formulas
To streamline data entry in your LibreOffice receipt template, utilize form fields combined with formulas. Form fields can capture user input, while formulas can automatically calculate totals, taxes, or discounts based on the entered data.
Inserting Form Fields
First, add form fields to your receipt template. These fields allow users to input data such as item names, quantities, and prices. To insert a form field, go to the “Form Controls” toolbar and select the “Text Box” icon. Place the text box where data input is required. You can customize each field with a label, such as “Item Name” or “Quantity.” Additionally, right-click on the text box to access properties and set validation rules, ensuring only the correct data type is entered.
Using Formulas for Automation

Formulas help reduce errors and manual work by performing calculations automatically. For example, to calculate the total price, use the formula: =A2*B2, where A2 refers to the quantity and B2 to the price per item. To add taxes, use the formula: =C2*0.1, where C2 represents the total price. As users fill out the form fields, the formulas update dynamically, reflecting the input data.
By combining form fields with formulas, you ensure accurate and fast data entry, minimizing the risk of mistakes and maximizing efficiency in your receipt template.
Customizing Fonts, Logos, and Branding Elements
To align your receipt template with your brand, start by adjusting the fonts. Choose clear and professional fonts that match your company’s identity. For a clean and modern look, go for sans-serif fonts like Arial or Helvetica. For a more formal feel, serif fonts like Times New Roman work well. Adjust the font size for headings and body text to maintain readability while reflecting your brand’s style.
Incorporating your logo into the template enhances brand consistency. Import your logo image and position it prominently at the top or bottom of the receipt. Ensure the image resolution is appropriate to avoid pixelation, especially when printing. If needed, resize the logo to fit within the design without overwhelming the content.
Brand colors play a crucial role in setting the tone. Customize text and background colors to reflect your brand’s palette. Use contrasting colors for the text to ensure legibility. Keep the design simple–avoid using too many colors to prevent the receipt from looking cluttered.
Lastly, align your branding elements like slogan or tagline with the receipt’s layout. Placing your brand’s message in a subtle yet noticeable location reinforces your brand’s presence while maintaining a professional appearance.


