To keep track of rental payments and maintain clear records, using a monthly rent receipt template in Excel is an efficient solution. This template helps landlords and tenants document transactions accurately, ensuring both parties have access to detailed payment history.
Using Excel for rent receipts simplifies the process of managing finances. The template can include necessary details such as tenant’s name, payment date, rental amount, and due dates. This allows for easy customization and adaptability to suit various rental agreements.
With Excel, you can create a receipt that automatically calculates totals, taxes, or any other charges. This reduces errors and saves time, especially when dealing with multiple tenants or properties. The template’s flexibility enables you to adjust the layout or add columns for additional information as needed.
Monthly Rent Receipt Template in Excel

Creating a rent receipt template in Excel helps streamline the tracking of rental payments. It ensures that both landlords and tenants have an easy reference for transactions. Follow these steps to design an efficient monthly rent receipt template.
Steps to Create the Template

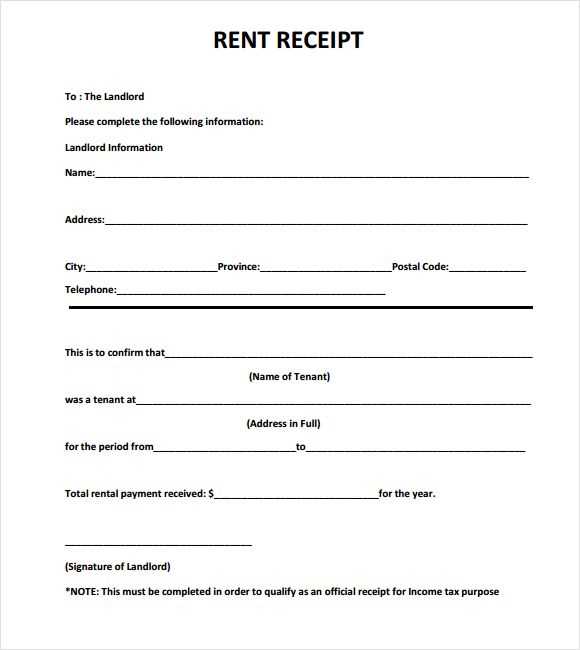
Open Excel and start with a blank worksheet. The first row should contain headers like “Tenant Name,” “Address,” “Month,” “Amount Paid,” “Date of Payment,” and “Payment Method.” These details provide a complete record of each transaction. Add a formula for the total payment amount, making it easier to calculate totals for multiple payments.
Customization Tips
For better organization, use cell borders and highlight key fields such as “Amount Paid.” You can also add a “Receipt Number” for better identification of each transaction. Consider adding space for both tenant and landlord signatures at the bottom for further documentation purposes.
Once the template is ready, save it as an Excel template file (.xltx) so you can reuse it every month. This approach ensures consistency and accuracy in all future receipts.
Customizing Your Rent Receipt Template for Different Payment Types
Adjusting your rent receipt template based on payment methods ensures clarity and accurate documentation for both landlords and tenants. Here’s how to tailor the template for various payment types:
1. Cash Payments
For cash transactions, make sure to include a clear note that the payment was made in cash. You can also add a “Received by” field for the person who accepted the payment.
- Payment Date
- Amount in words and numbers
- Signature or initials of the recipient
2. Bank Transfers
If the rent is paid via bank transfer, include bank details or transaction reference numbers. This will verify the payment was completed and can be easily tracked in case of future queries.
- Bank Name
- Transaction ID or Reference Number
- Payment Amount
3. Online Payment Methods
For digital payments through platforms like PayPal or Venmo, it’s important to specify the payment service used, along with any transaction ID or confirmation number. This makes the transaction traceable.
- Payment Method (e.g., PayPal, Venmo)
- Transaction Reference
- Amount Paid
Customizing your rent receipt template this way will ensure that all payment types are documented properly, reducing the chances of any confusion later on.
Including Legal Information and Tenant Details in Your Template

Include specific details that clarify the rental agreement. Start with the full name of the tenant, rental property address, and rental period. This information establishes a clear relationship between landlord and tenant, reducing ambiguity.
Tenant Identification
Record the tenant’s full name, contact information, and lease term. For added security, include the tenant’s identification number, such as a driver’s license or passport number. This ensures both parties can be easily identified if any disputes arise.
Legal Clauses and Rent Terms
Ensure the rent amount, due date, and late fee policy are clearly outlined. It’s also helpful to state any legal disclaimers or clauses regarding the tenant’s responsibilities for maintaining the property. Consider including a statement confirming the tenant’s agreement to abide by the terms of the lease. This section will help prevent misunderstandings and clarify the tenant’s obligations.
Tracking Rent Payments and Managing History in Excel

To efficiently track rent payments, create a spreadsheet with columns for the tenant’s name, payment date, amount paid, and payment method. Add a separate column for the balance remaining, updating it each time a payment is made. Use conditional formatting to highlight overdue payments, making it easy to spot tenants with outstanding balances.
For a more organized history, create a new sheet for each year, and ensure each month’s payments are listed chronologically. This allows for easy tracking and reference without cluttering the main record. You can also set up a simple formula that calculates total payments made over time, giving you a clear view of rent history for each tenant.
If you want to track multiple tenants, consider using Excel’s filtering function to view individual records. This feature helps you sort payment data by tenant or by date, making it easy to find specific information without scrolling through long lists. Regularly back up your files to avoid losing crucial data.
For additional accuracy, integrate automatic reminders. Excel’s built-in date functions can trigger a reminder when a payment is due, ensuring you stay on top of rent collection.