Fillable Cash ReceiptAnswer in chat instead
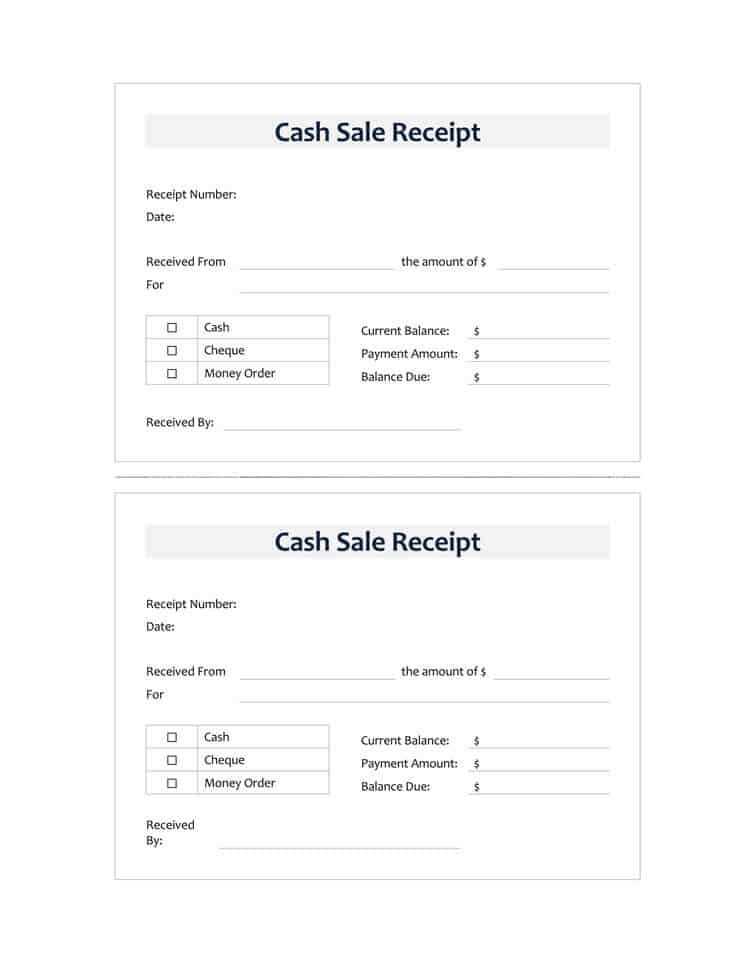
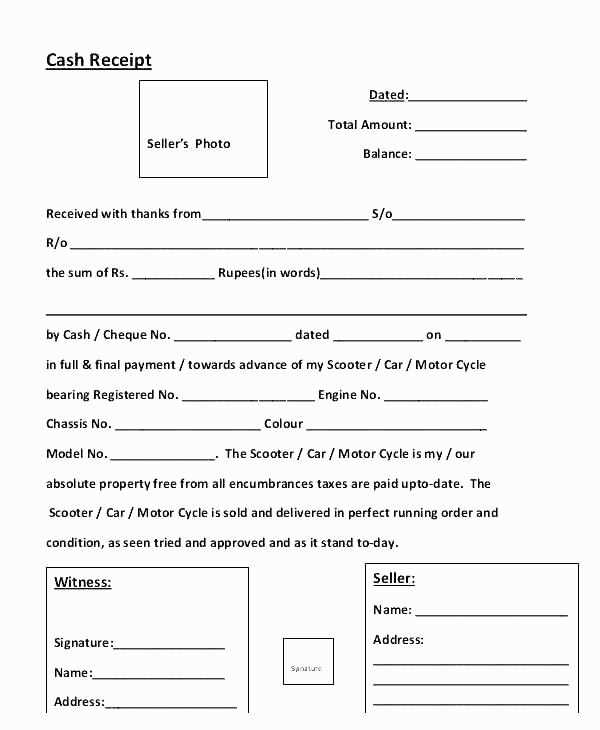
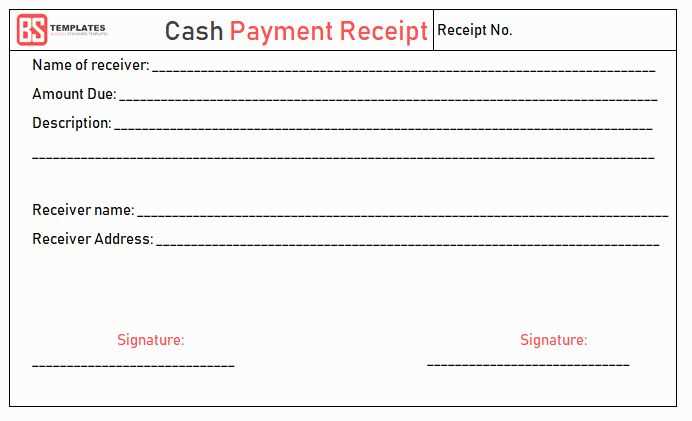
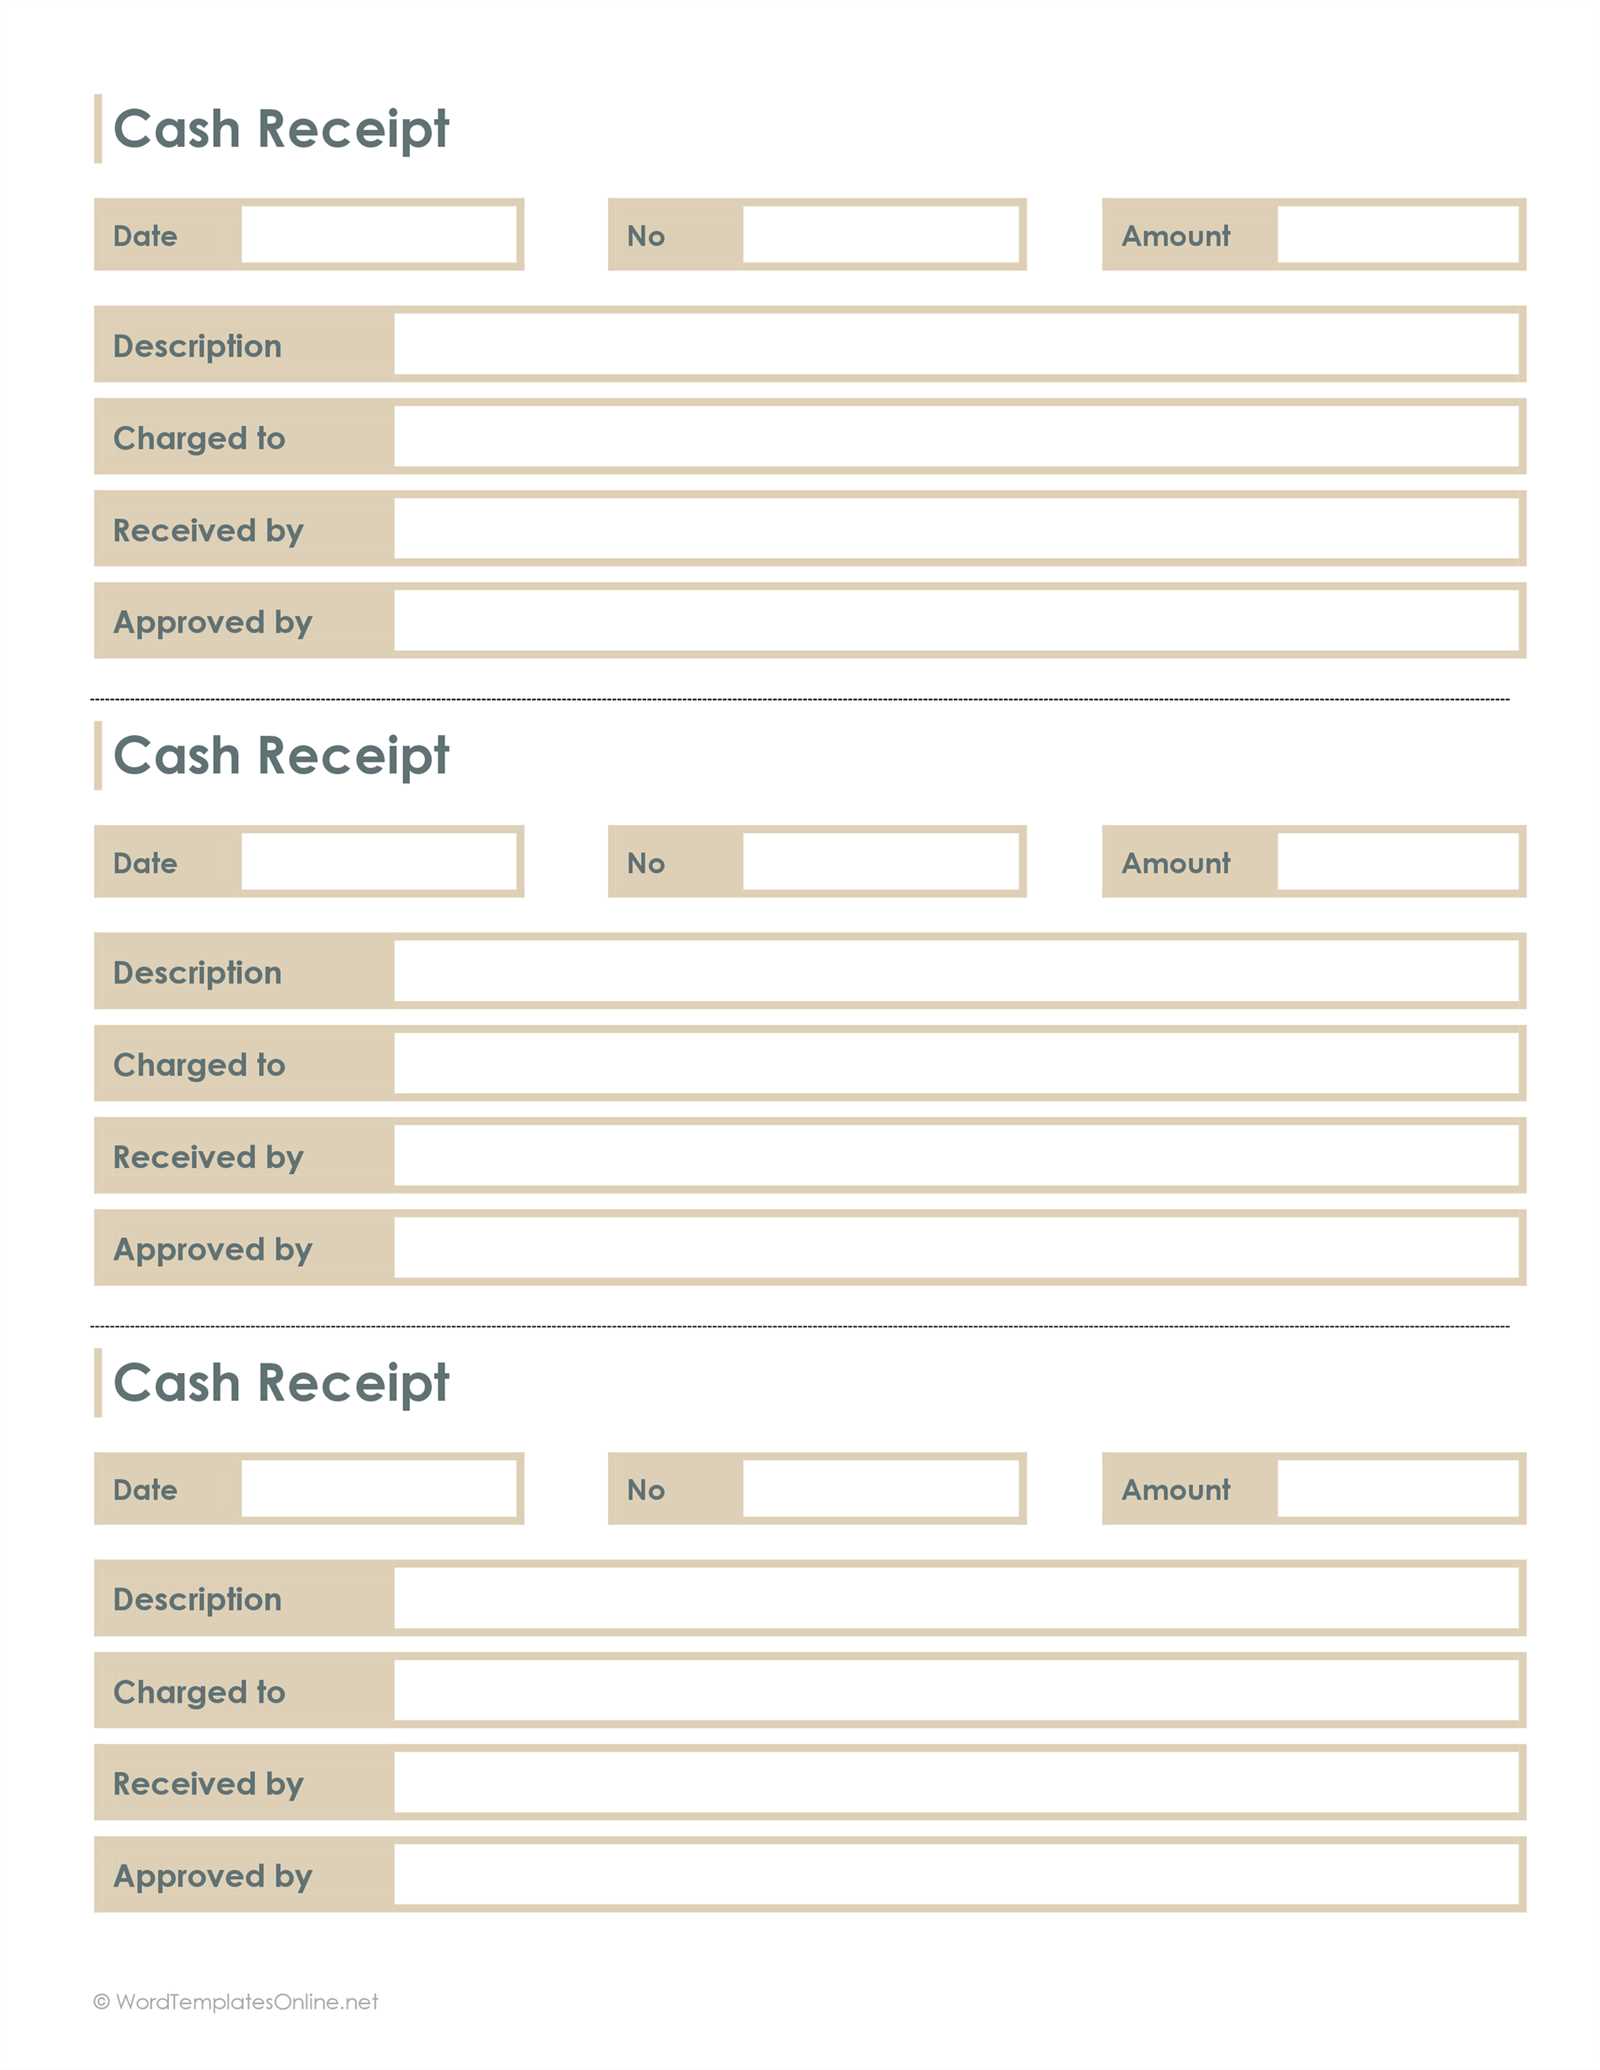
Fillable Cash Receipt Template for Word
How to Customize a Fillable Cash Receipt in Word

Open the template in Microsoft Word and switch to the “Developer” tab. If this tab is missing, enable it in Word settings under “Customize Ribbon.” Click on “Design Mode” to edit placeholder text, including payer details, amount, and date. Use the “Legacy Tools” or “Content Controls” to add dropdowns or date pickers for structured input. Adjust fonts and alignment for a clean look, then lock the form by selecting “Restrict Editing” and allowing only form-filling.
Best Formatting Practices for a Professional Receipt

Use a clear, legible font such as Arial or Calibri in 10-12 pt size. Align text consistently, keeping the payer’s information and transaction details left-aligned while centering the total amount for emphasis. Add a border or subtle shading to differentiate sections. Ensure there’s adequate spacing between elements to avoid clutter. Include your business name and contact details at the top for credibility. If applicable, add a digital signature field for electronic receipts.
Saving, Printing, and Sharing Your Fillable Receipt

Save the receipt as a Word document to allow future edits or as a PDF to maintain formatting. For easy sharing, use the “Save As” function and select “PDF.” If printing, set the page size to A4 or Letter and check print preview for alignment. For multiple copies, use “Collate” in the print settings. If sending digitally, attach the file to an email or use cloud storage links for quick access.


