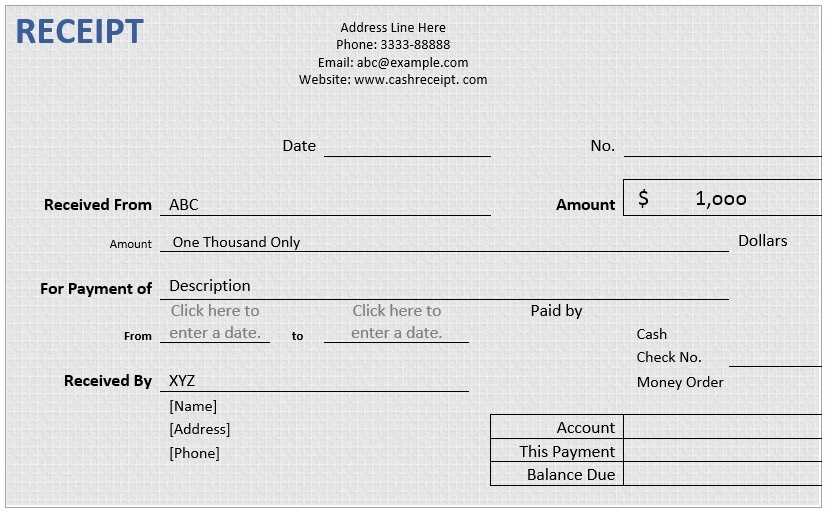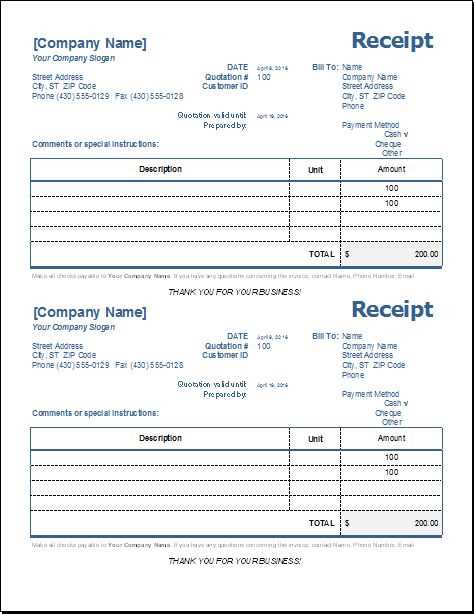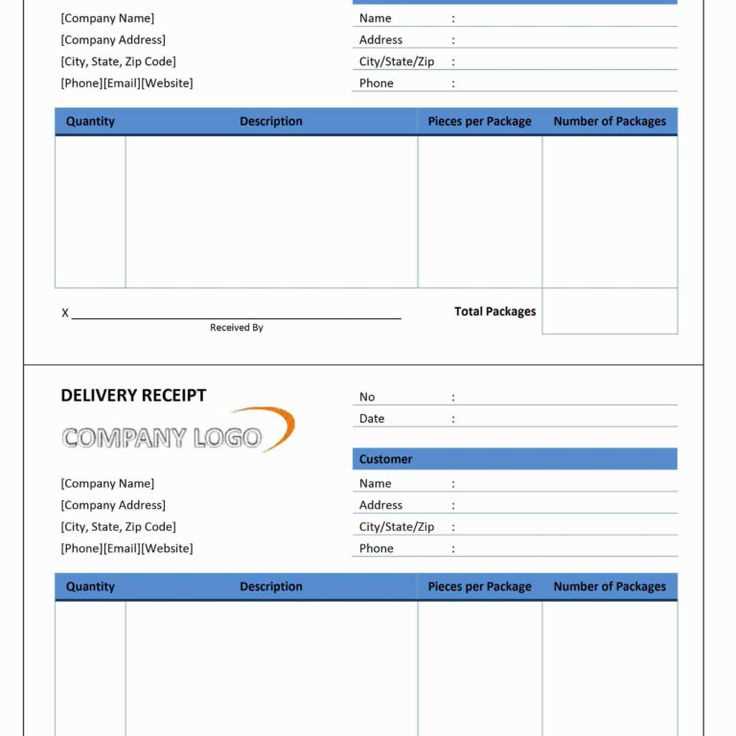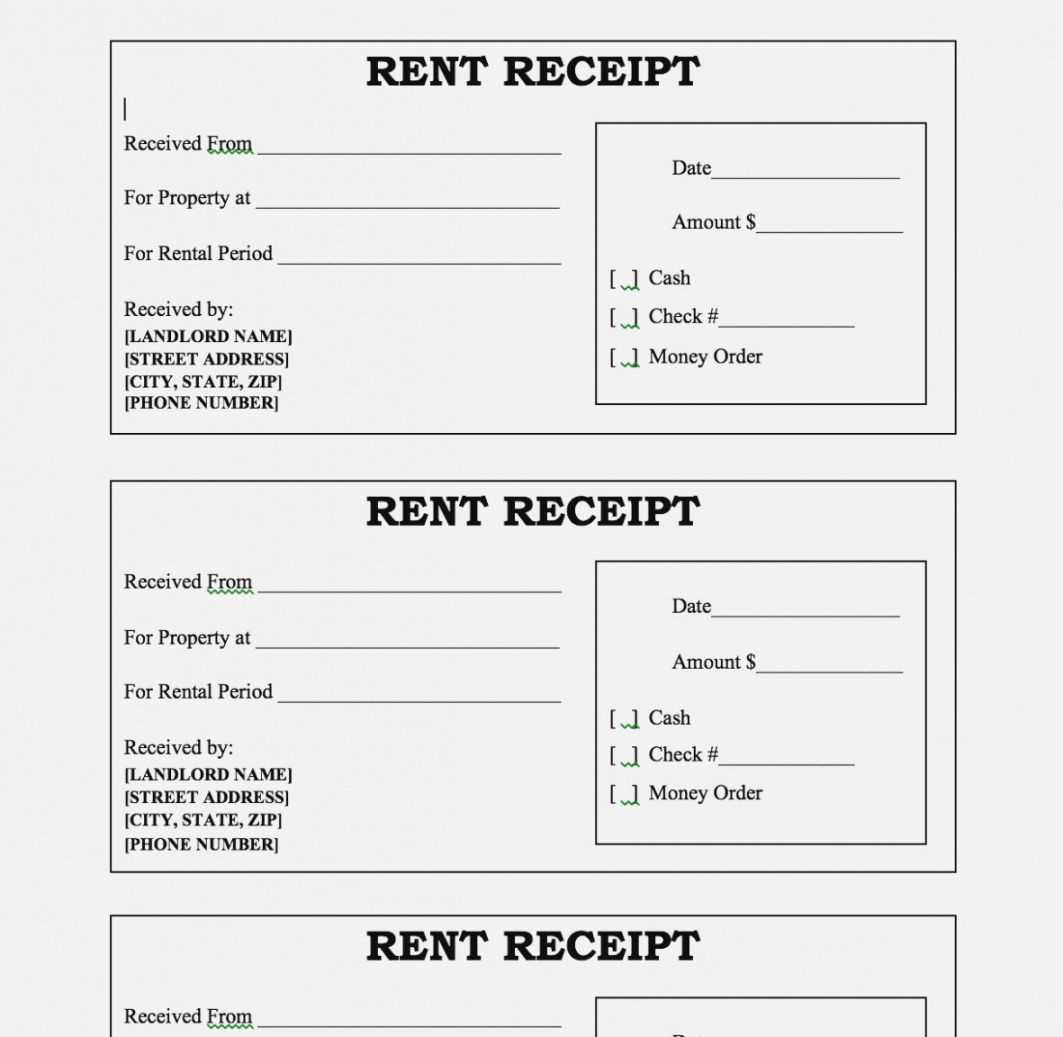
Need a ready-to-use receipt template in Microsoft Word? Download a pre-designed template directly from Word’s built-in library or Microsoft’s official website. These templates include essential fields like date, recipient details, itemized list, and payment information, ensuring a structured and professional look.
For customization, open the template in Word and modify fonts, colors, logos, or table structures to match your brand. Use the built-in formatting tools to adjust alignment, add signatures, or include tax details. Save the modified version as a reusable file for consistent receipt generation.
To streamline future use, save the document as a template (.dotx) so it remains editable while keeping the original structure intact. If automation is needed, insert fields for dynamic content and use Word’s mail merge function to populate receipts from an external data source.
Receipt Template in Microsoft Word

Use Microsoft Word’s built-in receipt templates to create professional documents quickly. Open Word, go to the “File” menu, select “New,” and type “receipt” in the search bar. Choose a template that suits your needs and click “Create.”
Customizing the Template
Edit placeholder text by clicking on any section and replacing it with actual details. Adjust the date, receipt number, and itemized list to match your transaction. To change fonts or colors, use the “Home” tab for text formatting and the “Design” tab for themes.
Adding a Logo and Signature

Insert your company’s logo by clicking “Insert” > “Pictures.” Resize it to fit neatly in the header. For a signature, use the “Draw” tool or insert a scanned image. Save the file as a Word document or PDF for easy sharing.
How to Create a Receipt Template from Scratch in Word
Open Microsoft Word and create a new blank document. Set the page orientation to Portrait or Landscape depending on your preference. Adjust the margins under Layout to ensure enough space for content.
Use a table to organize details. Click Insert > Table and select the required number of rows and columns. Common sections include date, receipt number, buyer details, item descriptions, prices, subtotal, tax, and total amount. Adjust column widths to enhance readability.
Format text using bold for headings and align numeric values to the right for clarity. Use Table Design to remove borders where unnecessary and highlight key sections.
Add a space for a signature or stamp if required. Insert a horizontal line using Insert > Shapes > Line and position it below the total amount.
Save the document as a template by selecting File > Save As and choosing Word Template (*.dotx). This allows easy reuse without modifying the original file.
Customizing Fonts, Layout, and Formatting for a Professional Look
Use clear, legible fonts like Arial, Calibri, or Times New Roman. Adjust font size to 10–12 points for body text and 14–16 points for headings. Stick to one or two complementary fonts to maintain consistency.
- Align text for readability: Left-align most content for easy scanning. Use center alignment sparingly, mainly for headings or totals.
- Maintain proper spacing: Add line spacing of 1.15–1.5 for clarity. Use sufficient margins to avoid clutter.
- Utilize bold and italics strategically: Highlight key details like total amounts, due dates, and important terms without overusing emphasis.
For layout consistency, structure sections logically:
- Place the business name and contact details at the top.
- Include clear sections for itemized charges, subtotals, taxes, and total amount.
- Ensure payment terms and conditions are easy to find.
Avoid excessive decorations or unnecessary colors. Stick to professional shades like black, dark gray, or navy for text, and use subtle color accents only where needed.
Saving, Sharing, and Printing a Word Receipt Template

Save the receipt template in DOCX format to ensure compatibility with different Word versions. For universal access, export it as a PDF by selecting File > Save As and choosing PDF. This prevents formatting changes when sharing.
Sharing the Template

Send the file via email or cloud storage services like OneDrive or Google Drive. When collaborating, use Word’s Share option to grant editing or view-only access, keeping the original intact.
Printing for Physical Copies
Before printing, adjust margins and layout under File > Print to ensure alignment. Use high-quality paper for professional receipts. If multiple copies are needed, select the desired quantity in the print settings.


