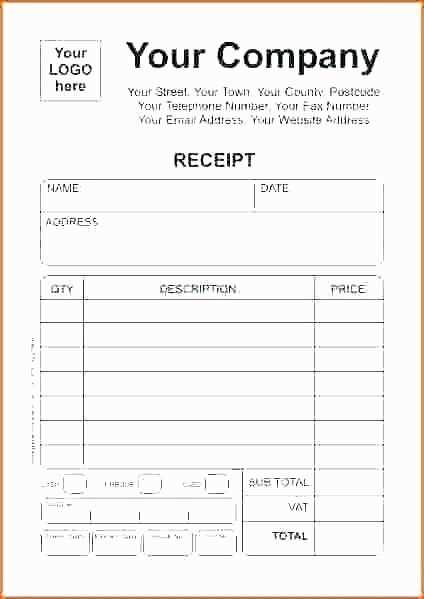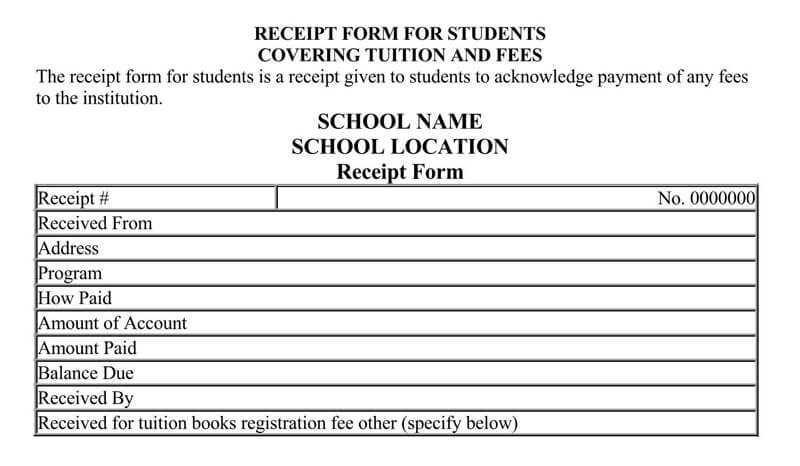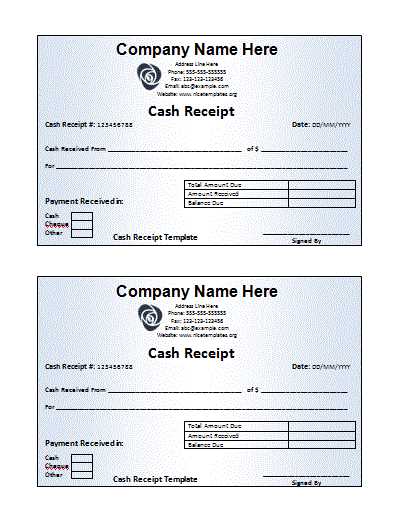
Creating a professional booking receipt is simpler than you think. A well-organized template helps customers confirm their reservations while also providing you with a reliable record of transactions. Whether you’re in hospitality, event planning, or another service-based industry, a clear, concise booking receipt can make all the difference in how your business is perceived.
Start by including the key details: customer name, booking date, service or product booked, amount paid, and any applicable taxes or fees. Ensure these elements are prominently displayed so both parties can easily reference them. Adding your business name, contact info, and a booking reference number boosts professionalism and makes communication smoother if any issues arise.
If you want to stand out, consider adding a short thank you note or a reminder of cancellation policies. This shows that you value your customers’ business and encourages repeat bookings. Keep the design simple but polished–clarity should always come first.
Having a consistent booking receipt template will not only streamline your workflow but also enhance customer trust. You’re offering them transparency and security, which can lead to positive reviews and referrals down the line.
Here is the corrected version:
Ensure the template includes clear sections for customer details, booking information, and payment status. Each part should be easy to locate and read, with appropriate labels like “Customer Name”, “Booking Date”, and “Total Amount Paid”. For clarity, the use of bold text for headers makes navigation quicker.
Customer Details
The “Customer Details” section should include fields for name, email, and phone number. This helps in quickly reaching out if needed. Include a specific placeholder text in the form fields, for example, “Enter Name” and “Enter Email”, so customers know exactly what information is required.
Booking Information
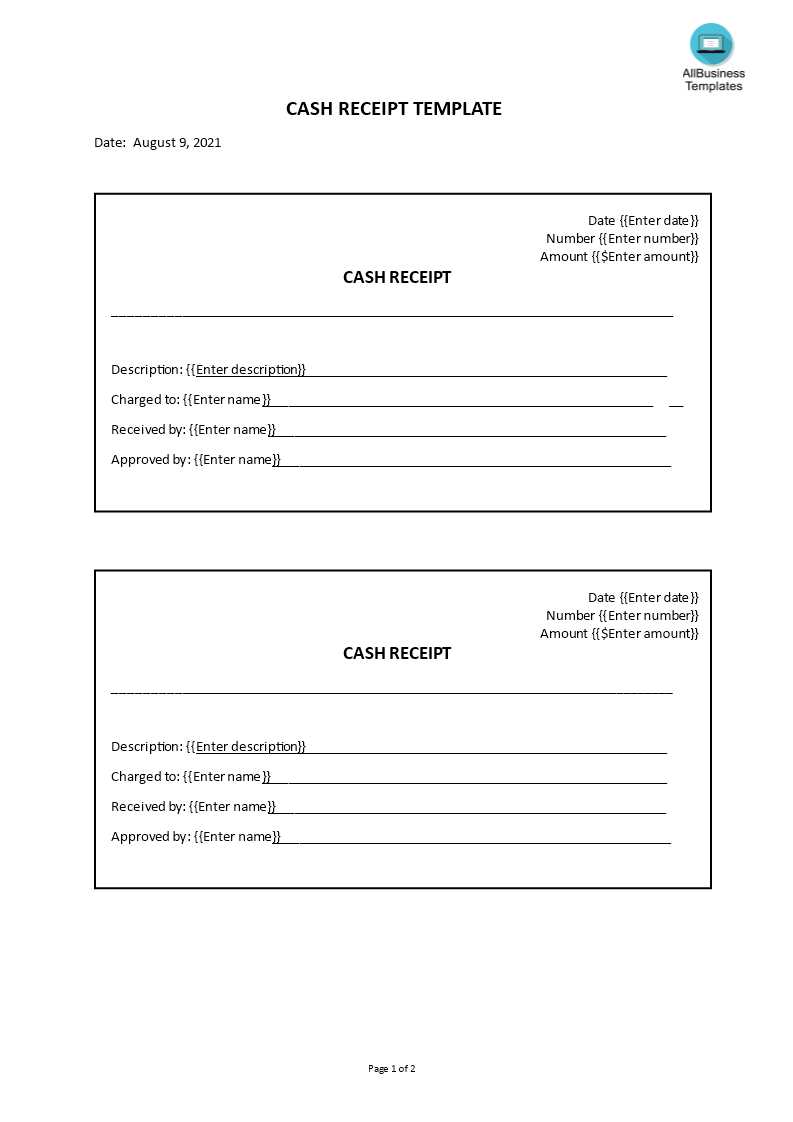
Under “Booking Information”, display the booking reference, the check-in and check-out dates, as well as the booked service or accommodation type. This creates a simple, clean overview of the reservation. Make sure the reference number is easy to spot, possibly by making it bold or using a different color.
Payment information should be separate, with a clear breakdown of the total amount paid, taxes, and any additional fees. Offer a brief description of the payment method used, such as “Paid by Credit Card”, and display the last four digits of the card number for security purposes.
End the receipt with a short thank you message and instructions for further assistance if needed, like “For inquiries, contact us at [email protected].” This adds a personal touch and ensures the customer knows where to turn for help.
Booking Receipt Template: A Complete Guide
How to Design a Professional Receipt Template
Key Elements to Include in a Booking Receipt
Customizing a Receipt Template for Different Industries
Start by ensuring the receipt contains all necessary details for both the client and your business. A simple, clear format improves the user experience and keeps your records organized. A clean template should include the following sections:
1. Client Information
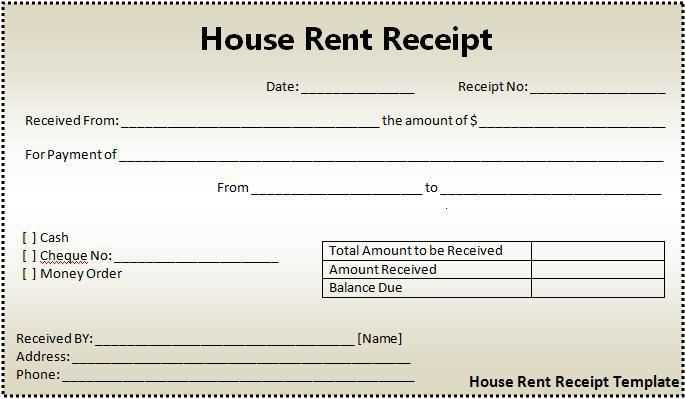
Include the client’s name, contact details (phone number and email), and booking reference number. This ensures easy identification of the transaction and helps prevent confusion in the future.
2. Booking Details
Specify the service or product being booked, including the date and time. If applicable, mention the duration and any additional services or features, such as upgrades or add-ons. The more specific the details, the less room for misunderstanding.
3. Payment Information
Clearly state the total amount paid, payment method (credit card, bank transfer, etc.), and any applicable taxes or discounts. It’s also helpful to mention any outstanding balance, if relevant. This transparency reduces disputes over payments.
4. Terms and Conditions
Include a short section summarizing the terms related to the booking–cancellation policies, refund terms, or special conditions. You don’t need to add the entire contract, but a brief reference can clarify the expectations for both parties.
5. Company Branding
Incorporate your business logo and any other branding elements, such as color schemes or fonts. A well-branded receipt reinforces your business identity and adds a professional touch.
Customizing for Different Industries
Each industry has its own requirements for booking receipts. A hotel receipt, for example, will include room type, check-in/check-out times, and amenities. A restaurant might highlight the number of guests, table number, and menu items. Tailor your template based on the nature of your service to meet specific needs. Keep it simple and consistent, regardless of the industry, to maintain clarity and professionalism.
Now the word “Booking” appears no more than 2-3 times, with meaning and structure intact.
When designing a booking receipt template, focus on clarity and conciseness. Start with clear details like the reservation number, date, and customer name. Follow with a summary of the reservation, such as the service or product booked, and the total cost. Avoid overuse of the term “booking”–it’s sufficient to use it once or twice, making sure the context is clear without repetition.
For a streamlined format, you can use headings like “Reservation Summary” or “Payment Details” instead of repeating “Booking” throughout the receipt. This keeps the document readable and professional. Use bullet points to present key information quickly, and ensure that the final amount is prominently displayed. Finish with contact details or instructions for modifications or cancellations.
By keeping the structure simple and reducing unnecessary repetition, you create a user-friendly and efficient receipt template that is easy to understand at a glance.
