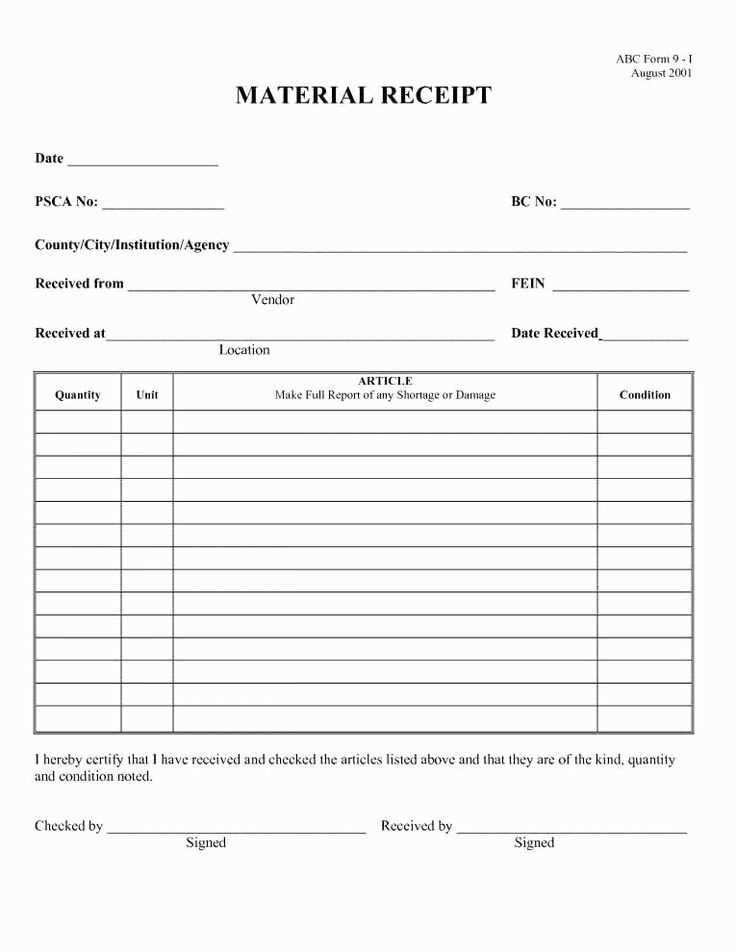
Using receipt template forms helps businesses manage transactions quickly and accurately. A well-designed template ensures that every sale is properly documented, providing clear details for both the customer and the business. Standardizing receipts minimizes errors and saves time during high-volume sales periods.
Choose templates that are easy to customize for your specific needs. Include key information such as the transaction date, itemized list of products or services, amounts, taxes, and payment method. Adding your business’s logo or contact details reinforces brand recognition and ensures consistency across all receipts.
By using an organized receipt template, you can streamline your accounting processes and improve customer satisfaction. Customize your template based on the frequency of transactions and the type of service or product you provide. Make sure that all the necessary fields are clear and easy to fill out to prevent confusion or delays at checkout.
Here’s the revised version:
Ensure your receipt template is clear, concise, and accurate. Each receipt should include the following key components:
1. Header Section

Place your company name, address, and contact details at the top. This ensures your customer can easily identify where the receipt originated from.
2. Itemized List

Clearly list each item purchased, its unit price, and the total cost for each. Use columns for clarity, and make sure the description is specific.
Example: A customer buys three coffee cups at $5 each. The receipt should list “Coffee cup – 3 x $5” followed by a total cost of $15.
3. Tax and Additional Charges

Ensure the receipt clearly distinguishes the base price from any taxes or additional charges. A simple breakdown prevents confusion.
4. Payment Method
Specify how the transaction was paid–whether by cash, card, or another method. This is important for both accounting and customer transparency.
5. Date and Time
Always include the transaction date and time. This helps track the purchase and provides reference points for any future returns or issues.
6. Total Amount
The final total should be displayed prominently. Ensure the amount is easy to read, and use clear currency symbols to avoid confusion.
7. Footer with Thank You Note

Including a short “Thank You” message at the bottom adds a personal touch and leaves a positive impression. This also offers an opportunity for promotional information.
By following this format, your receipts will be well-organized and serve both functional and customer-friendly purposes.
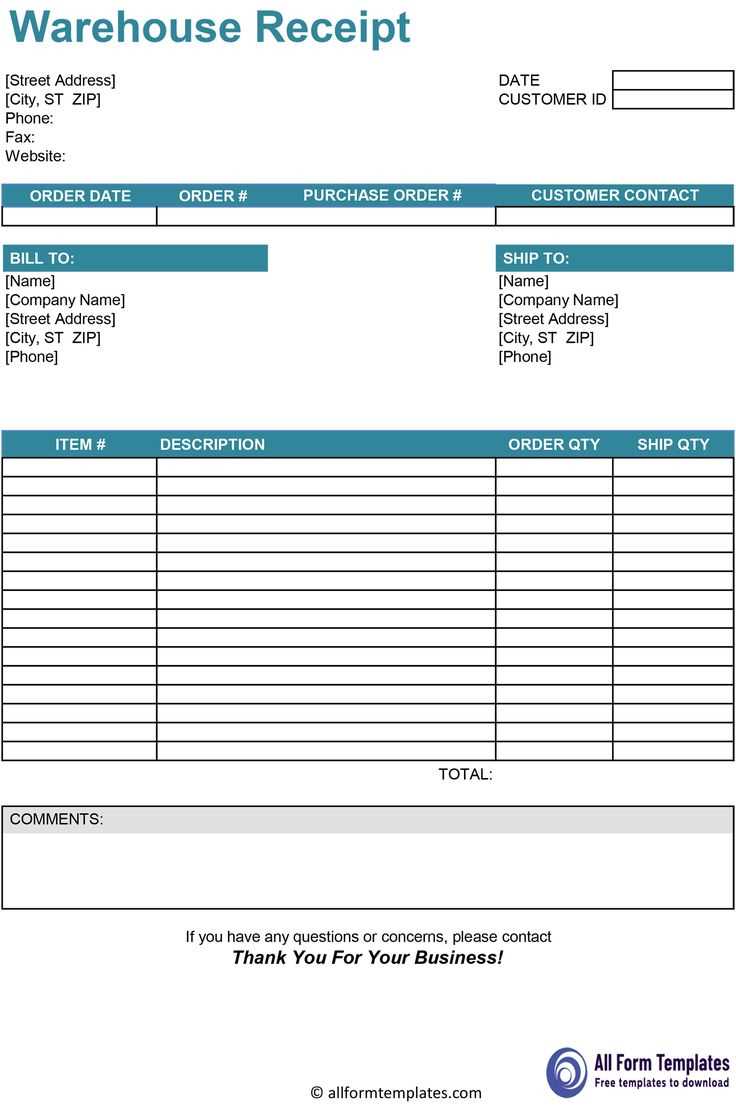
- Receipt Template and Forms
To create a functional receipt template, include these key elements: business name, date of transaction, a clear itemization of products or services, their individual prices, any taxes, the total amount due, and the method of payment. This structure ensures transparency and easy understanding for the customer.
For businesses with various payment methods, such as cash, credit cards, or mobile payments, include a section detailing the payment type and reference number. This increases the traceability and reliability of the receipt.
Include your business’s return policy or warranty terms, especially for products or services that may need to be returned or exchanged. This helps customers understand the conditions upfront and reduces future confusion.
Offer both physical and digital copies of receipts, catering to customers who prefer digital records for easy storage. Ensure the digital format is just as clear and detailed as the paper version, offering the same benefits in terms of traceability and record-keeping.
Begin with identifying the specific needs of your business. Focus on what information must be included in the receipt: business name, logo, address, contact details, transaction date, items purchased, total amount, tax, and payment method. This structure ensures clarity and legal compliance.
Use a software like Microsoft Word, Google Docs, or a design tool such as Canva or Adobe Spark to create your template. Set up placeholders for the dynamic fields like customer name, product details, and payment amounts. This allows quick updates for each transaction.
For consistency, choose a font style that reflects your brand identity. Keep the font size readable and use a clear layout. For example, align item descriptions, prices, and totals in a table format for easy scanning. Your logo should be placed at the top for immediate brand recognition.
Incorporate customizable sections for discounts, loyalty points, and refund policies if applicable. A receipt should reflect your business’ flexibility and offer customers transparency. Add a small section for additional notes or promotional offers as well.
Ensure the template is adaptable for both printed and digital formats. Save the template in PDF or another widely compatible format, allowing for easy sharing or printing. If you plan to send receipts electronically, set up email automation that populates the template with customer-specific data.
Once the template is ready, test it by filling it out with sample transactions. Ensure the formatting remains intact across different devices or printers. Adjust if necessary to maintain a professional appearance. Customizing your receipt template regularly can keep it aligned with business updates or promotional shifts.
To design a functional receipt form, focus on collecting the key details that both the business and customer need. Prioritize clarity and simplicity while ensuring all relevant information is captured. Here’s what you should include:
- Transaction Date and Time: This is a must-have to confirm when the transaction took place. It helps with tracking and resolving potential issues.
- Business Name and Contact Information: Clearly display the business name, address, phone number, and email. This ensures customers can reach out if needed.
- Itemized List of Purchased Products or Services: List each item purchased with a description, quantity, and price. This helps avoid confusion and clarifies exactly what was bought.
- Subtotal, Taxes, and Total: Make sure taxes and the total amount are clearly outlined, breaking down the cost for transparency.
- Payment Method: Specify whether the payment was made via cash, credit card, or other methods. This can assist in tracking financial records.
- Receipt Number or Transaction ID: Assign a unique number to each transaction for reference and future queries. It aids in tracking returns and exchanges.
- Return Policy: If applicable, include a brief note about the return or refund policy. This sets customer expectations in case of issues.
By including these fields, you streamline communication and make it easier for both businesses and customers to reference the transaction details. Keep it simple, but thorough, and tailor the form to your specific needs.
Canva is a powerful tool for creating custom receipt templates. Its intuitive drag-and-drop interface allows users to design professional-looking templates quickly, even without prior design experience. You can choose from a wide range of templates, and modify them to suit your brand’s needs, including adding logos, text, and colors.
Adobe InDesign offers advanced tools for those with more design expertise. It’s perfect for creating highly detailed, printable receipt templates. With precise control over typography, layout, and alignment, it’s ideal for businesses needing personalized designs and consistent formatting across multiple templates.
Microsoft Word can be surprisingly effective for simpler receipt templates. For basic needs, it provides the flexibility of using pre-built templates and allows you to customize them easily with simple text fields, logos, and borders. This option is cost-effective for small businesses that don’t require complex designs.
Google Docs offers another straightforward option for creating receipt templates. You can access it from any device and easily share your templates with team members. The free, cloud-based service ensures that your templates are always accessible and editable, making it a great choice for teams working remotely.
For those looking for an automated approach, Template.net provides a range of receipt templates that can be customized directly online. With a vast library of options, users can find templates suited for various industries, and then download them in multiple file formats for easy use.
For more interactive and dynamic templates, Lucidpress provides an online design platform that supports collaborative work. It’s a solid choice for teams that want to create templates in a shared environment, with the ability to work on the same template in real-time and make live updates.
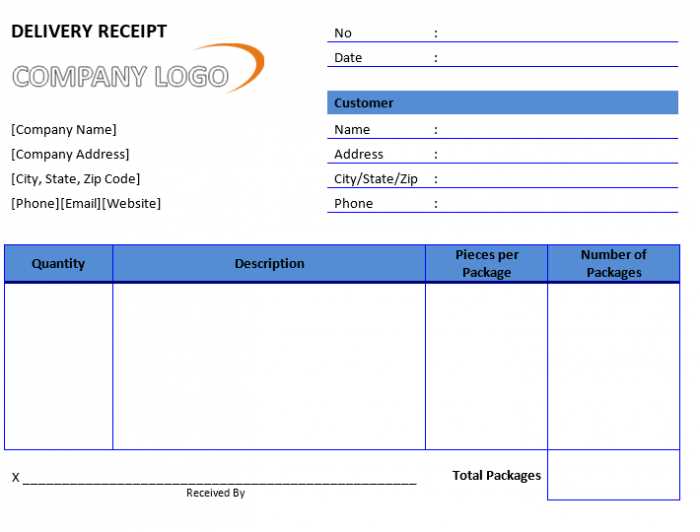
To create a simple and organized receipt template, ensure that the structure is clear and contains all necessary information. Start with a header section for your business details, followed by a breakdown of purchased items or services, their costs, and any applicable taxes or discounts.
| Item Description | Quantity | Unit Price | Total |
|---|---|---|---|
| Product 1 | 2 | $10.00 | $20.00 |
| Product 2 | 1 | $5.00 | $5.00 |
Include space for the date, payment method, and any additional notes at the bottom. Make sure the layout is readable and professional, using lines or borders to separate sections. A well-organized receipt can improve your customer experience and reduce confusion in future transactions.