A blank cab receipt template is a simple and practical tool for both drivers and passengers. It helps document the details of a taxi ride and provides proof of payment. With a blank template, you can easily fill in the necessary information like the passenger’s name, fare amount, date, and destination, ensuring both parties have accurate records of the transaction.
By using a customizable template, taxi drivers can quickly generate receipts for each ride. This saves time and reduces the chance of errors. For passengers, having a clear and well-organized receipt can help track travel expenses, especially for business purposes or reimbursements.
When choosing a cab receipt template, make sure it includes space for key details like the taxi number, time of service, and payment method. A well-structured template ensures all relevant information is covered and prevents any confusion. Keep it simple but thorough to make the process smooth for everyone involved.
Here’s the updated version:
Use this template to create a blank cab receipt that includes all the necessary fields. It’s a practical solution for drivers and passengers alike to ensure all details are captured clearly.
Key Elements to Include
The receipt should contain at least the following information:
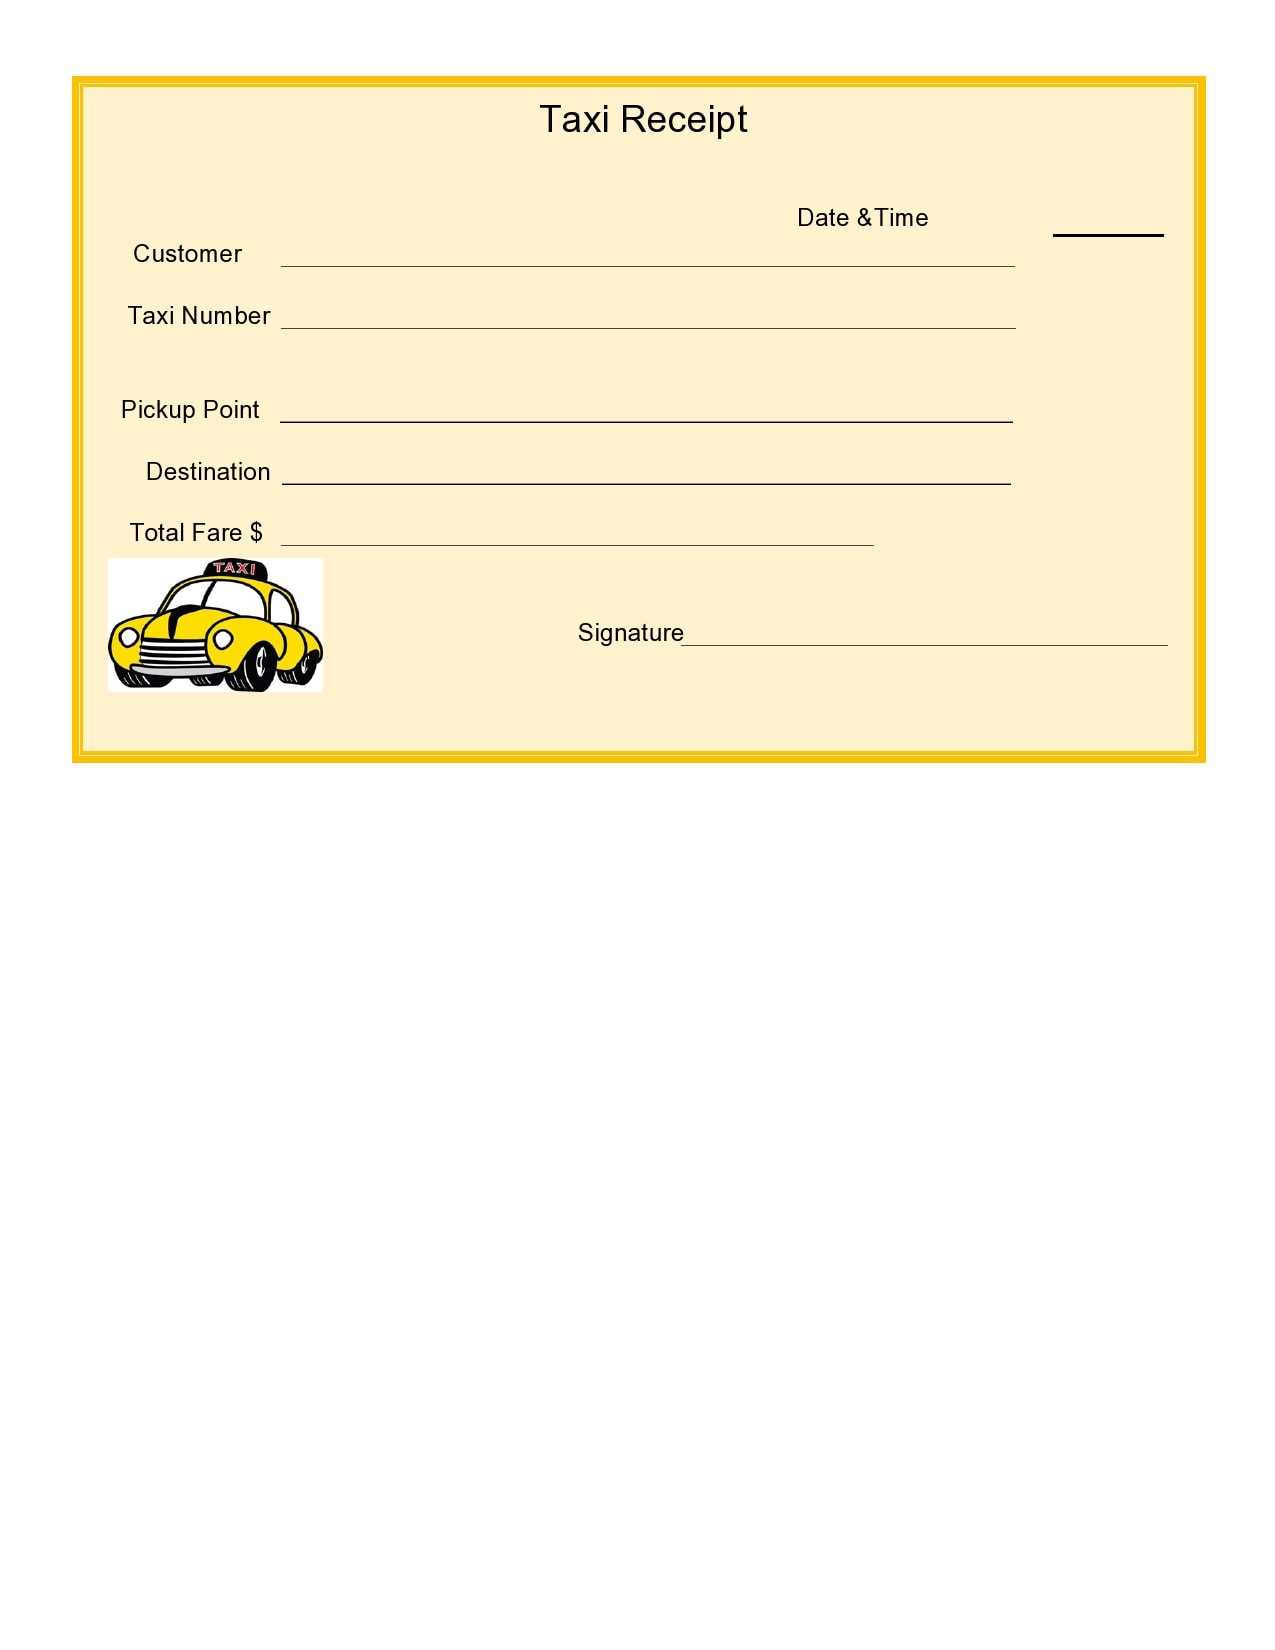
- Cab Company Name and Logo – Make it clear which service is being used.
- Driver’s Information – Include the name, ID, and contact number.
- Passenger’s Details – Full name or initials and contact details.
- Pick-up and Drop-off Locations – Address of both locations.
- Fare Breakdown – Total cost, distance traveled, and any extra charges (e.g., tolls, tips).
- Date and Time – Exact time and date of the ride.
- Payment Method – Cash or card, with relevant details if necessary.
Formatting Tips

Ensure the layout is simple and legible. Keep the font clear, and use space efficiently to separate each section. Consider including a space for tips if needed.
The design should make it easy for both parties to reference the details later. A clean, organized template will save time and avoid confusion.
- Blank Cab Receipt Template
To create a simple and clear cab receipt, start by ensuring the essential details are included. The template should feature space for the date and time of the ride, passenger name, and destination. Include a section for the cab driver’s name and their contact information to maintain transparency. For the amount charged, break down the fare with clear indications of base fare, any extra charges (like tolls or wait time), and applicable taxes.
For a neat and readable design, organize these details into sections, using bullet points or a table format for easy scanning. Make sure the receipt number and payment method are present, as this helps with tracking expenses. Including a thank-you message or reminder of your service can add a personal touch.
By keeping the layout simple, you ensure that users can quickly read and understand the information. The template should leave room for custom branding or additional notes, allowing flexibility for different use cases.
To create a custom blank receipt template, follow these steps to ensure clarity and simplicity for both you and your customers.
1. Choose a Design Tool
Pick a tool that suits your skill level. If you’re comfortable with design software, programs like Adobe Illustrator or Canva work well for custom designs. For simpler templates, Word or Google Docs can be effective.
2. Determine the Key Information
Include the following essentials in your receipt:
- Business Name and Logo – Ensure your business name and logo are prominent at the top.
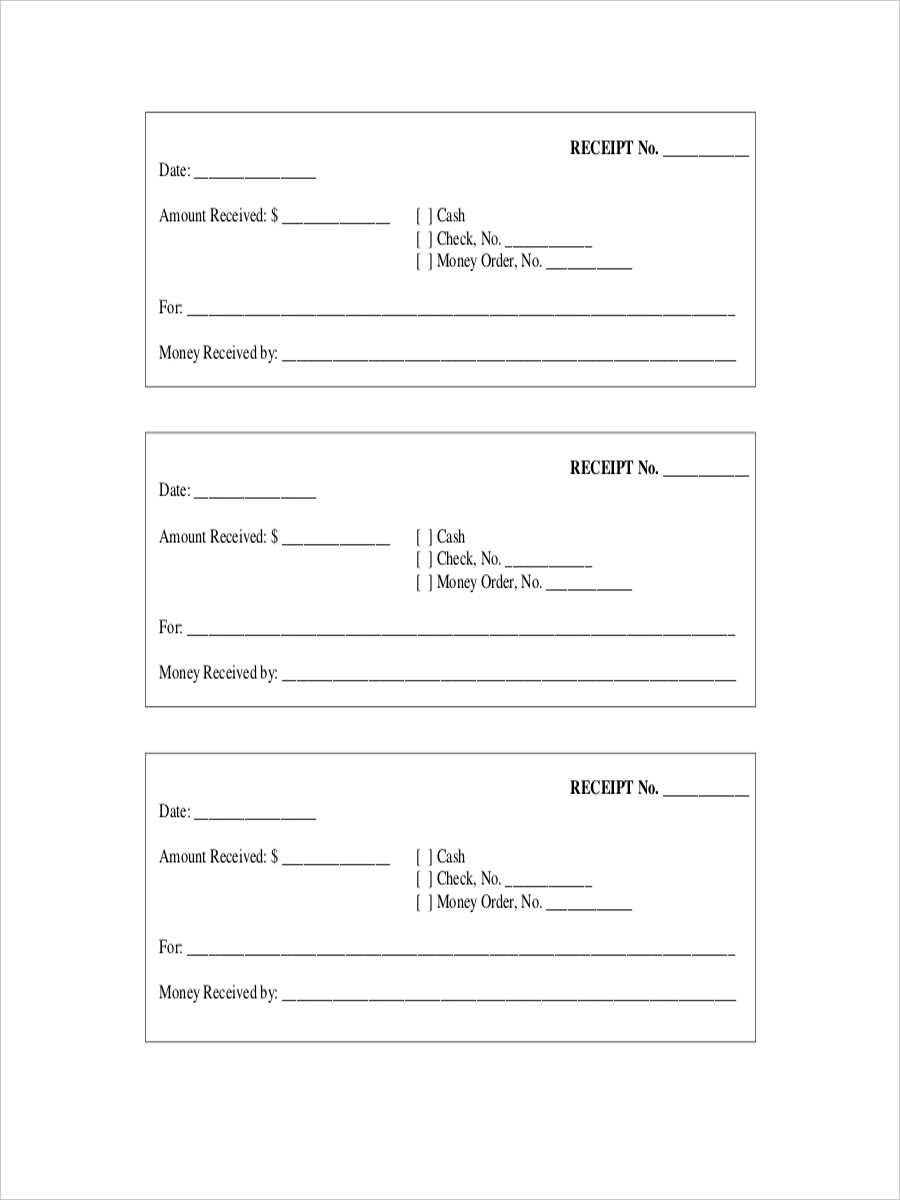
- Receipt Number – A unique number for every receipt issued.
- Date and Time of Transaction – Always include this for reference.
- Items or Services Purchased – List all items or services with prices.
- Total Amount – Clearly state the total cost, including any taxes or discounts.
- Payment Method – Specify whether payment was by cash, credit, or another method.
- Terms and Conditions – Briefly include any return or refund policy.
3. Design Layout
Arrange the elements in a clean, organized format. Use clear fonts, and make sure there’s enough space between sections. Keep the information in a logical flow, and don’t overcrowd the template.
4. Customize for Your Business Needs
- If you offer multiple payment options, include a section to specify the method.
- Consider adding a barcode or QR code if you want to integrate digital payment verification.
- Include any legal requirements, like VAT numbers or business registration details, if necessary.
5. Test the Template

Before using the template, print a sample receipt to see how it looks physically. Check that all the information is readable and that the layout doesn’t get distorted when printed.
6. Save and Use the Template

Save your final design in an editable format (like .docx, .pdf, or .png) so it can be used repeatedly. You can also save versions tailored to specific services or products, making future transactions easier.
Ensure the template includes the name and contact information of the cab company. This creates transparency and provides the passenger with easy access to support or inquiries. Also, list the cab driver’s name and, if possible, their license number for accountability.
Clear Date and Time Information

Accurately record the date and time the service was provided. This ensures that the receipt reflects the exact period of the ride, preventing disputes about timing. The start and end time of the trip should be clearly stated to avoid confusion.
Payment Details

Clearly outline the fare amount, any additional fees (such as tolls or surcharges), and the total cost. This section should also specify the payment method, whether cash or credit, and include any applicable taxes or discounts.
Always provide a unique receipt number. This helps in tracking payments and ensures the receipt is distinguishable from others. Lastly, leave space for the customer’s signature to confirm their receipt of the service.
Ensure you don’t leave any critical fields blank. A common mistake is forgetting to include all required information such as the date, amount, and contact details. Double-check that every section of the receipt is filled out accurately, including the name of the service provider and the recipient.
Avoid using vague descriptions. Be specific about the products or services provided. This will make the receipt clearer and prevent misunderstandings or disputes down the line.
Don’t forget to review the receipt for formatting errors. Inconsistent fonts, missing lines, or misaligned text can make your receipt appear unprofessional and lead to confusion. Ensure the receipt is easy to read and well-organized.
Inaccurate tax calculations are another common issue. Ensure that tax rates are correctly applied to the total amount. It’s a good idea to include both the tax amount and the total with tax, to avoid confusion.
Overlooking the receipt’s authenticity can cause problems. Be sure to add a serial number or unique identifier for each receipt issued. This will help track transactions and prevent fraudulent activities.
Finally, avoid using outdated or incompatible receipt templates. Ensure the template you use is updated and aligns with your local legal requirements, especially regarding tax information or any specific details that may change over time.
I have removed the redundancies while preserving the general meaning and structure.
To create an accurate blank cab receipt template, focus on clarity and essential details. Begin by including the company name and contact information at the top. This sets a professional tone and provides immediate identification for the receipt’s source. Below that, leave space for the fare details–pickup and drop-off locations, date, and time. These details are crucial for both the customer and service provider for tracking purposes.
Organizing Fare Information
Include line items for different charges such as base fare, distance, additional stops, and any applicable surcharges. Each charge should be clearly labeled and totalled at the bottom for transparency. Don’t forget to account for gratuity if it’s part of the service. To avoid confusion, keep the layout simple, and use readable fonts that allow the user to easily distinguish between the various parts of the receipt.
Space for Additional Notes
Leave a section at the bottom for additional information, such as promotions or discounts applied, or a feedback request. This extra space can be helpful for keeping customers informed of any future offers or important company announcements. End the template with a thank-you note to improve the overall customer experience.