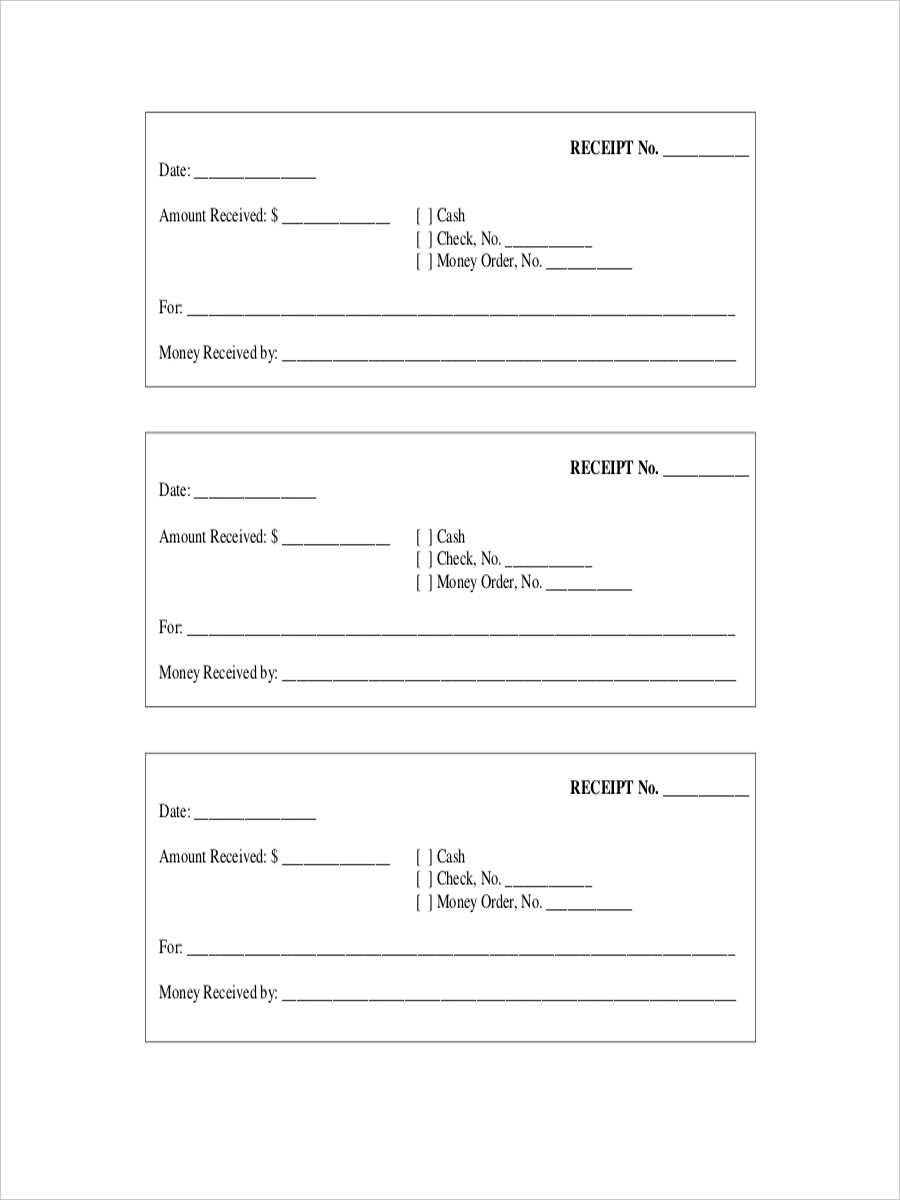
If you need a simple and practical solution for managing receipts, a blank receipt book template is the way to go. This tool allows you to create customized receipts quickly and easily, ensuring accurate documentation for both your personal and business transactions.
Start by selecting a template that suits your needs. Look for options that include key details like date, amount, description, and signatures. You can customize these fields to match your requirements, making the process more organized and professional.
Once you’ve chosen a template, consider printing it on high-quality paper to ensure durability. A well-printed receipt will make it easier to track purchases or payments and provide clarity for both parties involved. You can also add your business logo or contact information for a more personalized touch.
Keep a digital copy of your receipts as backups. This will help maintain an organized record, which is especially useful for tax purposes or business audits. Digital templates allow for easy editing and sharing, further enhancing your efficiency.
Here’s the corrected version:
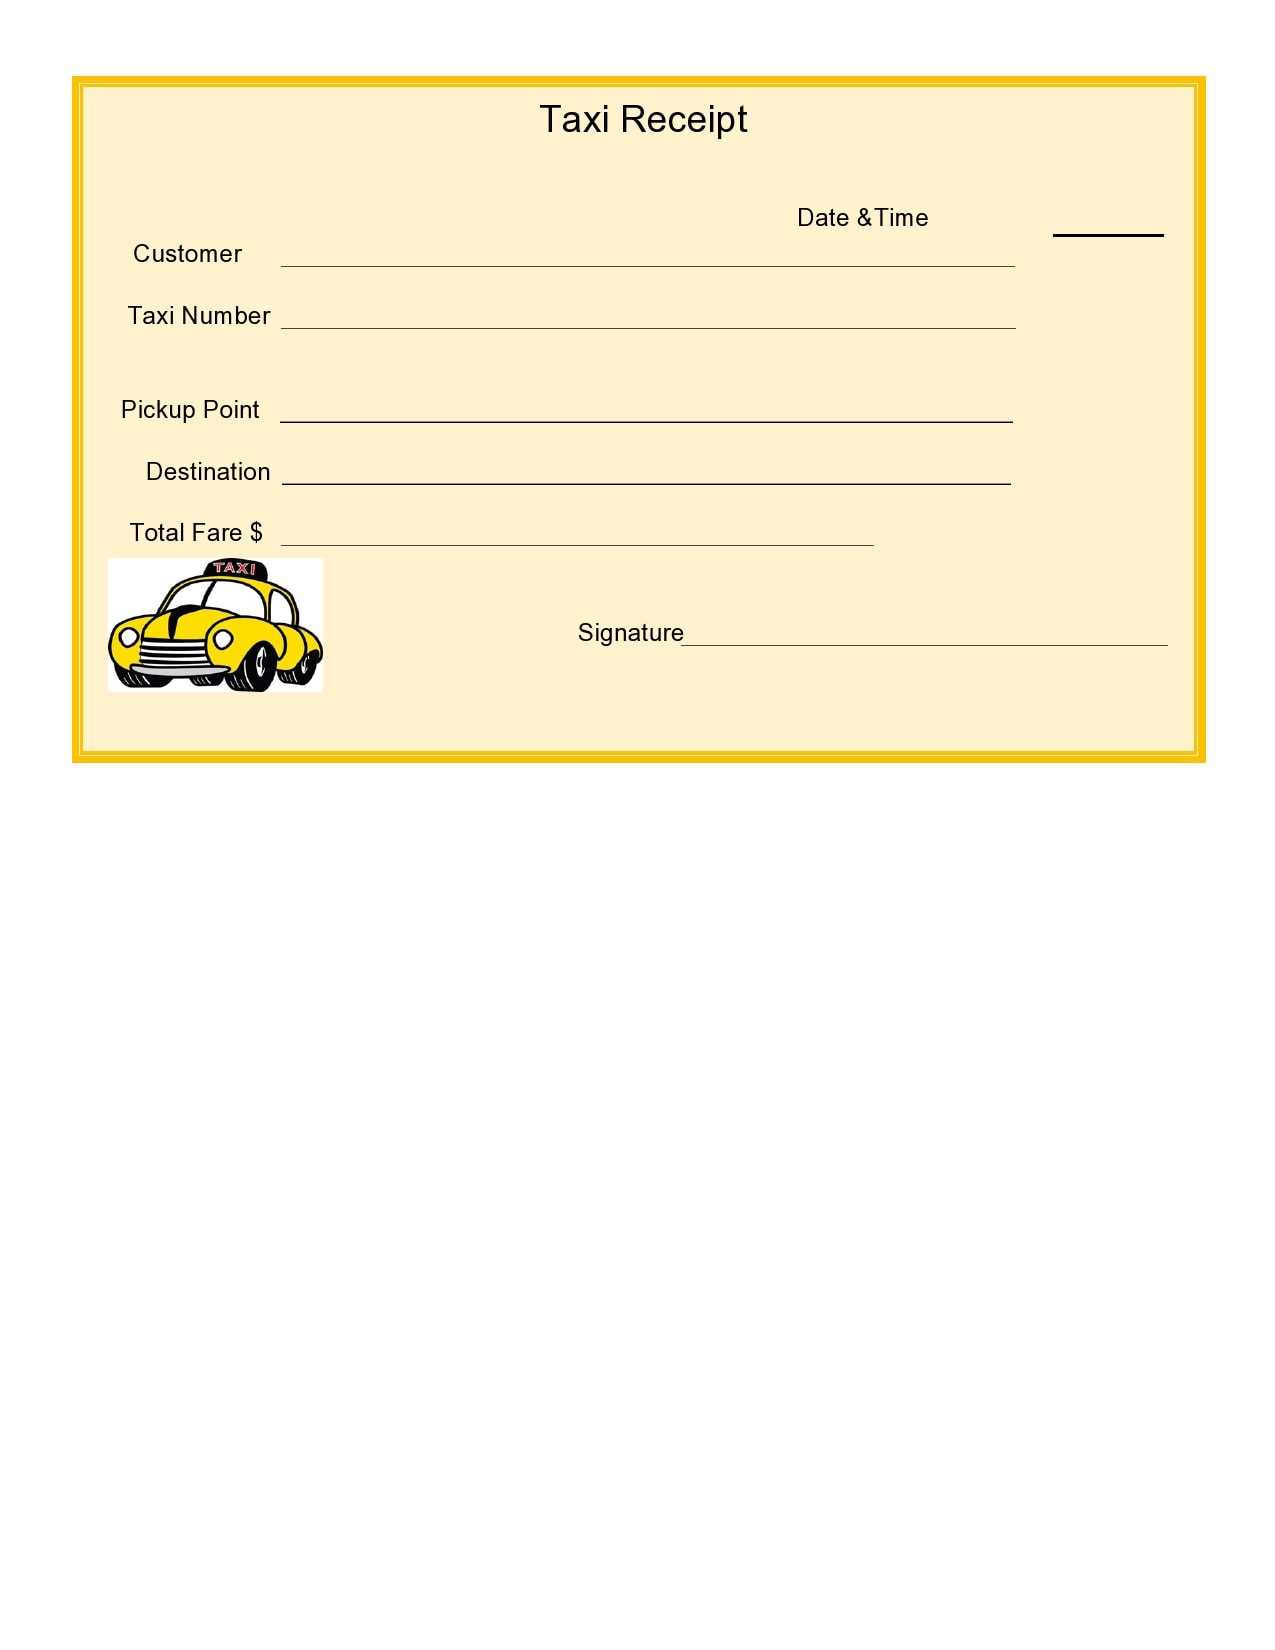
For a blank receipt book, create a template with clearly defined sections. Include space for the transaction date, the items or services provided, the amount paid, and the payment method. Make sure there is room for both the issuer’s and the recipient’s names, along with contact details if needed. The layout should be clean, with lines or boxes to keep the information well-organized. Use a legible font to ensure clarity. If you’re designing for multiple receipts, consider adding a numbering system to track each entry effectively. Ensure the template is printable and can be easily duplicated for physical use.
- How to Choose a Suitable Receipt Book Template
Begin by identifying the purpose of the receipt book. If you’re managing a small business, select a template that includes fields for transaction details such as item description, quantity, and total price. For personal use, simpler templates that capture only the date, amount, and recipient might be more suitable.
Consider the Design

Choose a layout that fits your business needs. Templates with space for company branding, like logos or contact information, provide a more professional appearance. Minimalist designs work well for personal use, focusing on the transaction information without unnecessary details.
Account for Customization Options

Look for templates that allow easy adjustments. For example, you might want to add a “notes” section or adjust the receipt’s appearance to match your brand style. Make sure the template is flexible and adaptable for your changing needs.
Customize your blank receipt book template by adding your business logo at the top to give it a professional touch. Include your company name, address, and contact details in a clear and readable format. This provides customers with immediate access to your information and enhances the trustworthiness of the transaction.
Incorporating Branding Elements

To make the template uniquely yours, use brand colors and fonts consistent with your business identity. These elements make the receipt instantly recognizable, which helps build a cohesive brand image across all customer touchpoints.
Space for Important Details
Ensure there’s enough space for transaction details such as item descriptions, quantities, and prices. Organizing these sections clearly helps avoid confusion and keeps the receipt professional. You can also add a section for discounts, taxes, or promotional codes if relevant to your business model.
Choose the right software: Select a software that allows you to create and customize receipt templates, such as Microsoft Word, Google Docs, or dedicated receipt book creators. Ensure it has options for adjusting margins, font size, and layout.
Design your template: Set up the layout with placeholders for important fields like date, receipt number, amount, and recipient’s information. Ensure the text is clear and legible. Use a simple, clean design to avoid clutter.
Set print options: Before printing, adjust the printer settings to ensure the correct paper size and orientation. Typically, blank receipt books are printed on standard 8.5″ x 11″ sheets, but adjust based on your specific paper size.
Print test page: Run a test print to check alignment and margins. This ensures that the receipt template fits within the printable area of the paper and is correctly positioned on the page.
Adjust print quantity: Once satisfied with the test print, adjust the print settings to print multiple copies. If you’re printing a large batch, consider printing in smaller batches to avoid paper jams.
Bind the receipts: After printing, bind the individual sheets into a book using a method that suits your preference, such as stapling, spiral binding, or using a receipt book holder.
Include key details on your blank receipts to ensure they are clear and useful for both you and your customers. These elements help avoid confusion and enhance professionalism.
- Business Name and Contact Info: Always display your business name clearly at the top. Add contact details, including phone number or email, to allow customers to reach out if needed.
- Date and Time: Add a field for the date and time of the transaction. This provides an accurate record of the transaction and prevents disputes.
- Transaction Description: Include a space for a brief description of the goods or services provided. Be concise but specific enough to identify what was purchased.
- Amount: Ensure there’s a section to list the total amount charged, including any applicable taxes or discounts.
- Payment Method: Add a section to indicate how the payment was made, whether by cash, card, or other methods.
- Receipt Number: Include a unique receipt number for record-keeping. This makes it easier to track transactions and handle returns or exchanges.
- Terms and Conditions (optional): If applicable, add brief terms or return policies, especially for larger purchases.
By incorporating these elements, you create a clear and professional receipt that enhances trust with your customers and simplifies future reference.
Start by using labeled folders to categorize receipts by date, vendor, or purpose. This helps you find specific receipts without unnecessary delays. A filing system with clear divisions will minimize clutter and prevent confusion later.
- Use expandable files for easy access. Each section can be labeled for different categories like “Business Expenses,” “Personal Purchases,” or “Warranty.” This makes it easy to sort receipts as you receive them.
- Consider using clear plastic pockets or envelopes for each receipt. This method protects receipts from damage while keeping them visible for quick identification.
- If you store receipts in drawers, ensure they are organized by date or type. Using stackable trays helps maintain order and saves space.
- Label envelopes or folders with both month and year. This makes retrieval much simpler, especially when you need receipts for tax purposes or returns.
Always review and discard outdated receipts regularly to avoid accumulation. A quarterly cleanup ensures you only keep what is needed for future reference.
Switching to digital alternatives allows for easier management and accessibility of blank receipt templates. With the use of cloud-based applications, users can instantly access and edit templates without the need for physical storage. Tools like Google Docs, Microsoft Word Online, or specialized receipt template apps offer flexibility and quick sharing options. This also reduces paper waste, contributing to a more sustainable workflow.
Benefits of Digital Templates

Digital templates are easily customizable, allowing users to adjust fields, font styles, and layout in real-time. Cloud storage guarantees access from any device, making it ideal for both personal and business use. Additionally, many digital platforms provide security features like password protection and encrypted storage, ensuring sensitive data stays safe. With automatic backups, there’s no risk of losing data due to physical damage or misplacement.
How to Choose the Right Digital Tool

When selecting a tool, focus on compatibility with your devices and ease of use. Opt for software that supports both desktop and mobile versions, enabling you to create and edit templates on the go. Look for platforms with integration capabilities, allowing you to link receipts with other tools like accounting software. Choose a solution with user-friendly interfaces and reliable customer support to troubleshoot any issues quickly.
To design a blank receipt book template, focus on clarity and simplicity. Ensure the layout includes space for key transaction details such as date, item description, quantity, and price. Organize the fields neatly to minimize confusion and speed up the process of completing receipts.
Key Elements for a Blank Receipt Template
Incorporate the following components for an effective receipt book:
| Element | Purpose |
|---|---|
| Date | For recording the transaction date. |
| Item Description | To specify the goods or services purchased. |
| Quantity | To indicate how many items were bought. |
| Price | For showing the cost of each item. |
| Total | Summarize the total cost of the transaction. |
| Signature | Optional space for a customer’s or seller’s signature. |
By structuring your receipt book template with these elements, you make it easier for both the seller and customer to track purchases and maintain accurate records. Always leave enough room for legibility, particularly for the transaction amounts and customer details.