If you need a quick and flexible solution for generating receipts, a blank receipt template in DOC format can be the answer. This format allows for easy customization and ensures that you can adjust details to suit various transaction types.

The DOC template offers a straightforward structure, including fields for date, items purchased, amounts, and other relevant details. All sections are fully editable, allowing you to personalize them for your needs, whether for personal or small business use.
Using this template streamlines the receipt creation process, reducing time spent formatting documents and ensuring consistency across transactions. You can easily modify fonts, add logos, or update information as necessary, making it a practical tool for various scenarios.
By downloading and using a blank receipt template DOC, you can maintain professional-looking documentation with minimal effort. It’s a simple yet effective way to manage receipts without needing specialized software or complicated tools.
Here’s the corrected version:
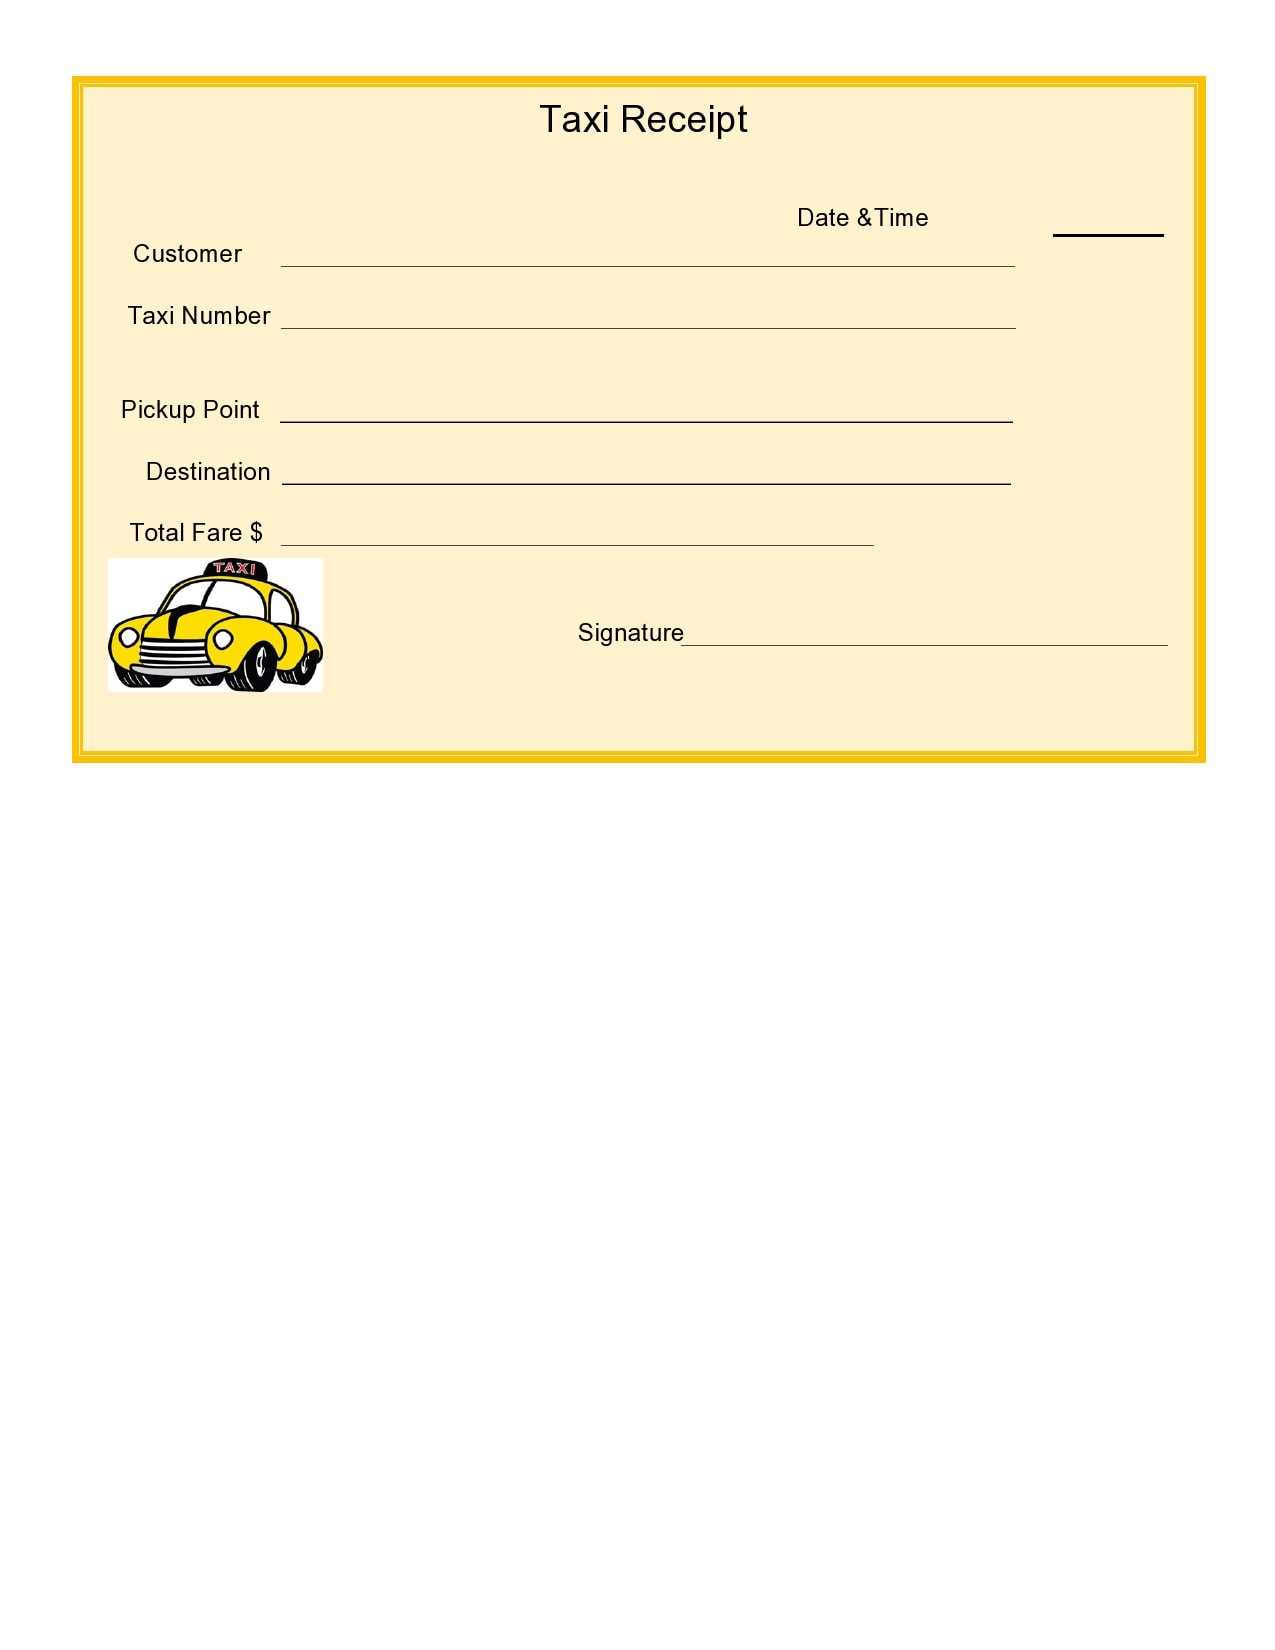
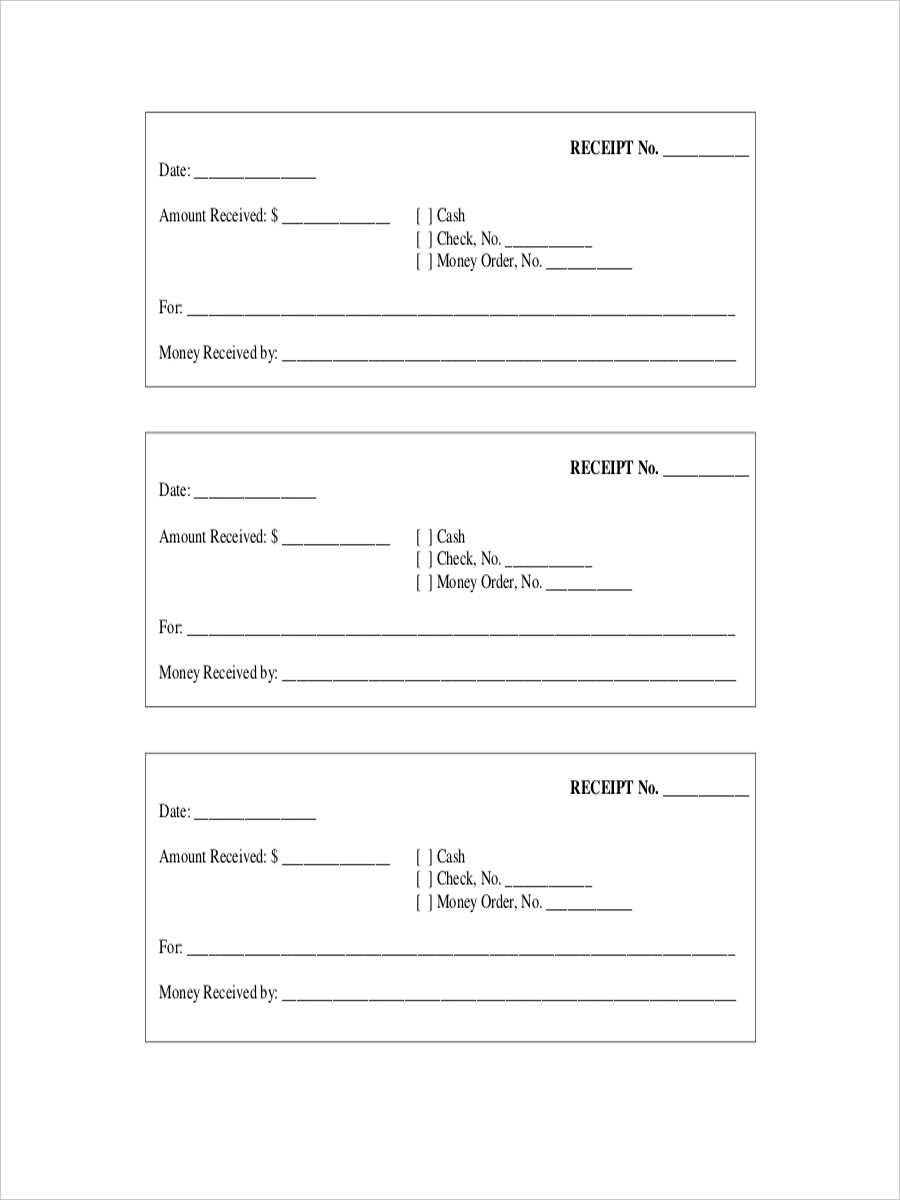
For a blank receipt template, start by ensuring that you include the necessary fields: the date, receipt number, item description, quantity, price, and total amount. Make sure that each section is clearly labeled and that the format is clean and straightforward. Avoid adding unnecessary elements that could clutter the template. Use a simple, easy-to-read font and leave enough space between sections for readability.
Step-by-step guidelines:

1. Begin with the company name and contact details at the top of the receipt, followed by a clear title like “Receipt” or “Invoice”.
2. Include the transaction date and a unique receipt number to help with tracking.
3. List the purchased items or services with their corresponding quantities and unit prices.
4. Add a subtotal, applicable taxes, and a final total at the bottom of the receipt.
5. Leave space for the payment method (e.g., cash, card, etc.) and any notes, if necessary.
Make sure to adjust margins and alignment to ensure everything fits well on a standard-sized page.

Blank Receipt Template DOC: Practical Guide
Choosing the Right Format for a Receipt
Steps to Create a Blank Document in Word
Customizing the Template for Specific Needs
How to Add or Remove Fields in the Template
Saving and Sharing Your Receipt Document
Common Mistakes to Avoid When Using Templates

Choose a simple format for your receipt that includes key fields like date, amount, and item description. These elements ensure clarity for both parties involved in the transaction. Word offers multiple receipt templates that can easily be modified to suit specific business needs.
To create a blank receipt template in Word, open the application and search for “receipt” under templates. Choose a basic design or start with a blank document. This provides flexibility for full customization.
After opening your document, customize the template by adding your company name, logo, and any other details that are necessary. You can also adjust font size, alignment, and color to match your business branding.
To adjust fields in the template, simply click on the area you want to change. Add new fields for additional information such as payment method or customer details. To remove unnecessary sections, highlight and delete the text or table rows.
Once your template is ready, save it in a preferred format (like DOCX or PDF) for easy access. If you need to share it with others, consider sending it via email or saving it to cloud storage for easy retrieval.

Common mistakes include cluttering the receipt with unnecessary information or failing to leave space for signatures. Keep it clean and focused on the essentials for better usability.