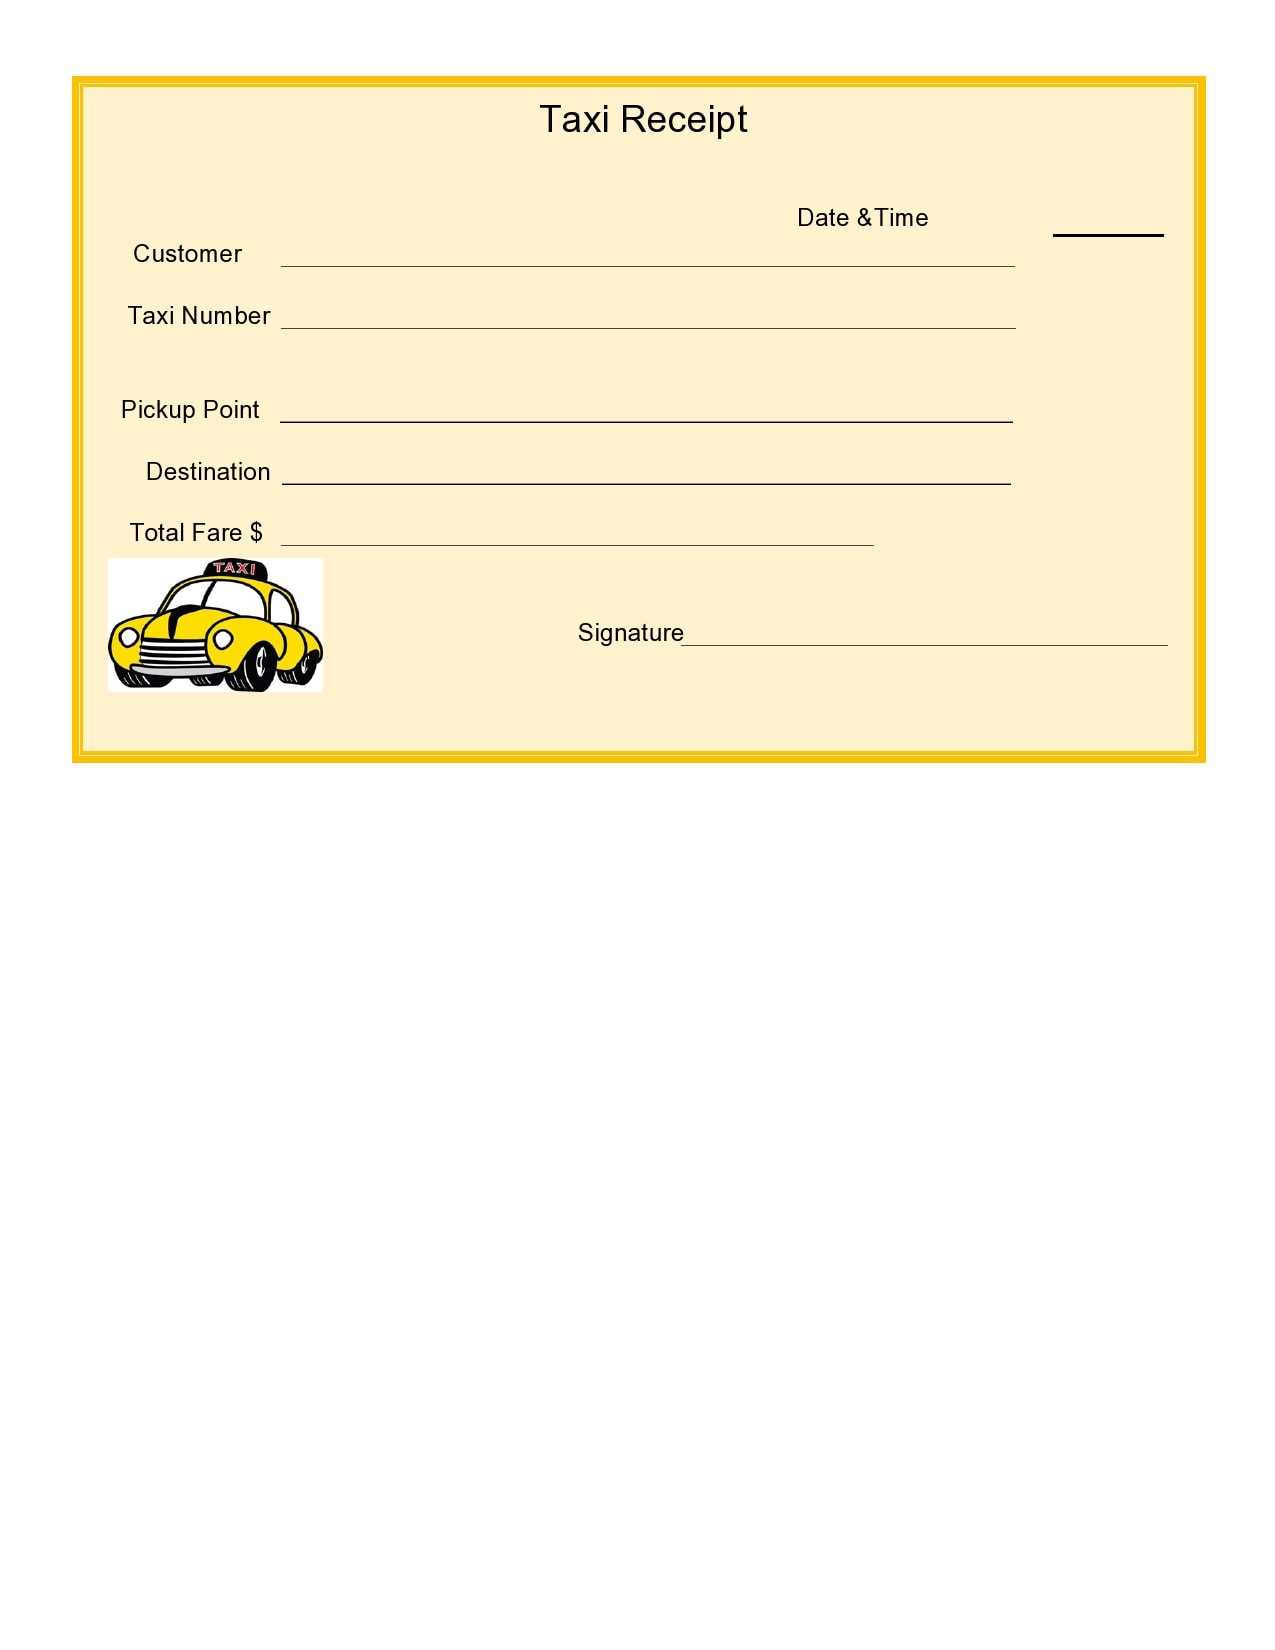
If you need a blank receipts template, using one can simplify your process and save time. You can create a template that suits your business needs, whether for a small shop or a freelance service. These templates provide a structure for quick, consistent receipts with essential details like item description, quantity, price, and total cost.
A blank receipt template is highly customizable. You can adjust the layout to include your business logo, contact information, and any other relevant data. Make sure it leaves enough space for adding transaction-specific information while maintaining a clean, professional appearance. Keep it simple yet detailed enough to be used as an official record.
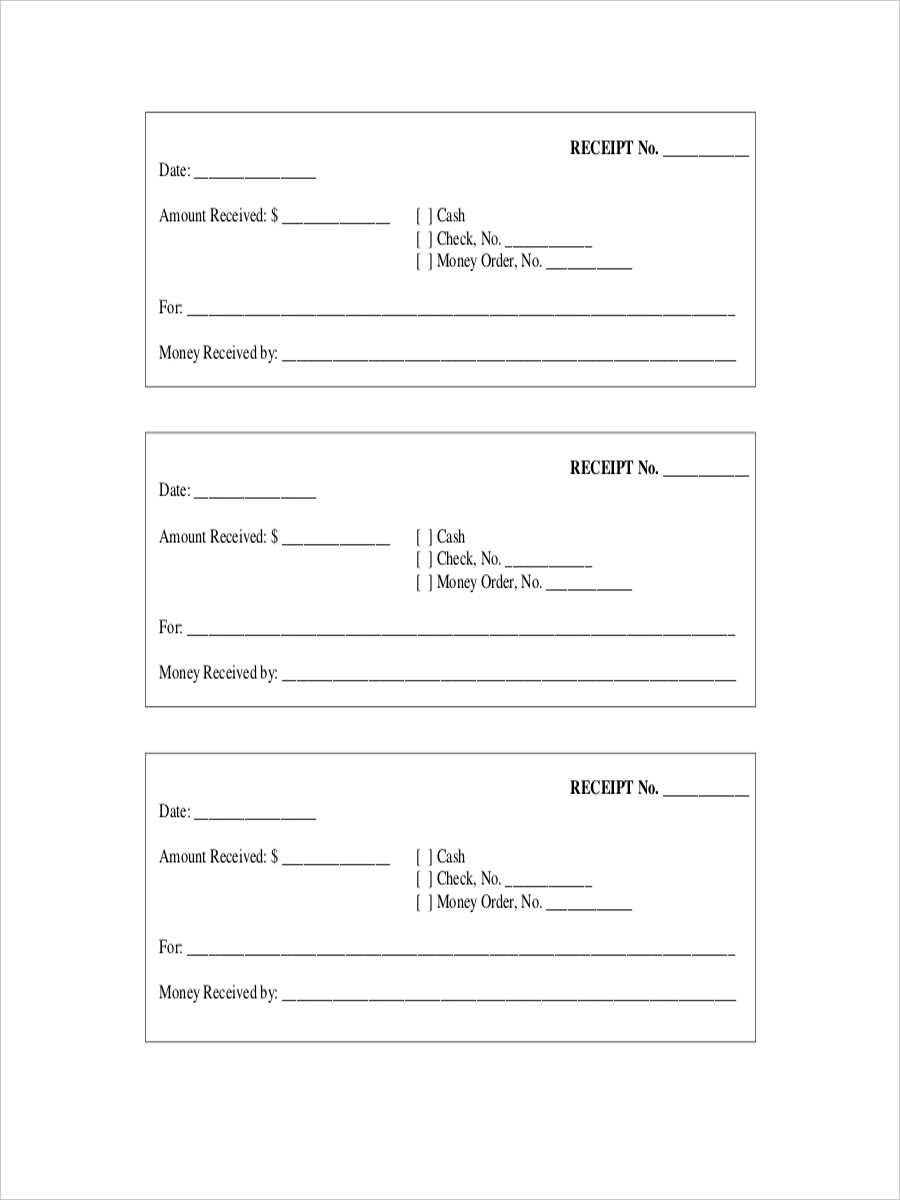
When selecting or designing a receipt template, ensure it meets the basic requirements of your business. Include a date field, a unique receipt number, and a payment method section. These elements will help you maintain organization and ease when tracking past transactions.
Here are the corrected lines:
To create a clear and accurate receipt template, make sure you include these key elements: the date of purchase, item description, quantity, price per unit, and total cost. Avoid cluttering the document with unnecessary details.
Receipt Header

Start with the store name, address, and contact details. Ensure that the text is easy to read and fits the overall design of the template.
Transaction Details

List each item with clear descriptions and the corresponding prices. Include any applicable taxes or discounts separately for transparency.
- Blank Receipts Template: A Practical Guide
Creating blank receipts templates allows you to generate professional and customizable receipts quickly. When designing a receipt, focus on clarity and accuracy. Start with a clean layout, including necessary sections such as the receipt number, date, company name, item description, price, tax, and total amount. Ensure the font is legible and the spacing allows for easy reading.
Template Structure
At a minimum, a blank receipt should have the following key elements:
- Receipt Number: Assign a unique identifier to each receipt for tracking purposes.
- Vendor Information: Include the business name, address, phone number, and email.
- Itemized List: List the items or services purchased with their individual prices.
- Total Amount: Display the subtotal, tax amount, and final total clearly.
Customizing Your Template

Depending on your business, you can tailor the template to include additional details such as customer information, payment method, or terms and conditions. Consider adding your company logo to make the receipt more professional. Make sure that the template remains simple to use, with sections that are easy to fill out manually or with a computer program.
By using a blank receipt template, you streamline the process, ensuring consistency across all receipts issued and reducing errors. Adjust the template to suit your needs and industry standards while keeping it user-friendly.
Begin by selecting a blank receipt template that suits your business needs. Look for one that has sections for all the critical details, such as company name, contact information, transaction date, and itemized list of goods or services provided. Customize the header to include your logo, address, and a professional business name.
Add Custom Fields

Modify the receipt by adding custom fields that are relevant to your business. For example, if you offer loyalty points or discounts, include spaces to note down these details. You can also add a payment method section to track how each transaction was made (e.g., cash, card, online payment). This provides clear documentation for both the customer and your accounting system.
Include Tax and Total Amount

Ensure your template includes a clear section for taxes, showing the tax rate and total amount. Customize this section based on your region’s tax laws or business-specific needs. It’s helpful to break down the tax percentage and subtotal before the final total to enhance transparency for customers.
Finally, save your customized template in a format that allows easy printing or digital sharing, ensuring it’s consistent across all your transactions. This keeps your receipts professional and aligned with your brand image while serving all necessary functional purposes.
Start by determining the layout that works best for your business needs. Consider factors like space for transaction details, customer information, and branding. A clear, organized format ensures that all necessary information is easy to read and access.
Key Elements to Include
- Business name and contact information
- Transaction date and time
- List of purchased items with prices
- Total amount and any applicable taxes
- Payment method used
- Optional: Return or exchange policy
Choosing the File Type
Opt for a file type that supports easy customization and printing. Formats like PDF are ideal for creating professional-looking receipts. For digital receipts, a .txt or .csv format may be suitable for simplicity and integration with other software.
Keep in mind the flexibility of the format. Choose one that allows you to modify or update receipt templates as needed. This is especially helpful for promotions, new products, or changes in tax laws.
Ensure the template fits your specific needs by adjusting the margins and size before printing. Use software that allows you to customize the design easily, such as word processors or graphic tools. Keep the layout clean and simple, so text and numbers align properly after printing.
Choose the right paper type to avoid printer jams and ensure clarity. Opt for smooth, high-quality paper if you want text to print sharply without smudging. Test the template on regular paper first to check alignment and readability.
Verify the template size against the printer settings to ensure it prints without distortion. Some printers may alter the scaling if the paper size doesn’t match the document setup. Always preview the printout before producing large quantities.
Consider using a template with minimal or no pre-filled content. This way, you can tailor each blank template for various purposes, allowing more flexibility for different users or use cases. Be mindful of font sizes and spacing for legibility when filling out the templates.
After printing, store the templates properly to prevent them from becoming wrinkled or damaged. A folder or binder is ideal for maintaining their quality for future use. If the templates are for multiple printings, consider laminating them for durability.
To create a blank receipt template, ensure the document has a clear structure for all necessary fields. Include spaces for the company name, address, contact details, and the itemized list of products or services. Allocate sections for the date, total amount, and payment method. These are crucial for a usable and practical receipt format.
Fields to Include
- Company name and logo
- Address and contact details
- Receipt number for tracking
- Date of transaction
- Item description, quantity, and price
- Total amount due and taxes
- Payment method (e.g., credit card, cash)
Design Tips
Keep the layout simple with a clean font and enough white space for easy reading. Use tables to organize the itemized list neatly. Avoid over-complicating the design, as simplicity is key to ensuring the receipt is both clear and professional.