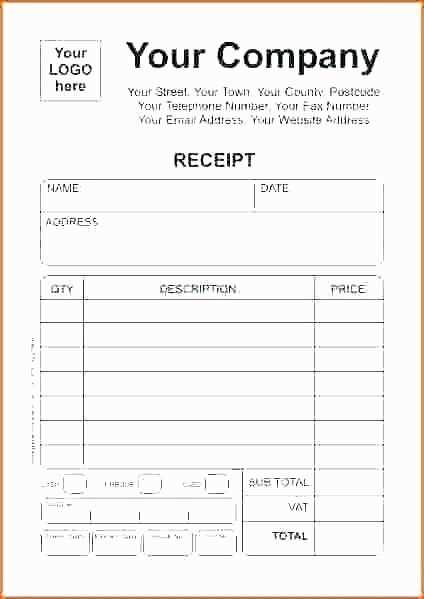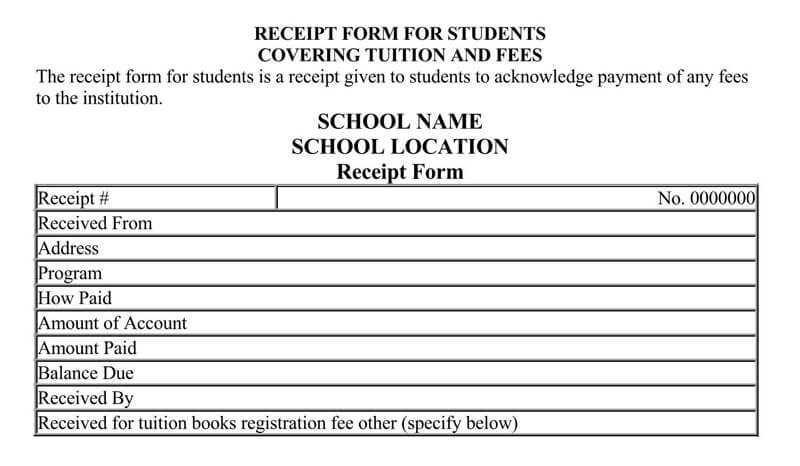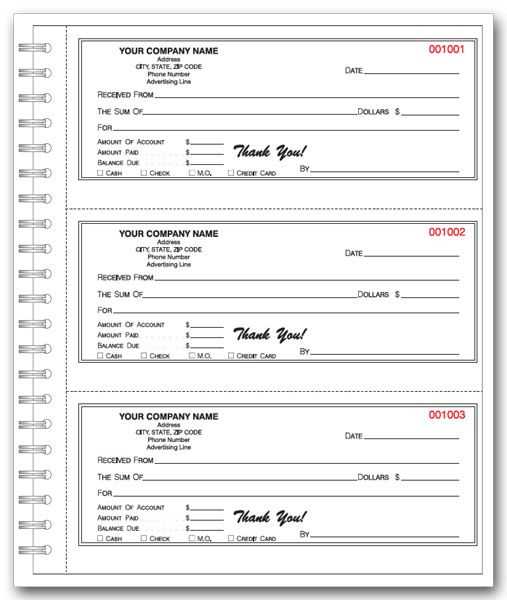
Creating a customized receipt book template offers flexibility for businesses and individuals who need tailored documentation for transactions. A well-designed template streamlines record-keeping while maintaining a professional appearance. Start by incorporating key elements such as the date, transaction details, and unique identifiers for each receipt. Ensure that the layout is clean and easy to follow, allowing space for both printed and handwritten information.
Prioritize clarity by using readable fonts and organizing sections logically. Including clear headings and separating different fields–like payment method, amount, and description–ensures the receipt is both informative and user-friendly. You can also add branding elements, such as logos or business names, to personalize the template and give it a consistent look across all receipts.
Consider the size and format of the book to accommodate the needs of your business. For example, a smaller receipt book might be ideal for quick transactions, while larger formats could allow for more detailed documentation. Flexibility in design ensures the template suits various business types, whether you’re running a retail store or offering freelance services.
Customized Receipt Book Template
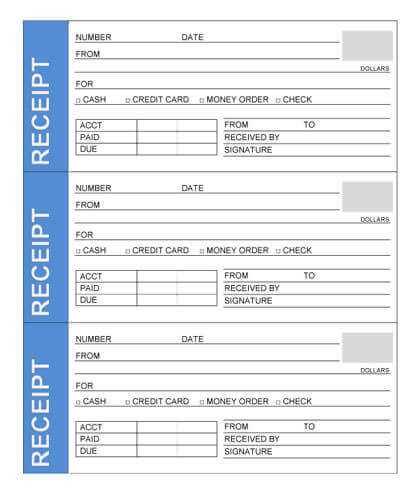
Create a receipt book template that aligns with your specific needs by focusing on clarity and simplicity. Start by including fields for the transaction date, recipient’s name, item or service description, amount, and payment method. Each receipt should also have a unique identifier number to make tracking easier.
For better organization, include space for notes or additional details that may be required for the transaction. Ensure the layout is clean, with enough spacing between sections to avoid clutter, which can confuse both the issuer and the recipient.
If your receipts are for business use, consider adding your logo and business contact information at the top for branding consistency. Be mindful of font size and readability–avoid using overly stylized fonts that can be hard to read quickly.
Once your design is complete, save the template in a format that allows easy editing and printing. Templates in Word or PDF formats are popular because they offer flexibility in use while maintaining consistent formatting. This approach ensures you can quickly generate receipts as needed without the hassle of recreating the layout each time.
Choosing the Right Layout for Your Receipt Book
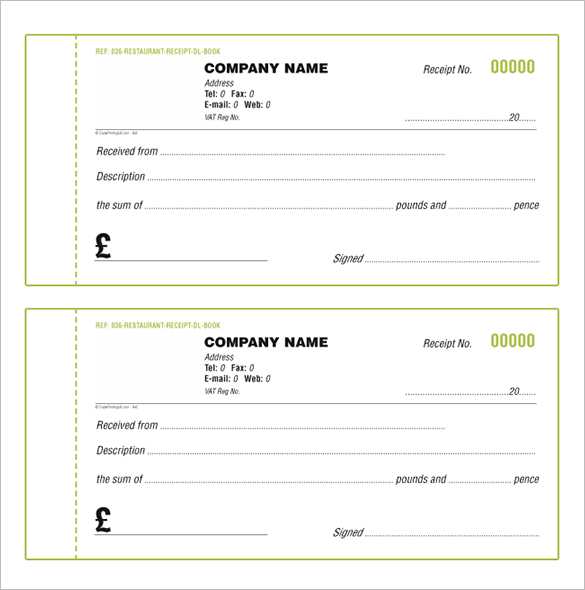
Focus on simplicity and functionality when selecting a layout for your receipt book. Organize the elements in a clear and easy-to-read format. Start with essential fields, such as the business name, date, amount, and item details. Leave space for a signature or transaction notes if necessary.
Prioritize Clarity
The layout should make it easy for both the issuer and recipient to understand the receipt. Use ample white space between sections, ensuring the text is readable. Consider a standard grid format with columns for each piece of information. This helps separate data points clearly.
Choose a Practical Design
Design your layout to be compatible with your printing method. If using a thermal printer, choose a layout with fewer graphic elements to avoid printing issues. Keep the dimensions of the receipt appropriate for the size of the paper you will be using, ensuring it fits within the printer’s margins.
| Field | Description |
|---|---|
| Business Name | Clearly visible at the top of the receipt for brand recognition. |
| Date | Include a date field for tracking transactions over time. |
| Item Description | Provide space to list the purchased items or services. |
| Amount | Ensure there is enough space for total cost and individual prices. |
| Signature | Optional section for both parties to sign or acknowledge the transaction. |
Designing Custom Fields to Meet Your Business Needs
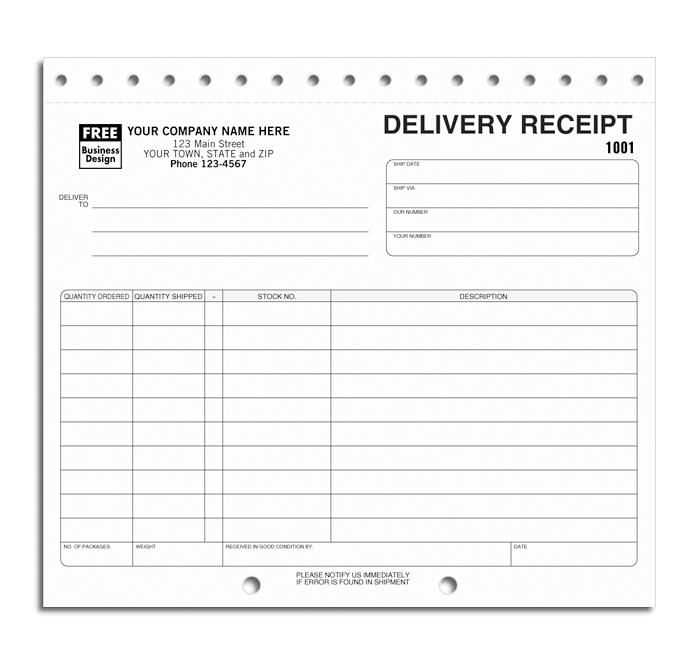
Start by identifying the specific data your business needs to collect. This can include customer details, transaction types, or any additional information that helps in daily operations. Once you’ve pinpointed these details, it’s important to prioritize clarity and ease of use when designing custom fields.
- Be concise: Keep the field labels short and descriptive. Avoid cluttering the form with unnecessary options.
- Use dropdowns or checkboxes: For repetitive choices, dropdown menus and checkboxes simplify data entry and reduce errors.
- Group related fields: Organize your fields logically so users can navigate through them effortlessly. For example, group contact details like phone numbers and email addresses together.
- Customize field types: Choose from text, number, date, or currency types based on the data being captured. This prevents confusion and helps keep records consistent.
- Implement validation rules: Ensure the data entered is accurate by using validation rules for specific fields, like email format or phone number length.
When creating a customized receipt book template, the goal is to make data entry straightforward and quick, while providing enough space for the most relevant details. Keep your fields relevant to the transactions your business handles regularly. Adjust as your business grows to ensure the fields remain functional and effective for your needs.
Steps to Print and Organize Customized Receipt Books
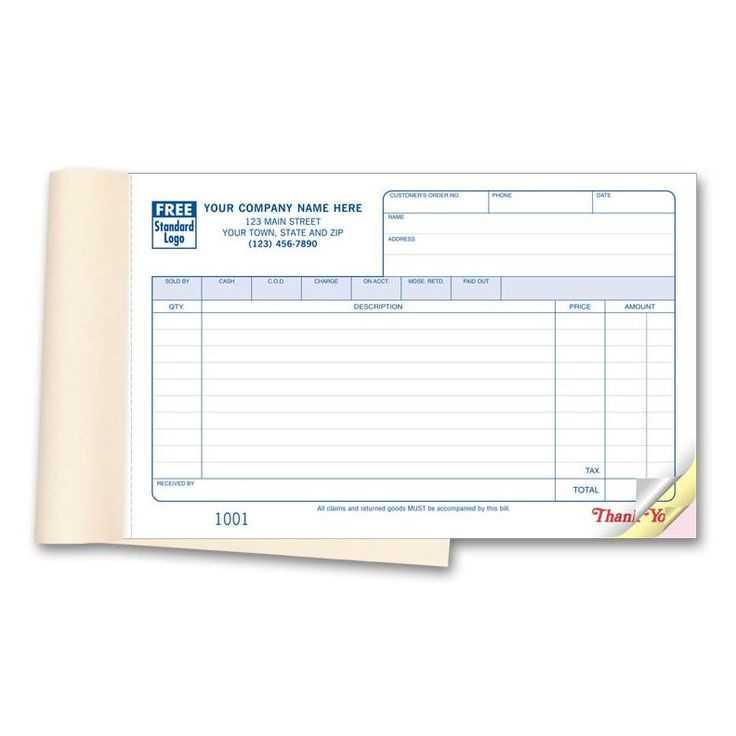
Design your template before moving to the printing phase. Use simple, clean layouts with clearly defined fields for transaction details. A minimalist design ensures that the receipts are easy to read and understand. Customize the sections based on your specific needs, such as business name, address, and itemized list. Keep in mind that the layout should fit standard receipt sizes for ease of printing.
Choose the right paper stock for your receipts. Select paper that’s durable enough for frequent handling yet cost-effective. Carbonless paper or thermal paper are popular options for receipt printing, ensuring that copies are clear and legible without requiring ink or ribbon.
Set up your printer to ensure high-quality output. Choose a printer compatible with the paper you’ve selected. If you’re using carbonless paper, make sure the printer settings align with the paper’s specifications to prevent any smudging. Run a test print before proceeding with bulk printing to check for alignment and quality.
Print the first batch once you’re confident the design and printer settings are correct. Load the paper into the printer, and double-check that the margins and text fields align perfectly. Start with a small batch to confirm everything looks good before printing in large quantities.
Organize the receipts after printing by sorting them into categories. Use dividers or folders for different types of transactions, such as sales, refunds, or exchanges. Label each section clearly to maintain order and ensure you can quickly retrieve any receipt when needed.
Store securely the printed receipt books in a dry, safe place to avoid damage. If you need to store them for long periods, consider using a filing cabinet or a locked box to protect sensitive customer information. Keeping your records organized ensures easy access for future reference or audits.
