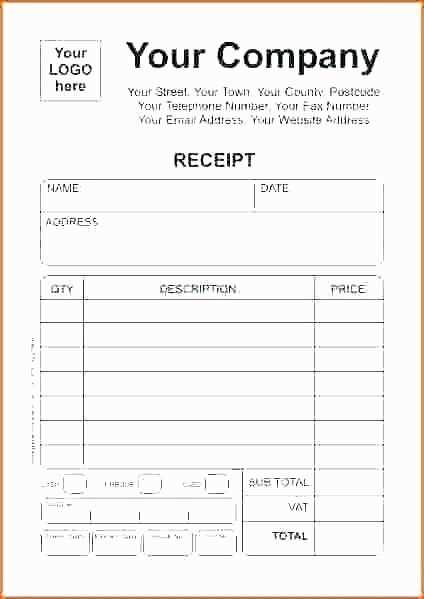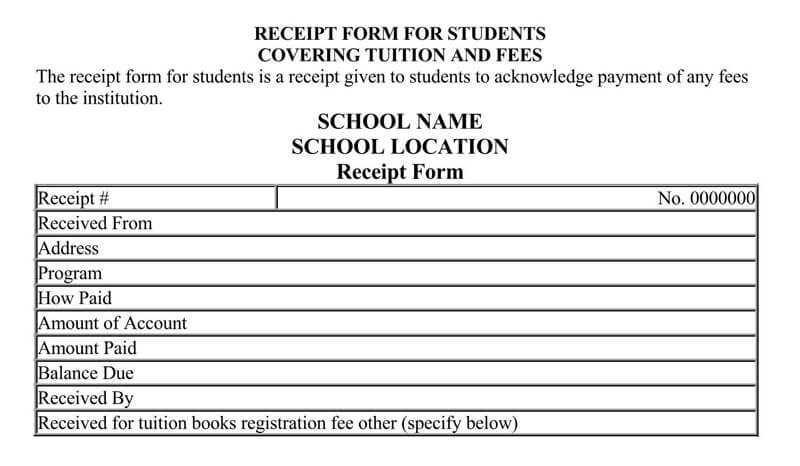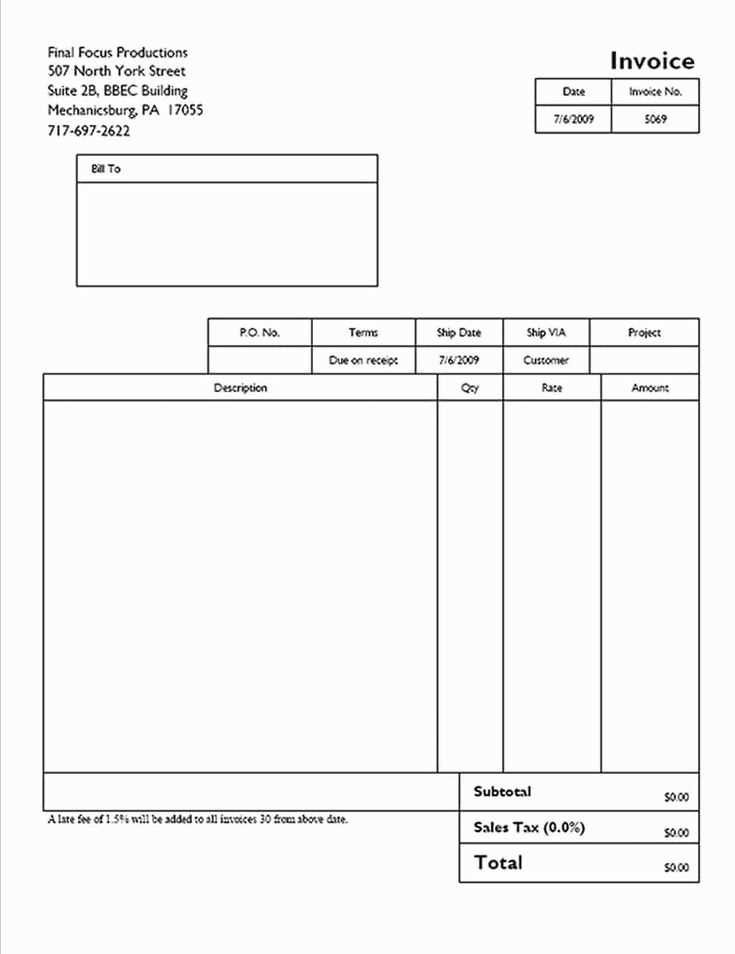
To modify your item receipt template in QuickBooks, begin by navigating to the “Custom Form Styles” section under the gear icon in the top right corner. From there, select “Create New” or choose an existing template to edit. Customizing this template will allow you to adjust how item receipts appear for your business, providing a more tailored presentation for your transactions.
Click on the “Edit” button beside the selected template to access the customization options. Here, you can adjust the layout, colors, fonts, and the information displayed on the item receipt. Be sure to include key details like item descriptions, quantities, and prices to ensure your receipts reflect the transaction clearly and professionally.
If you need to adjust the details that appear on the receipt, you can drag and drop various elements such as company logo, payment method, and terms directly into the template. To further personalize it, use the “Preview” button to see how your changes will look in real-time before saving them. Once you’re satisfied, save the modified template to apply it to future receipts.
Modify Item Receipt Template in QuickBooks
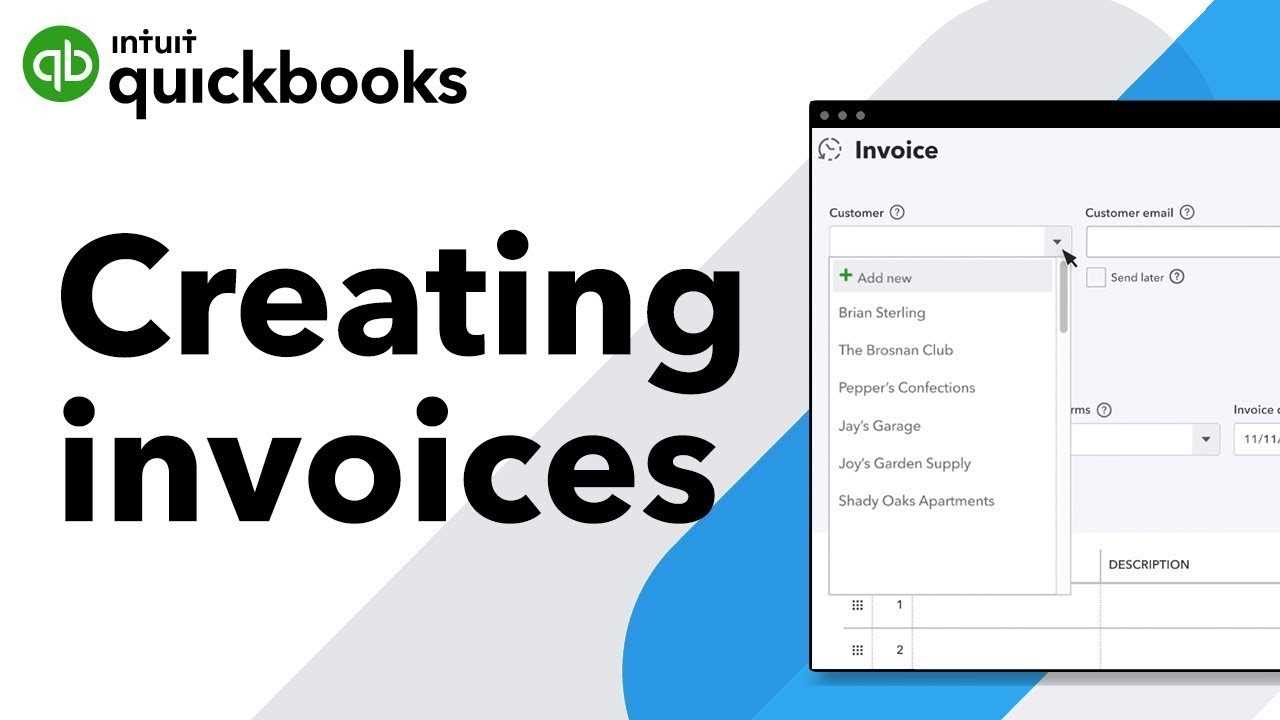
To modify the Item Receipt template in QuickBooks, open the software and navigate to the “Lists” menu, then select “Templates.” Find the existing Item Receipt template you wish to edit and click “Edit.” In the design view, you can adjust the layout by adding or removing fields, changing fonts, and customizing the overall style to fit your needs. To modify the content, click on the area you want to edit and make the necessary changes. For example, you can modify the columns to display different item details such as quantity, price, or description.
If you want to add new sections, use the “Insert” button and choose from the available options. You can also resize the sections to better align with your content. Once you are happy with the changes, save the template by clicking “OK.” To ensure your modifications are applied, preview the template by creating a test item receipt. This will give you a clear view of how the changes will appear in your printed or emailed receipts.
For more advanced customizations, consider using QuickBooks’ “Custom Layout Designer” tool, where you can access more detailed editing options like adding custom logos or adjusting the footer. After completing all edits, remember to set your modified template as the default one for future item receipts to maintain consistency across your documents.
Customize Fields in Item Receipt Template
To modify the fields in your item receipt template in QuickBooks, first, go to the “Custom Form Styles” section under the “Gear” icon. From there, select “New Style” and choose “Sales Receipt” or “Item Receipt” as the template you want to modify. This will allow you to edit the layout and the fields displayed on the document.
Adding or Removing Fields
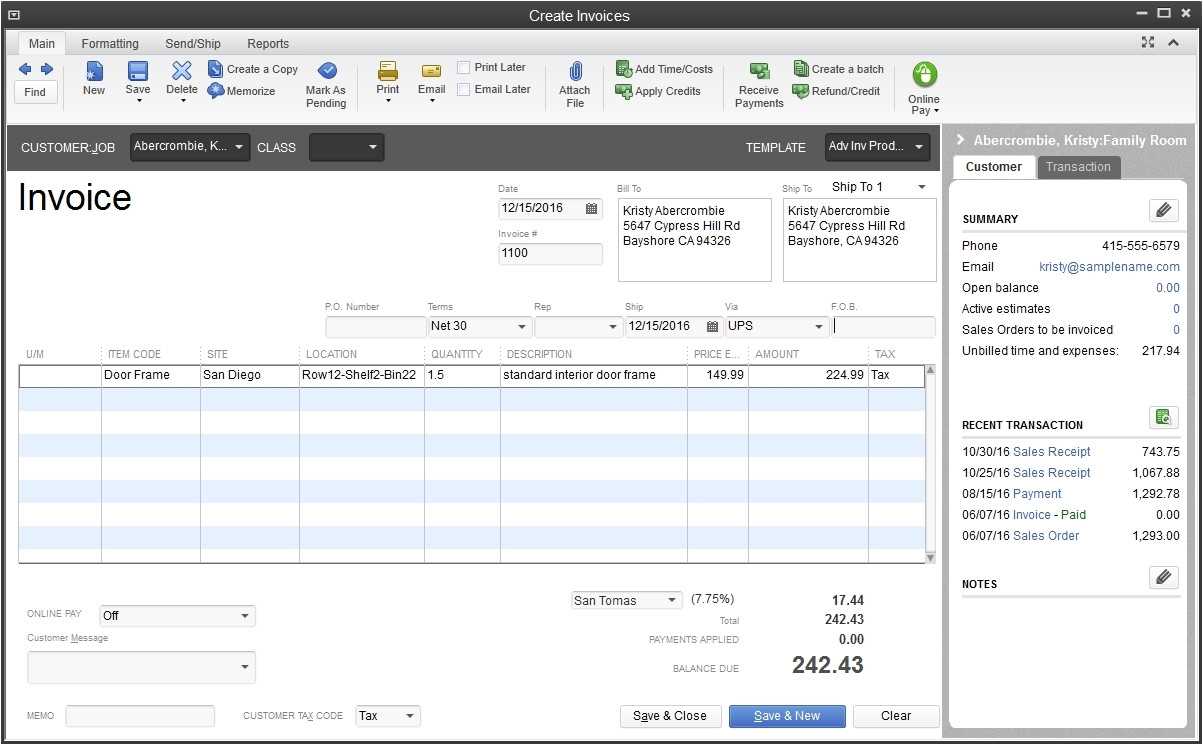
To add a new field, click on the “Content” tab. This will open the template editor where you can drag and drop additional fields into your receipt. If you wish to remove an existing field, simply select it and delete it from the layout. QuickBooks gives you the flexibility to add custom fields such as tracking numbers, additional notes, or any other details specific to your business.
Rearranging Fields
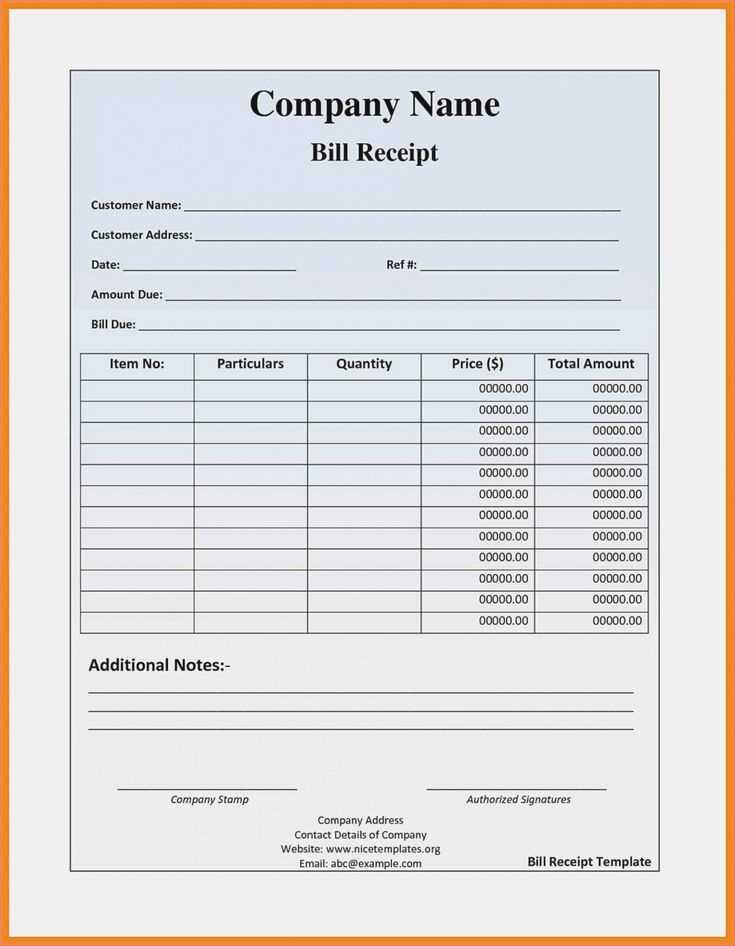
You can also rearrange the order of the fields by dragging them into the desired position within the template. For instance, moving the “Item Description” field above the “Quantity” field can enhance the clarity of the information displayed. Ensure that the layout is clean and user-friendly for your customers and team.
After making these adjustments, be sure to save the changes and apply the customized template to your future item receipts. QuickBooks will now use this template for all new transactions that involve item receipts, ensuring consistency and personalized formatting.
Apply Changes to Multiple Templates at Once
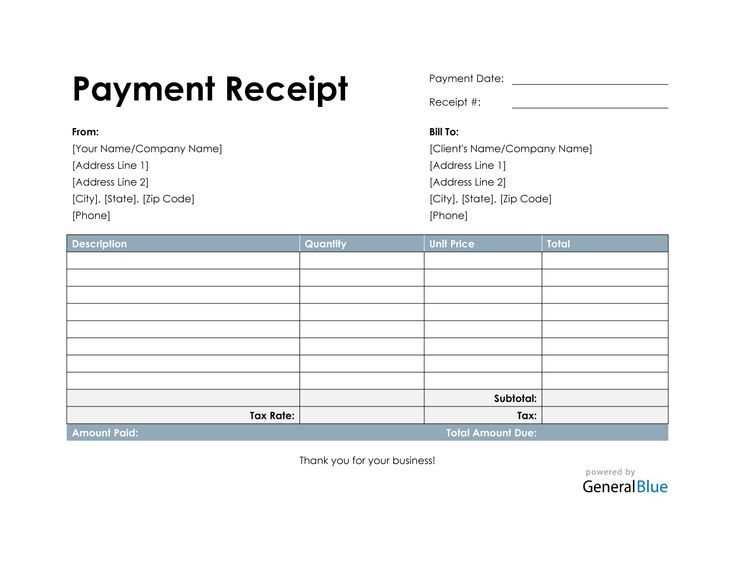
To modify several item receipt templates simultaneously, follow these steps:
- Open the template management section in QuickBooks.
- Select the templates you want to update by checking the corresponding boxes.
- Click on the “Edit” button or “Bulk Edit” option.
- Make the desired changes for all selected templates, such as adjusting layout or adding new fields.
- Save the changes and apply them across all selected templates.
This process ensures that multiple templates are updated in a single action, saving time and reducing the need for manual adjustments to each individual template.
Customizing Templates in Bulk
QuickBooks allows you to apply specific changes like font styles, color schemes, and other formatting options to multiple templates. To do this:
- Access the “Customize” option after selecting your templates.
- Choose the format adjustments you wish to apply universally.
- Click “Apply” to enforce the changes across the templates you selected.
By following these steps, you can maintain consistency in your templates without editing them one by one.
Preview and Save Template Adjustments
After making changes to your item receipt template, preview it to ensure everything appears as expected. Click the “Preview” button to generate a live view of the adjustments before finalizing them. This lets you spot any inconsistencies or design issues. If the preview looks good, proceed to save the changes by clicking “Save.” Always double-check the layout and content, especially if you’ve modified fields, fonts, or alignment.
Checking Alignment and Content
Ensure the alignment of text, item descriptions, and other fields is correct. Adjust margins or padding as needed to ensure a clean and professional appearance. Review the information to confirm no field is cut off or overlapping. Save the template only when you’re confident that it meets your requirements.
Saving and Applying the Template
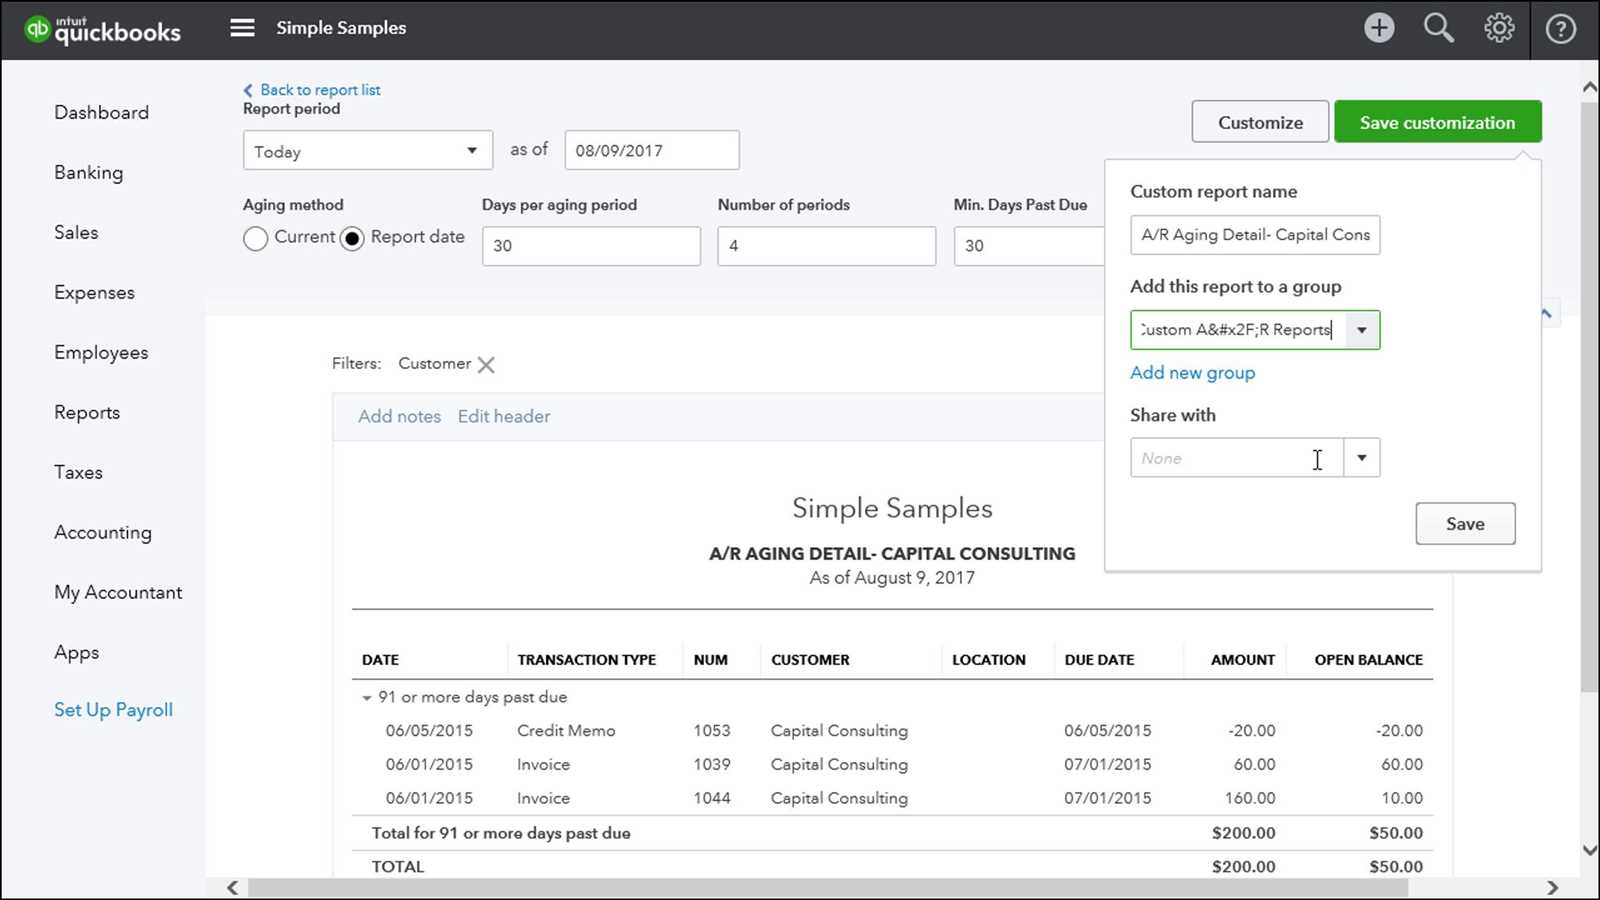
Once you’re satisfied with the adjustments, save your template. Click “Save Template” to lock in your changes. If you wish to apply this template to future transactions, make sure it’s selected as the default template for item receipts. This ensures consistency in your invoices moving forward.
