Setting Up Your Template
To create an effective receipt printer template in QuickBooks, start by selecting the right printer and template design. Use the “Custom” option in QuickBooks to adjust the format, aligning it with your business’s branding. Ensure your printer is connected properly before proceeding with these settings.
Adjust Template Layout
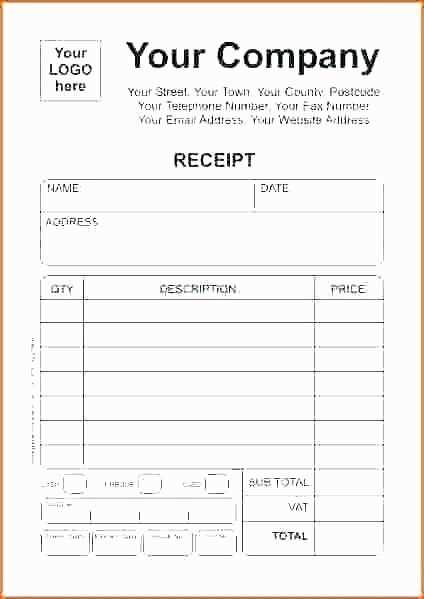
Go to the “Lists” menu, select “Templates,” and choose “Create a New Template.” Once there, pick a template that matches your preferences, or customize an existing one. Adjust the layout by clicking “Edit” under the “Print” section and modify the alignment and spacing. Make sure the necessary fields, such as item description, date, and total amount, are displayed clearly.
Personalize Your Receipt
QuickBooks allows you to add business logos and custom text. Ensure your business logo is sized correctly to fit the template. Include details like your address, contact number, and any other relevant information. This helps customers quickly identify your business and keeps receipts looking professional.
Test Your Template
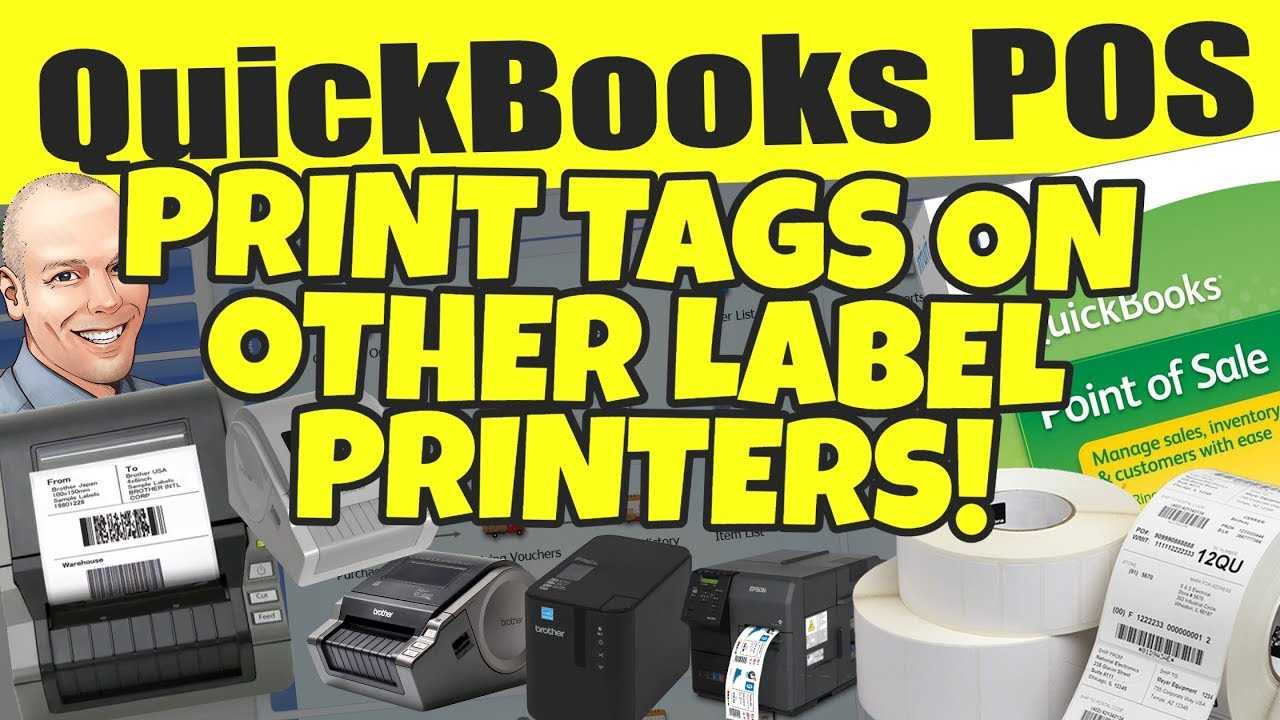
Once you’ve made adjustments, print a test receipt to ensure everything aligns correctly. Check for any alignment issues and ensure text is legible. Make necessary tweaks to the layout before using it for real transactions.
Common Template Customizations
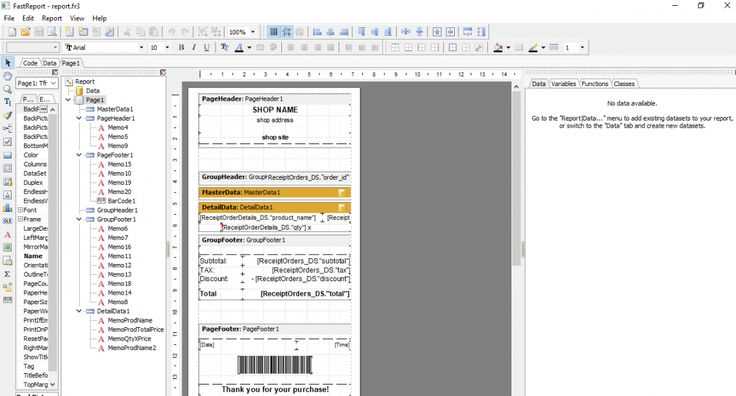
- Font Size: Adjust the font size to ensure clarity and readability. Avoid fonts that are too small or too large for the space available.
- Header/Footer: Customize headers and footers to include terms like “Thank You” or payment terms. These small additions create a lasting impression.
- Itemized Breakdown: Ensure that the line items are displayed clearly, with enough space between each entry for easy reading.
Save and Use Your Template
After finalizing your template, save it for future use. You can select it each time you create a receipt, ensuring a consistent and professional look across all transactions. This customization not only enhances the customer experience but also streamlines your receipt process.
QuickBooks Receipt Printer Template
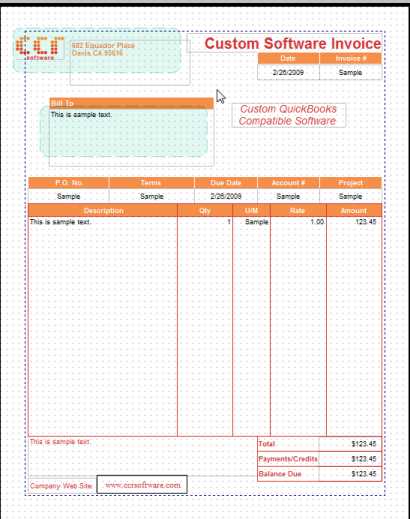
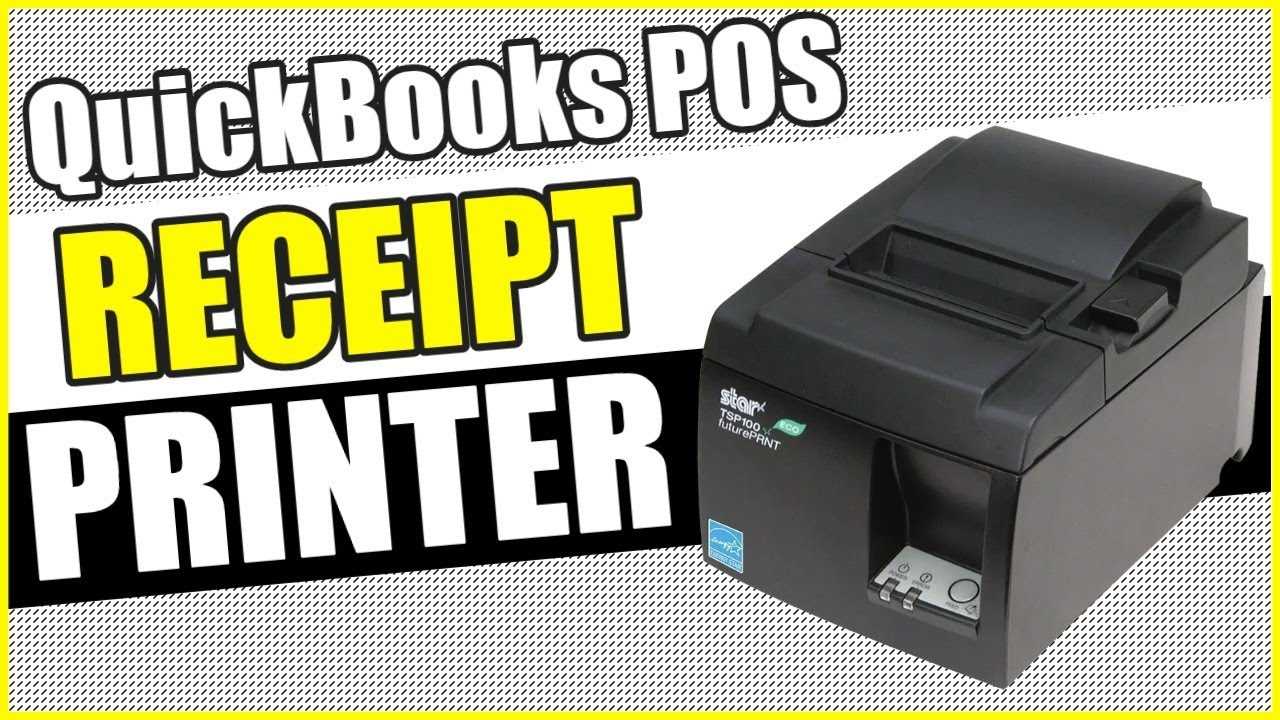
Customize your QuickBooks receipt printer layout directly from the program’s settings. Navigate to the “Printer Setup” section, select your printer model, and adjust the print layout to suit your business needs. Modify the header, footer, and item details to align with your brand and create a more professional look for receipts. QuickBooks allows easy customization of text size, logo placement, and additional fields for a personalized touch.
To fix typical formatting problems in QuickBooks receipts, check the printer settings. If the receipts appear misaligned or have cutoff text, ensure the correct printer driver is installed. Additionally, verify that the paper size matches the printer’s configuration. Adjusting margins and ensuring the receipt’s content fits within the set boundaries will help avoid such issues. If problems persist, reset the print layout or check for software updates that may address compatibility issues.
When configuring your printer for QuickBooks receipts, make sure your printer is compatible with QuickBooks’ print function. Some models may require specific drivers to work correctly. Test the printer by printing a sample receipt after setting it up. Ensure that all fields, including taxes and totals, are displayed properly. If needed, configure your printer’s settings through the “File” and “Printer Setup” menu to select your preferences and ensure seamless printing every time.
