Check your form customization settings first. QuickBooks Online may not apply your custom receipt template if it’s not set as the default or if the settings are incorrect. Go to Settings > Custom Form Styles, locate your template, and ensure it’s marked as the default for sales receipts.
Another possible reason is that QuickBooks Online does not fully support certain customizations in receipt templates. If you uploaded a custom design, some fields might not be mapped correctly. Open the template in the editor and compare it with the standard layout to see if any essential elements are missing.
Browser cache and outdated templates can interfere. Clear your cache and reload QuickBooks Online. Sometimes, an older version of the receipt template remains cached, preventing updates from appearing. Also, if the template was created in an older QuickBooks version, it may need to be recreated using the latest customization options.
If your receipt template includes third-party fonts or unsupported formatting, QuickBooks Online might default to a standard template instead. Stick to system fonts and basic formatting to avoid conflicts.
Still not working? Try generating a receipt using a different browser or device to rule out compatibility issues. If problems persist, QuickBooks support can confirm whether the template is fully compatible with the current system.
Why QuickBooks Online Is Not Using My Receipt Template
Check if Custom Forms Are Enabled: QuickBooks Online only applies custom templates when the correct settings are activated. Go to Settings > Custom form styles and ensure your template is selected as the default for receipts.
Verify the Template Type: Receipt templates differ from invoice or estimate templates. Open your custom template and confirm it’s set for Sales Receipts. If the template was created for a different form, QuickBooks won’t apply it.
Review the Format Compatibility: Imported templates must match QuickBooks’ formatting requirements. If you uploaded a DOCX file, ensure all QuickBooks field codes are correctly mapped. Mismatched codes prevent the system from recognizing the template.
Clear Cache and Try Again: Sometimes, browser cache prevents updates from displaying. Clear the cache or open QuickBooks Online in an incognito window to check if the issue persists.
Confirm the Template Is Applied at the Transaction Level: When creating a receipt, manually select your custom template from the Customize menu. If QuickBooks defaults to the standard template, update your preferences in Settings > Custom form styles.
Ensure Permissions Allow Customization: If using QuickBooks in a multi-user environment, admin-level permissions might be required to apply custom templates. Check your user role settings under Manage Users.
If none of these solutions work, try re-uploading your template or creating a new one to rule out corruption in the file.
Checking Template Compatibility with QuickBooks Online
Ensure your receipt template meets QuickBooks Online’s format requirements. The system supports DOCX, but complex formatting or unsupported elements can cause issues.
- Use Standard Fonts: QuickBooks Online may not recognize custom or embedded fonts. Stick to Arial, Times New Roman, or other widely supported fonts.
- Avoid Macros and Scripts: If your template includes macros, QuickBooks Online will not process it correctly.
- Check Image Placement: Logos and images should be in common formats (PNG, JPG) and not exceed file size limits.
- Match Field Names: Ensure that placeholders in your template match QuickBooks’ recognized field names exactly.
- Test with a Default Template: Upload a standard QuickBooks template first, then compare with your custom design to identify issues.
If QuickBooks Online rejects your template, try simplifying the design, removing advanced elements, and re-uploading.
Verifying Receipt Template Selection in Settings
Ensure QuickBooks Online is using the correct receipt template by checking your settings:
Check Default Template
- Go to Settings (⚙️) and select Custom Form Styles.
- Locate your preferred receipt template in the list.
- If it’s not marked as default, click Edit, then Make default and save changes.
Verify Transaction Preferences
- In Settings, navigate to Account and Settings > Sales.
- Scroll to Sales form content and check if the correct template is selected.
- If the wrong template appears, update it and save.
After making changes, create a test receipt to confirm the correct template is applied.
Investigating Formatting Issues That Prevent Application
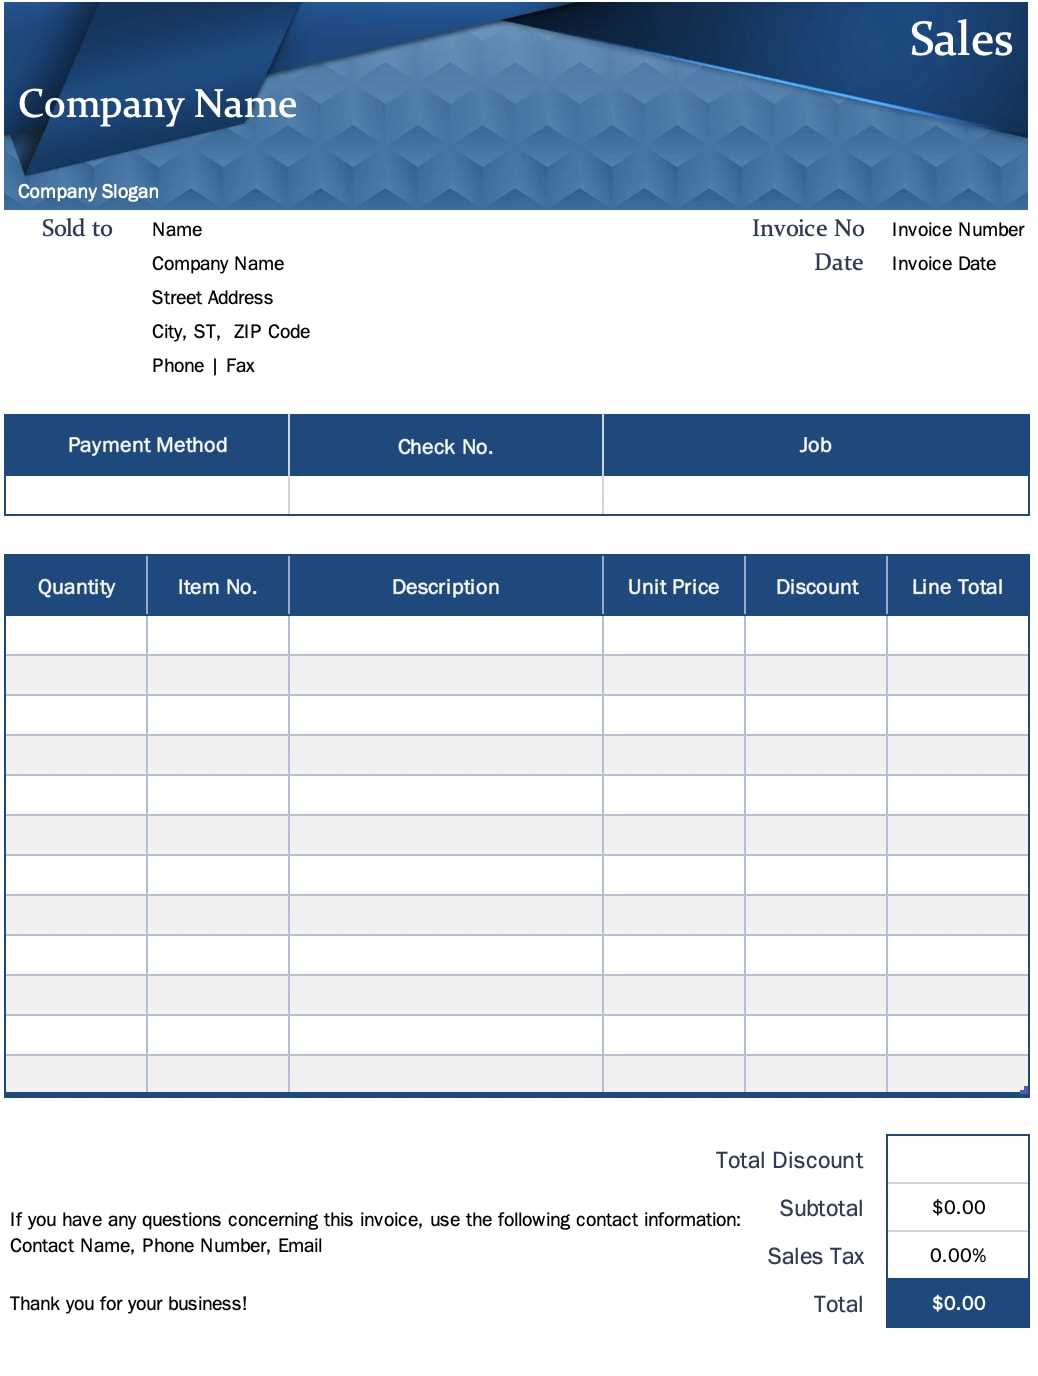
Check if your receipt template follows QuickBooks Online’s formatting requirements. The system may reject templates with unsupported fonts, excessive styling, or missing required fields. Ensure that:
- File format: The template must be in DOCX or an editable PDF format.
- Fonts and colors: Use standard fonts like Arial or Times New Roman. Avoid custom fonts and overly bright colors.
- Margins and spacing: Keep margins at least 0.5 inches and avoid excessive line spacing.
Verify Required Fields
QuickBooks requires specific fields to map the data correctly. Missing fields may cause the template to be ignored. Ensure your template includes:
- Company Name – Matches your QuickBooks profile.
- Date – Uses MM/DD/YYYY or DD/MM/YYYY format.
- Total Amount – Clearly labeled and positioned near the bottom.
Remove Hidden Elements
Some templates contain invisible elements that interfere with processing. Open your file in a text editor or Word processor and check for:
- Hidden text layers or comments.
- Embedded images overlapping key fields.
- Hyperlinks or metadata conflicting with QuickBooks’ parser.
After adjusting your template, re-upload it and test with a sample receipt. If issues persist, try a default QuickBooks template to confirm whether the problem is with the file or the system.
Resolving Conflicts with Default QuickBooks Templates
Check if QuickBooks Online is overriding your receipt template by verifying the form style settings. Navigate to Gear Icon → Custom Form Styles and ensure your custom template is set as the default.
If QuickBooks still applies the default style, inspect the template type. Some templates work only for invoices, estimates, or sales receipts. If your template isn’t appearing, confirm it matches the correct transaction type.
Clear the browser cache and reload QuickBooks. Cached data can prevent changes from taking effect. If the issue persists, try a different browser or the QuickBooks Online mobile app.
Check if a recent QuickBooks update reset your settings. Go back to the custom form styles and reapply your template. If QuickBooks reverts to the default template, create a duplicate of your custom style and set it as default again.
If using third-party integrations, temporarily disable them to rule out conflicts. Some add-ons modify form layouts, interfering with custom templates. Re-enable them one by one to identify the source of the issue.
For further troubleshooting, export your template as a DOCX file, make minor changes, and reimport it. QuickBooks may reject templates with unsupported elements, such as non-standard fonts or excessive formatting.
When all else fails, contact QuickBooks support and provide details on your template settings, transaction type, and recent changes. A QuickBooks representative can check for system-wide issues affecting template usage.
Addressing Custom Fields That May Cause Rejection
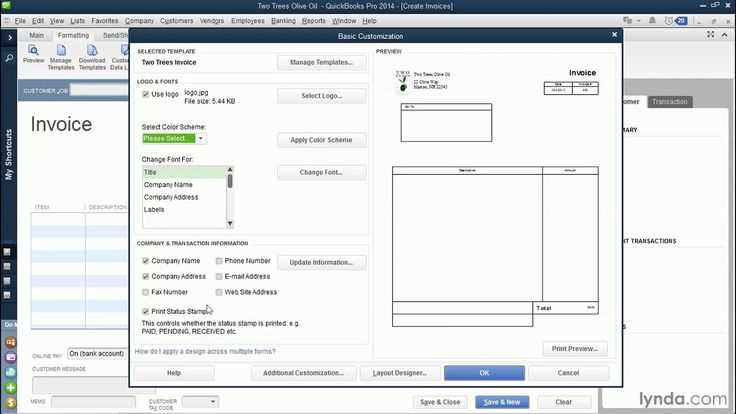
Ensure your custom fields match QuickBooks Online’s format requirements. Fields with special characters, excessive length, or unsupported data types can prevent the template from applying correctly.
Follow these guidelines to avoid issues:
| Issue | Solution |
|---|---|
| Special characters (#, @, &) | Use only letters, numbers, and spaces. |
| Field length exceeds limits | Keep custom field names under 30 characters. |
| Unsupported data type | Ensure numeric fields contain only numbers. |
| Extra spaces or hidden characters | Remove unnecessary spaces before and after values. |
If the template still doesn’t work, test by removing all custom fields and reapplying them one by one to identify the problematic entry.
Troubleshooting Browser and Cache Problems Affecting Templates
If QuickBooks Online is not displaying your receipt template correctly, the issue might be related to your browser or cached data. Here’s how you can address it:
Clear Browser Cache and Cookies
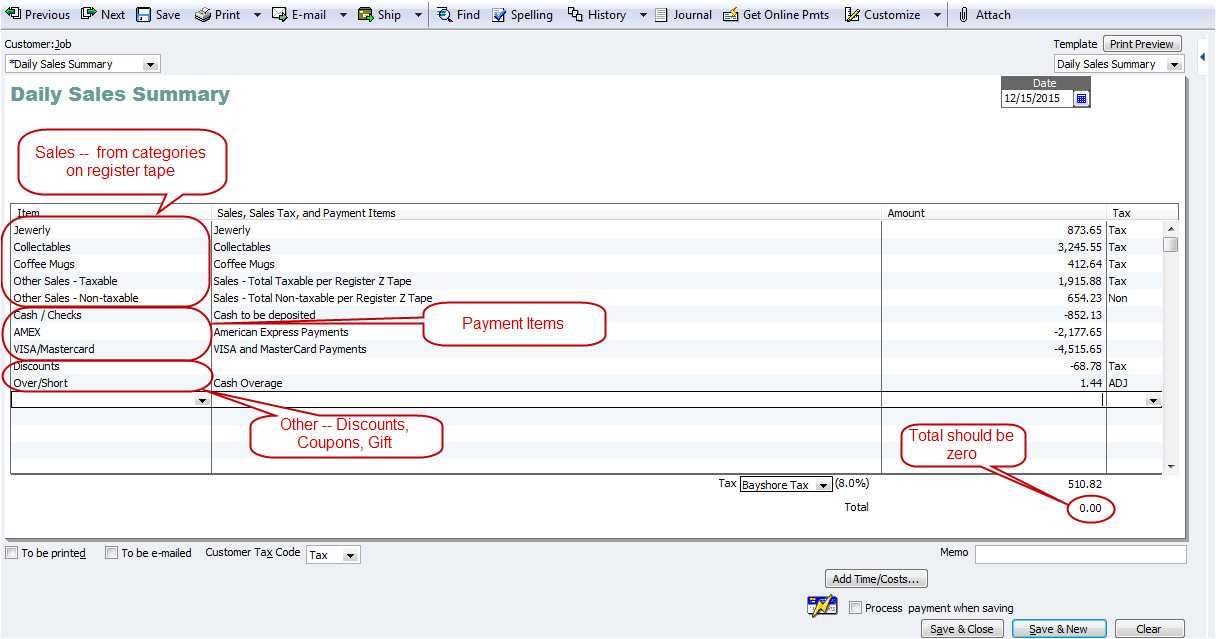
Cached files and cookies can interfere with QuickBooks Online’s functionality. Clearing them ensures that the latest template settings load correctly. Go to your browser settings, find the privacy or history section, and clear your cache and cookies. Afterward, restart the browser and try again.
Try a Different Browser
If clearing the cache doesn’t resolve the issue, test QuickBooks Online on a different browser. Some browsers may have compatibility problems. Chrome, Firefox, or Edge are good alternatives. Make sure you are using the latest version of your browser to avoid any outdated compatibility issues.
In many cases, these simple steps will fix template loading issues in QuickBooks Online. If the problem persists, consider checking for any browser extensions that may be causing conflicts or try using an incognito window to rule out other settings affecting the app.
