Using a well-designed tax receipt template can streamline the financial documentation process for your business. Templates ensure that all necessary information is included, such as transaction details, dates, and tax amounts, without missing critical elements. With a reliable template, you can ensure your receipts are clear and professional, reducing the chances of errors or confusion for both you and your customers.
Tax receipts serve as proof of transactions and are important for both record-keeping and tax reporting. The tax receipt template available at www.template.net offers a user-friendly design that simplifies creating these receipts. It includes customizable fields, allowing you to tailor the document to your specific business needs, whether you operate a small service or a larger enterprise.
To maximize the benefits of using a template, ensure that all fields are filled accurately. This includes your business name, contact details, and the correct tax rate applied to the service or product. Keep in mind that a clear, well-structured tax receipt not only supports your tax filings but also builds trust with your customers.
Here’s the revised version with reduced word repetition while maintaining clarity and meaning:
To create a tax receipt template that serves both business and personal needs, focus on the core elements that ensure clarity and professionalism. Begin with accurate transaction details, such as the date, amount, and description of the service or product sold. These pieces of information form the foundation of a tax receipt and are necessary for both record-keeping and tax filing purposes.
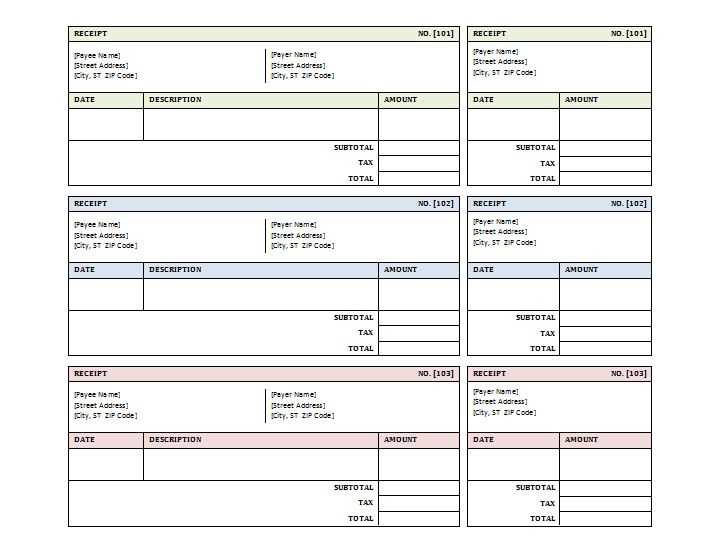
Key Components of a Tax Receipt Template


- Transaction Date: The specific date of the transaction should be clearly listed to avoid confusion.
- Buyer and Seller Information: Include the names, contact details, and tax identification numbers of both parties, when applicable.
- Transaction Amount: The amount paid for goods or services must be stated in a clear and accurate format.
- Payment Method: Specify whether the payment was made by cash, credit, or another method.
- Invoice or Receipt Number: A unique identifier for the transaction helps to organize records.
Best Practices for Creating Your Template
- Ensure all fields are clearly labeled and easy to read.
- Keep your template simple, focusing on the necessary details only.
- Include a section for any additional information, such as tax rates, if relevant.
- Make the template adaptable for various devices and formats to improve accessibility.
These elements will help create a clean, concise receipt template that meets both legal requirements and user needs.
- Tax Receipt Template: Practical Guide for Business Use
Ensure your tax receipts are clear, accurate, and compliant with local regulations. A well-designed template helps businesses keep records organized and provides necessary details for tax purposes.
Key Components of a Tax Receipt
- Business Information: Include the business name, address, and contact details for identification.
- Transaction Details: Clearly state the date, description of the goods or services, and the total amount paid.
- Tax Information: Provide the applicable tax rate and the amount of tax charged. Specify the tax type (e.g., VAT, sales tax) for clarity.
- Receipt Number: Assign a unique identifier to each receipt to facilitate tracking and reference in case of audits or inquiries.
- Customer Information: Include the customer’s name or business details if required for tax reporting purposes.
Customizing Your Template
Adapt the template to your business needs. You can include additional sections such as payment method, discounts, or any special terms. Many online tools offer customizable templates that comply with tax requirements in various regions.
By using a standardized tax receipt template, businesses can ensure transparency in their financial transactions while reducing the risk of errors during tax reporting.
Begin by identifying the key elements that need to be included in your template. These could include business name, logo, transaction details, dates, and payment information. Make sure to prioritize the most important aspects that your customers or clients need to see clearly and quickly.
Step-by-Step Process

Set up your document with placeholders for each variable element, such as names, addresses, and transaction amounts. This ensures that you can easily customize the template for each use.
Formatting Tips
Keep the layout simple and organized. Use tables to structure data such as item descriptions, quantities, and prices. This helps with readability and ensures that all information is easy to find.
| Item | Quantity | Price |
|---|---|---|
| Product A | 2 | $20.00 |
| Service B | 1 | $50.00 |
Once you have the basic structure, ensure that the template is compatible with any software you intend to use it in, whether it’s for print or digital use. Test it by generating a few sample receipts and adjust the layout if needed for clarity.
Clearly display the date of the transaction. This helps both parties track the timeline of the exchange. Include the transaction amount, itemizing the total cost, any taxes, and discounts applied. Specify the payment method, whether it’s cash, card, or digital payment. Don’t forget to include the name and contact details of the business, making it easy to reach if any issues arise. Incorporate a unique receipt number for record-keeping and easy reference. Lastly, provide a brief description of the goods or services provided, ensuring transparency in the transaction.
Avoid cluttering your receipt with unnecessary details. Keep the design clean and focused on key transaction information such as item descriptions, quantities, prices, and total amounts.
Ensure that all text is legible. Choose clear, readable fonts and avoid overly complex styles that can make the receipt difficult to understand. Maintain a balanced layout, with adequate spacing between elements.
Don’t forget to include a clear date and time for the transaction. This is important for record-keeping and customer reference. Make sure the format is consistent and easy to spot.
Verify that the business name, address, and contact information are accurate. Leaving these out or misprinting them can lead to confusion or errors when the customer needs to reach you.
Avoid excessive use of colors. While a little color can add appeal, too many can make the receipt look unprofessional. Stick to a limited color palette to enhance readability without overwhelming the customer.
| Mistake | Correction |
|---|---|
| Overloaded Information | Stick to key details like items, prices, and total. |
| Poor Font Choices | Choose legible, simple fonts with appropriate sizes. |
| Missing Transaction Details | Ensure transaction date, time, and business info are included. |
| Excessive Color Use | Use a limited color palette to maintain professionalism. |
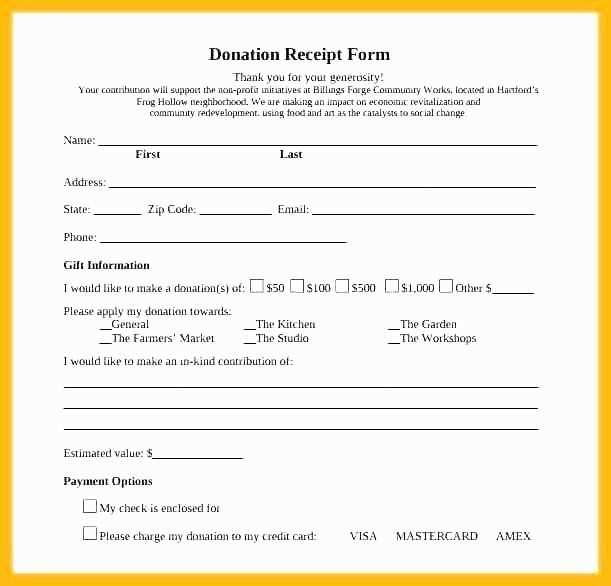
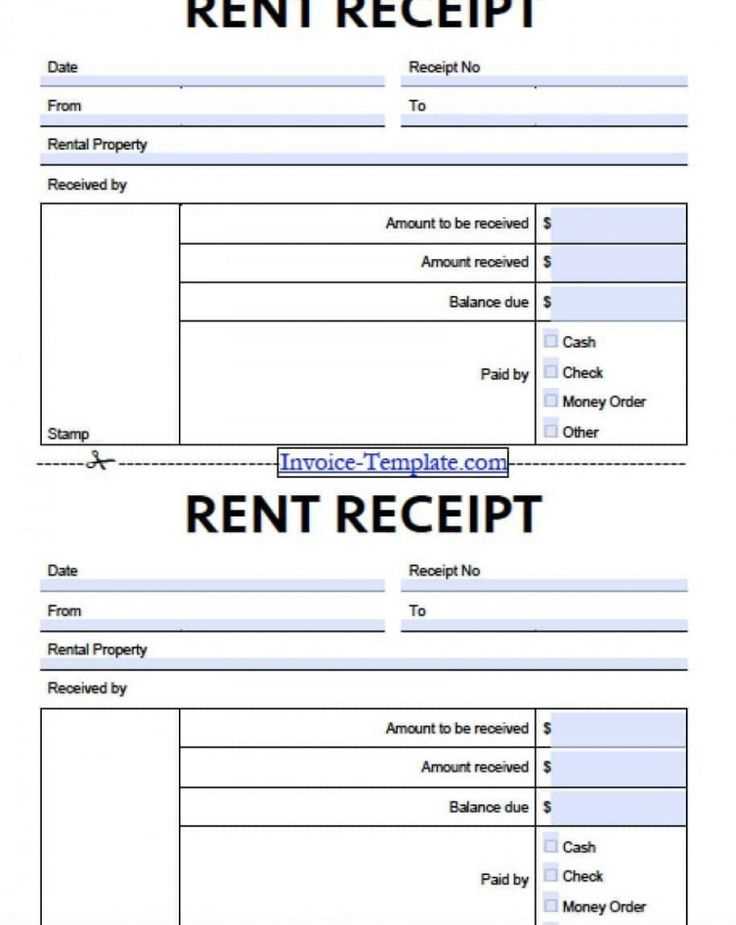
Adjust the layout of the receipt to reflect the type of transaction, whether it’s a product purchase, service, or donation. For retail transactions, include product descriptions, quantities, and prices. For services, focus on the nature of the service and the time spent or project scope. Donation receipts should clearly show the amount donated and the charity’s details.
Include transaction-specific fields like discounts, taxes, and payment methods. For a purchase, list the total price, applicable tax, and any discounts. For a service, ensure the service date and any applicable fees are clearly noted. For donations, show tax-exempt status and a thank-you message.
Make sure to personalize the receipt for different payment methods, such as cash, credit card, or online transactions. Each payment method should have its own field or section indicating how the payment was made. This customization helps track payments accurately and provides the recipient with clear information.
Lastly, for business transactions, include your business name, contact details, and logo for branding purposes. The customized receipt should also reflect any legal requirements, such as including a VAT number or refund policy.
Organize receipts by categorizing them based on type, date, or project. This method helps quickly locate any receipt when needed. Use labeled folders or digital folders to maintain clarity.
Paper Receipts
- Store receipts in fireproof boxes or file cabinets to protect them from damage.
- Use a scanner or mobile app to digitize receipts and store backups on cloud services.
- Consider using plastic sleeves or folders to keep receipts intact and prevent wear.
Digital Receipts
- Use receipt management apps to store and track digital receipts for easy retrieval.
- Ensure that digital receipts are backed up regularly to avoid losing important documents.
- Label files consistently with specific dates or transaction details for easy identification.
To ensure compliance with tax laws, use a template designed specifically for tax receipts. A structured template simplifies tracking, organizes the necessary fields, and helps prevent errors that could lead to legal issues. By following the template format, you ensure that all required information is included, which is essential during audits or tax filings.
Key Fields in a Tax Receipt Template

Ensure that your tax receipt template includes the date, the transaction amount, a description of the goods or services, and the tax rate applied. These details are critical for meeting legal requirements. Also, include the seller’s tax identification number (TIN) and the buyer’s information, if applicable.
Automating Compliance Checks
Many tax receipt templates allow for automatic calculation of taxes based on preset rates, reducing the risk of mistakes. Using such templates helps maintain accuracy and consistency in tax calculations, ensuring compliance with applicable tax rates.
By using a tax receipt template, you reduce the risk of non-compliance and simplify the record-keeping process for tax purposes. Always ensure the template you use is up to date with the latest legal requirements.
For clear and organized tax receipt documentation, use a structured template that includes all required details. A simple format with key elements like transaction date, amount, payer, and service description makes it easier to keep accurate records and comply with tax regulations.
Key Components of a Tax Receipt Template
Include the payer’s name, address, and contact details. Add the transaction date, payment amount, and a brief description of the service or goods provided. Always incorporate the business name and any applicable tax information like VAT rates or business registration numbers.
Practical Tips for Using a Tax Receipt Template
Ensure your receipt template is easy to read and has a logical layout. Avoid clutter by limiting the information to what’s necessary for tax purposes. Customize the template to suit your business needs, but maintain consistency for better record keeping and clarity.