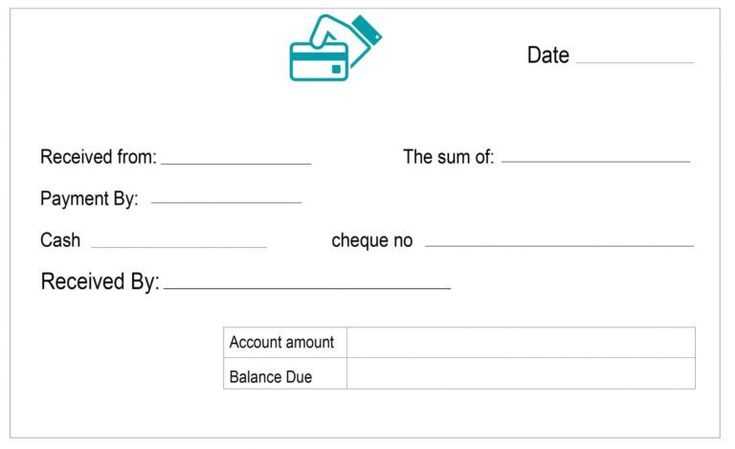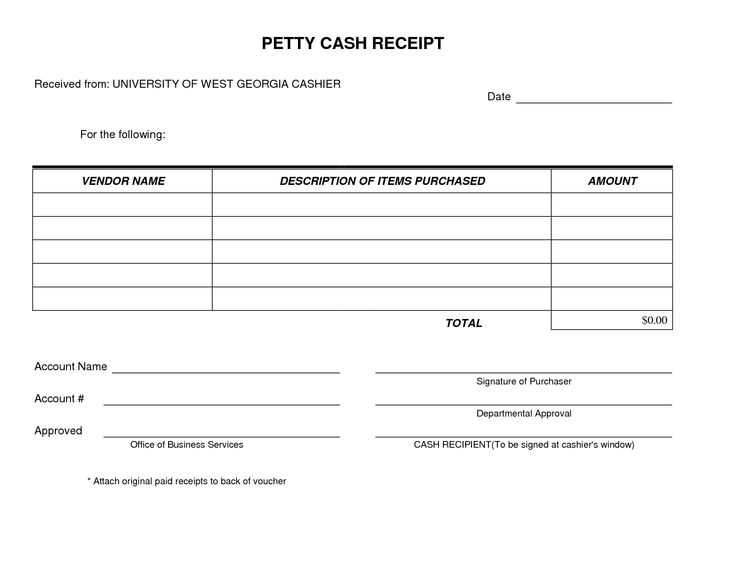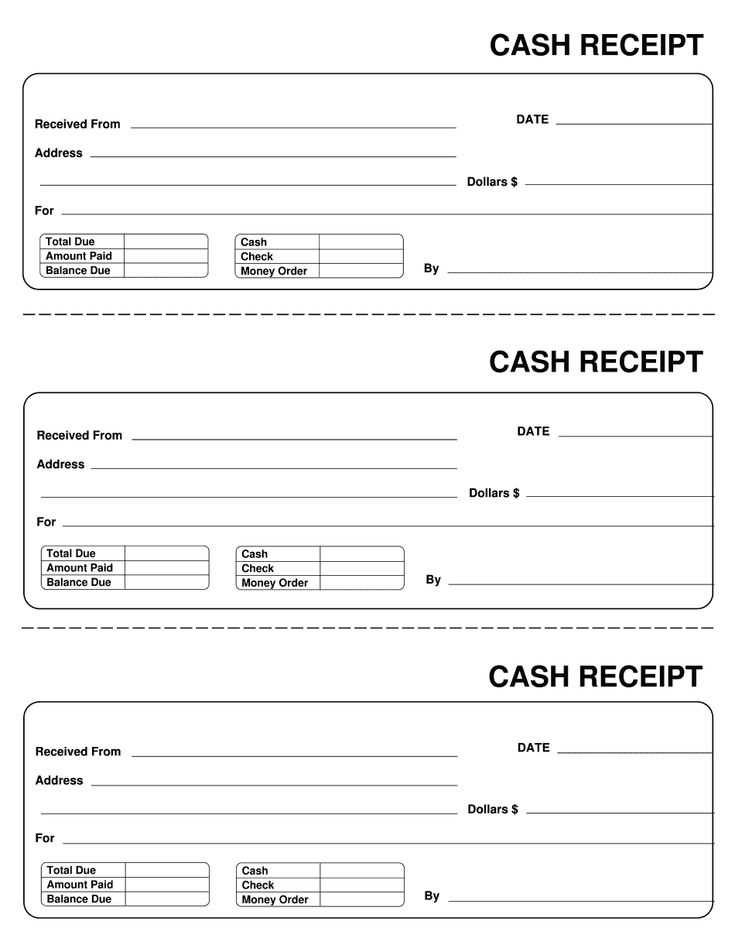
Use an Excel template to create structured and professional cash payment receipts. A well-formatted receipt ensures clarity for both parties, reducing misunderstandings and providing solid documentation for accounting purposes.
Excel’s built-in features allow for automated calculations, easy customization, and data organization. Add formulas to total amounts, apply conditional formatting to highlight overdue payments, and insert dropdown lists for selecting payment methods. These small adjustments streamline record-keeping and minimize errors.
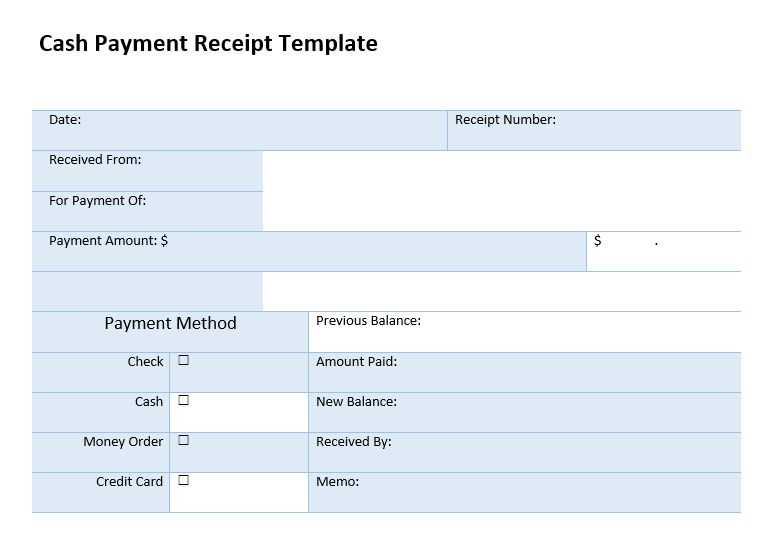
Customize the template with your business name, logo, and contact details. Include essential fields such as payer’s name, date, payment amount, description, and unique receipt number. This enhances credibility and ensures compliance with bookkeeping requirements.
Save completed receipts as PDFs for secure storage and easy sharing. Automate the process further by linking Excel with accounting software or using macros to generate sequential receipt numbers. With a well-prepared template, tracking cash transactions becomes effortless and organized.
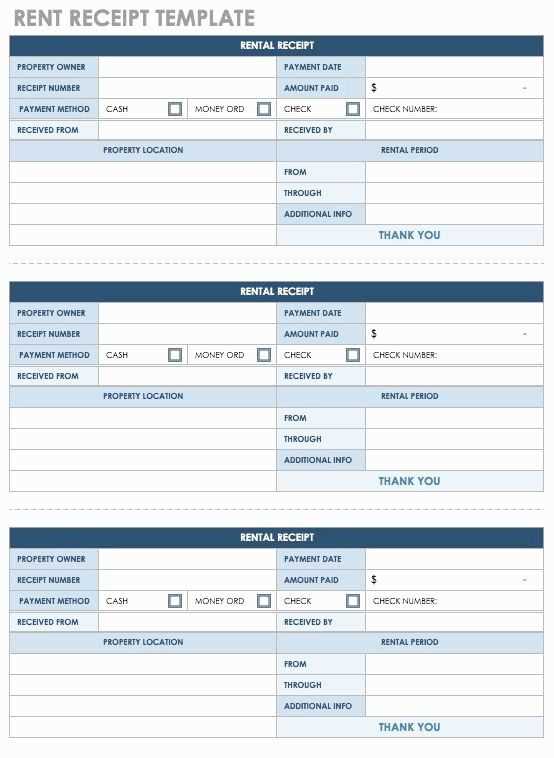
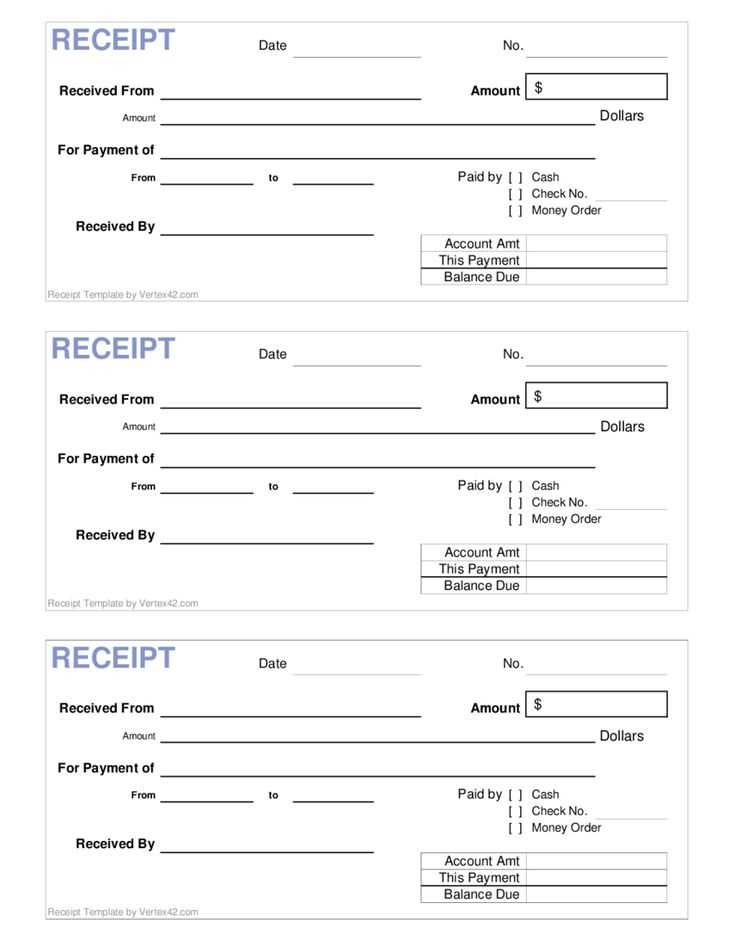
Cash Payment Receipt Template in Excel
Use an Excel template to create structured cash payment receipts with automated calculations. Set up columns for date, receipt number, payer details, amount, and payment purpose. Format cells to ensure correct currency display and consistent alignment.
Enable automatic calculations by adding formulas. For instance, use =SUM(range) to total multiple payments or =TODAY() to insert the current date. Apply conditional formatting to highlight overdue or partially paid amounts.
Improve usability with dropdown lists for payment methods and categories. Use Data Validation to restrict input errors. Protect key fields by locking cells and enabling sheet protection under the “Review” tab.
Convert receipts to PDFs directly in Excel for easy sharing. Go to File > Save As and select PDF format. This keeps formatting intact and ensures readability on any device.
Save time with templates by setting up a reusable format. Keep a master file with formulas and formatting intact, then duplicate as needed for each transaction.
Key Elements of a Cash Payment Receipt in Excel
Ensure every receipt includes clear transaction details. Start with a unique receipt number for tracking and reference. Use a dedicated column for dates to maintain chronological accuracy.
Include payer and payee information in separate fields. Use distinct rows for names, addresses, and contact details. This prevents confusion and ensures accountability.
Break down payment details in a structured format. List item descriptions, quantities, and individual prices. Sum them up in a subtotal row before applying taxes or discounts.
| Receipt Number | Date | Payer Name | Amount | Payment Method | Notes |
|---|---|---|---|---|---|
| 001245 | 2025-02-10 | John Doe | $150.00 | Cash | Paid in full |
Include a payment method field to specify cash transactions. Add a notes section for additional comments, such as partial payments or special conditions.
Use automated formulas to calculate totals and tax amounts. This minimizes errors and speeds up data entry. Protect key fields to prevent accidental modifications.
Keep the design simple and legible. Use bold headers for clarity and align numeric values properly. Save templates as Excel files for easy reuse.
Step-by-Step Guide to Creating a Receipt Template
Open Excel and create a new workbook. Label the first row with headers: “Date,” “Receipt Number,” “Customer Name,” “Description,” “Amount,” and “Payment Method.” Adjust column widths for readability.
Format the “Date” column to display dates correctly. Click on the column, go to “Format Cells,” select “Date,” and choose the preferred format. For “Amount,” apply currency formatting by selecting the column, right-clicking, and choosing “Format Cells” > “Currency.”
Add a formula for automatic totals. Select a cell for the total amount, enter =SUM(E2:E100) (adjust the range as needed), and press Enter. This ensures all listed amounts are calculated instantly.
Insert a unique receipt number for tracking. Use the formula =TEXT(ROW(A1), “0000”) to generate sequential numbers. Drag the fill handle down to apply this pattern to new rows.
Enhance readability with bold headers. Select the first row, click “Bold” in the toolbar, and apply a border around the table using “Borders” in the “Home” tab.
Save the file as a template for future use. Click “File” > “Save As,” choose “Excel Template (*.xltx),” and store it in a convenient location.
Customizing Layout and Formatting for Readability
Adjust column widths to ensure all data remains visible without cutting off text. Set a consistent width for key columns like “Date,” “Amount,” and “Description” to maintain alignment.
- Use borders sparingly: Apply thin borders to separate sections while avoiding excessive gridlines that clutter the receipt.
- Choose a readable font: Arial, Calibri, or Verdana at 11–12 pt ensures clarity. Avoid decorative fonts that reduce legibility.
- Align numbers correctly: Right-align monetary values to improve scanability, while text fields remain left-aligned.
- Highlight totals: Use bold formatting for the final amount due to make it stand out.
- Apply conditional formatting: Automatically highlight overdue payments or discrepancies using color-coded rules.
To keep printed receipts clean, adjust margins and set a print area to exclude unnecessary details. Preview before printing to ensure proper spacing and readability.
Using Formulas and Functions for Automated Calculations
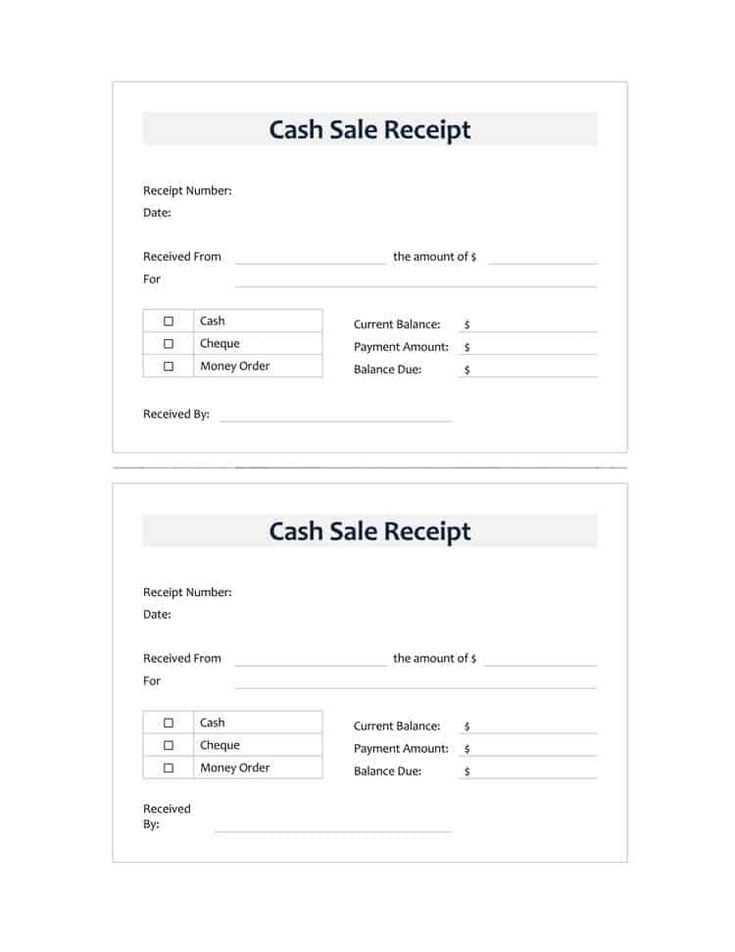
To simplify cash payment calculations, leverage basic Excel formulas like SUM to automatically total amounts in your receipt. For example, if you need to add up a series of amounts in cells A2 to A10, use =SUM(A2:A10). This eliminates manual summation and reduces errors.
Apply IF functions to handle conditional scenarios. For instance, use =IF(A2>100, “High”, “Low”) to categorize amounts into “High” or “Low” based on specific thresholds. This can be useful when determining payment categories based on predefined criteria.
For precise tax calculations, use multiplication formulas. A simple formula like =A2*0.05 calculates 5% tax on the value in cell A2. Adjust the tax rate as needed for different regions.
Use the ROUND function to limit the decimal places in your calculations. For instance, =ROUND(A2, 2) rounds the number in cell A2 to two decimal places, ensuring consistency and preventing lengthy decimals in your receipts.
By combining these functions, you can fully automate the calculation process, saving time and ensuring accuracy in cash payment receipts.
Printing and Saving Receipts in Different Formats
To print and save receipts efficiently, choose the right format based on your needs. Excel is an excellent tool for creating and managing receipts. You can easily save your receipt templates in various formats like PDF or CSV for different uses.
Saving Receipts in PDF Format
For professional presentation and easy sharing, save your receipt in PDF format. To do this, simply go to the “File” menu in Excel, select “Save As,” and choose PDF from the available options. PDFs maintain the integrity of your layout, ensuring it looks the same across all devices and printers.
Saving Receipts in CSV Format
If you need a more data-driven approach, save your receipt in CSV format. This option is ideal for analysis and importing data into other software. In Excel, choose “Save As” and select CSV. Keep in mind that CSV files do not retain any formatting or special elements, but they are easy to work with in databases or spreadsheets.
When printing, always ensure your receipt fits the selected paper size. Adjust margins and scaling to avoid content cutoffs. This ensures a clear, readable printout every time.
Common Issues and Troubleshooting in Excel Templates
If formulas are not calculating correctly, first check the cell formatting. Ensure that cells are set to “General” or the appropriate number format. If the formula is displaying as text, pressing F2 and then Enter can help Excel recognize it as a formula. Also, double-check for hidden spaces or errors in the formula itself.
1. Errors in Formulas
Common errors such as #VALUE!, #REF!, or #DIV/0! can occur due to incorrect references or invalid calculations. To fix these, inspect the formula’s components carefully. Use the “Trace Precedents” feature to identify broken links or incorrect references. If necessary, replace invalid cell references with correct ones.
2. Formatting Issues
Sometimes, templates display data incorrectly due to improper formatting. Ensure that dates, currency values, and other number formats are consistent. Apply custom formats where necessary to match your desired style, and make sure that column widths are adequate to display all the content properly.
