Download a Simple and Functional Template
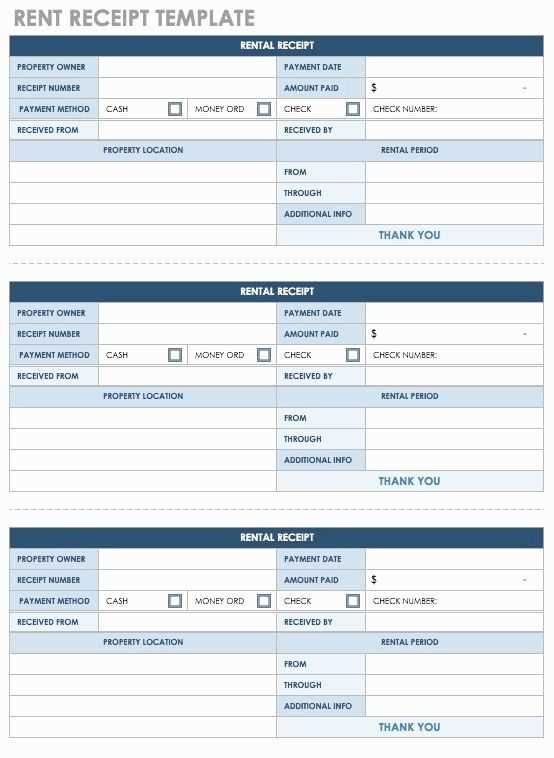
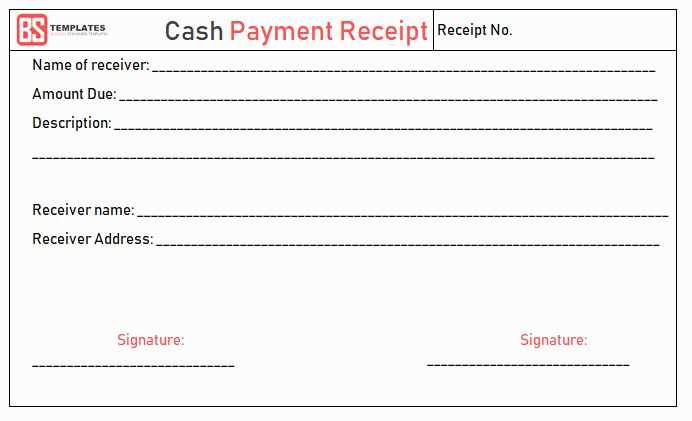
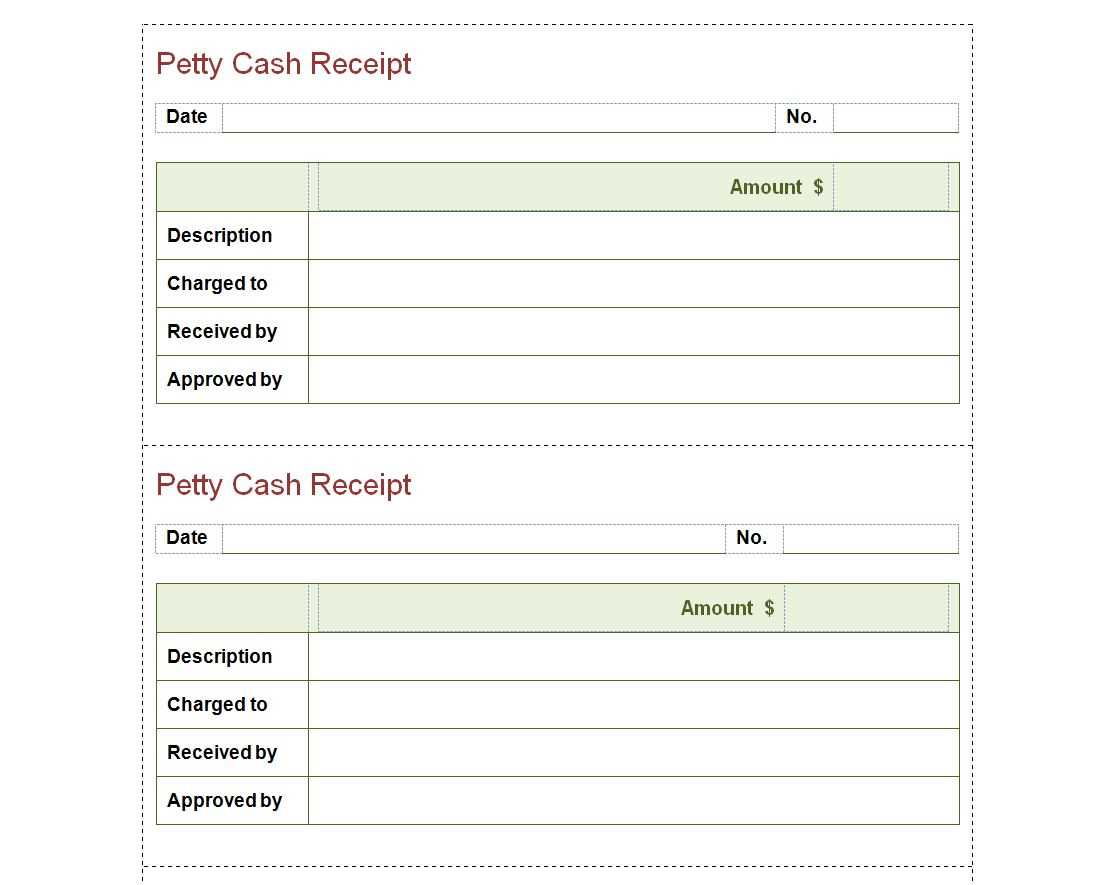
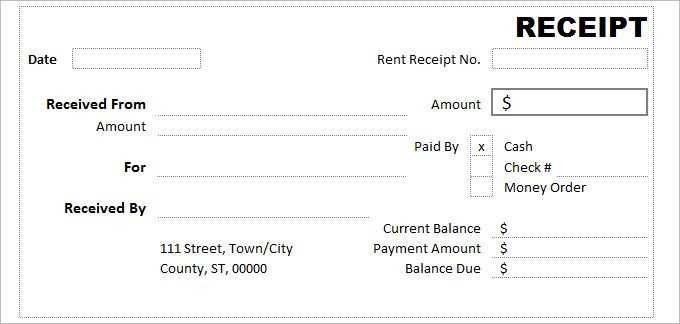
Use a structured cash receipt template in Excel to keep clear financial records. This template includes essential fields like date, receipt number, payer details, amount received, and payment method. Excel’s built-in formulas help automate calculations, reducing errors and saving time.
How to Customize the Template
Modify the Layout
- Adjust column widths for better readability.
- Add or remove fields as needed.
- Insert your company logo for a professional look.
Automate Calculations
Use Excel formulas to calculate totals and taxes automatically. For example, apply the formula =SUM(range) to sum received amounts.
Enable Drop-Down Lists
Simplify data entry with drop-down menus for payment methods. Select a column, go to Data > Data Validation, and define allowed values like “Cash,” “Credit Card,” or “Bank Transfer.”
Printing and Digital Storage

Ensure receipts print correctly by setting proper margins and print areas. To store receipts digitally, save them as PDFs using File > Save As > PDF.
An Excel cash receipt template keeps transactions organized, minimizes errors, and enhances record-keeping. Download, customize, and streamline your financial documentation today.
Cash Receipt Template in Excel: Practical Guide
How to Create a Basic Receipt Template in Excel
Formatting Tips for Readable and Professional Receipts
Using Excel Formulas to Automate Calculations
Adding Drop-Down Lists for Payment Methods and Categories
Printing and Exporting to PDF Without Formatting Issues
Common Mistakes When Designing a Receipt Template
How to Create a Basic Receipt Template in Excel
Start with a structured table. Use column headers such as “Date,” “Receipt Number,” “Customer Name,” “Payment Method,” “Description,” “Amount,” and “Total.” Set column widths to ensure all data is visible. Format the “Amount” and “Total” columns as currency to maintain consistency.
Using Excel Formulas to Automate Calculations
Use =SUM(range) to total amounts automatically. For tax calculations, apply =Amount*TaxRate. If discounts apply, subtract them using =Amount-Discount. These formulas update dynamically when new data is entered.
Conditional formatting highlights unpaid amounts. Set rules in the “Home” tab to change text color when “Status” is marked as “Unpaid.” This makes outstanding payments easily identifiable.
For receipt numbering, use =TEXT(ROW(A1), “0000”) to generate sequential numbers automatically, ensuring uniformity without manual entry.
Adding Drop-Down Lists for Payment Methods and Categories

Use the “Data Validation” tool to create drop-down lists. Define payment methods such as “Cash,” “Credit Card,” or “Bank Transfer” in a separate sheet. Apply Data > Data Validation > List to restrict input to predefined options. This minimizes errors and speeds up data entry.
Printing and Exporting to PDF Without Formatting Issues

Adjust page layout settings before printing. Set print areas under Page Layout > Print Area to include only relevant data. Use Fit to One Page in scaling options to prevent unnecessary page breaks. Before exporting, preview the layout to ensure alignment and avoid cut-off text.
Common Mistakes When Designing a Receipt Template
Avoid merging cells excessively, as this complicates sorting and filtering. Instead, use cell alignment and borders for better organization. Ensure consistent font sizes and clear contrasts for readability. Always test formulas after making changes to prevent calculation errors.


