If you’re looking for a straightforward way to generate customizable cash receipt templates, SVG (Scalable Vector Graphics) offers a clean and professional solution. With SVG, you can create scalable, high-quality receipts that retain clarity at any size, whether printed or displayed on a screen.
Start by designing a basic structure that includes all necessary elements like transaction details, payer and payee information, amount, and date. This can be easily adjusted to fit your needs, ensuring the template is both functional and visually appealing.
One of the benefits of using SVG is its flexibility. You can manipulate the design to include logos, change colors, and tweak the layout. SVG files also load faster than traditional image formats, making them ideal for online receipts. You can even integrate them into your website or accounting software, making the process of generating receipts smoother and faster.
Customization is key. Modify the font style, add borders, or incorporate background patterns for a more polished appearance. With a well-designed SVG template, you’ll ensure that your receipts are professional, clear, and consistent each time you issue one.
Here are the corrected lines:
To ensure accurate formatting of the cash receipt template, replace the placeholder text with the correct variables for each field. The amount field should dynamically reflect the payment received, and the date must auto-update based on the transaction date.
Ensure that the customer name and address fields are clearly defined with proper spacing. Any symbols or punctuation marks should be positioned correctly for easy readability, especially for larger transactions. These adjustments will improve both usability and professional appearance.
Adjust the footer section to include payment method details, such as ‘Cash,’ ‘Credit,’ or ‘Debit,’ based on the transaction type. This can be done by adding a conditional statement to check the method and display accordingly. Regular testing with different data inputs ensures that the template functions correctly under all conditions.
Lastly, double-check the alignment of all text fields to guarantee that no information appears truncated or misaligned. This will prevent any confusion or errors in the final printed receipt.
- Cash Receipt Template SVG: A Practical Guide
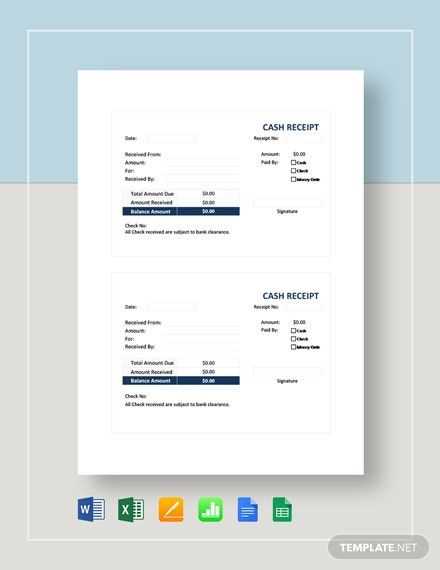
To create a practical cash receipt template in SVG format, use a clean and structured layout that captures all necessary transaction details. Focus on clarity and ease of use by including sections for the payer’s information, receipt number, transaction amount, date, and signature.
Step-by-Step Design Process

Start by defining a rectangular canvas for the template. A size of 600x400px works well for most uses. Add text fields where necessary, using text elements in SVG. This allows you to scale the receipt freely without losing resolution. Ensure the font size is legible and consistent throughout the template.
Required Fields

The following fields should be included in your SVG cash receipt template:
- Payer’s name and contact information
- Receipt number
- Date of transaction
- Amount (with words and figures)
- Signature line
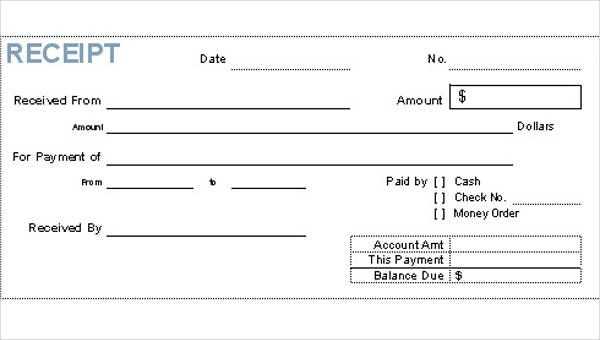
| Field | Example |
|---|---|
| Payer Name | John Doe |
| Receipt Number | #123456 |
| Date | 02/12/2025 |
| Amount | $500.00 |
By using these fields, you can ensure that all necessary details are easily accessible. Adjust the font size and positioning within the SVG code to ensure the template is not only functional but also visually appealing.
To design a simple cash receipt template using SVG, begin by defining the basic structure. Use the <svg> element to create the container for your template. Ensure the width and height of your SVG match the dimensions of a typical receipt, for example, 600px by 300px.
Next, incorporate text elements using the <text> tag to display the essential information like the date, amount, and receipt number. Set the font size and positioning with attributes like font-size and x to align the text correctly. Make sure to organize the text logically to ensure clarity.
For a clean and professional look, you can add lines and boxes around important sections. The <rect> tag can be used to create borders or background boxes for the company name, payment details, and total amount. Adjust the fill attribute to define the background color and use stroke for the border.
Finally, consider using <line> elements to separate different sections, such as the itemized list and the payment summary. Position them at consistent intervals to maintain the neat layout of the receipt.
Once the basic structure is complete, test the template in different browsers to ensure compatibility and make any necessary adjustments to ensure readability and aesthetic appeal. The final result will be a clean, customized receipt template that can be reused for different transactions.
Tailor your receipt template to match the unique details of each transaction. Start by adjusting the item descriptions to be clear and concise, specifying quantities and prices accurately. For custom or special orders, include additional fields that explain customization or specific requests made by the customer. If applicable, add discounts or promotions directly on the receipt, ensuring transparency for both parties.
Including Payment Method Details

Make sure the payment method is clearly stated–whether it’s a cash, credit, or digital payment. Adding a section for transaction fees or service charges is a good practice when dealing with non-standard payments, such as installment plans or subscription-based models.
Adding Customer Information

If relevant, incorporate customer information, like a loyalty number or order ID. This allows for easy tracking and personalized service. Ensure the receipt has a dedicated area for contact details or special notes for future reference.
To print or export your cash receipt template in SVG format, follow these steps:
- Ensure your design is fully optimized. Check the scaling and ensure all elements are aligned properly for printing.
- Select the “Export” or “Save As” option from your design tool.
- Choose “SVG” as the file format. SVG is ideal for preserving vector graphics, making it suitable for high-quality printing.
- Before exporting, adjust settings like resolution, page size, and orientation based on how you plan to print or use the file.
- If necessary, apply any final adjustments to the file by testing the exported version in a web browser or design software.
Once you’ve finalized the template, you can print it directly from the SVG file or save it for later use in other applications. SVG files retain crisp details at any scale, ensuring your printed receipt looks sharp and clear.
To create a clear and organized cash receipt using SVG format, begin by structuring the data efficiently. Start with a simple header that includes essential information, such as the date, transaction number, and payer details. Ensure that each element is aligned and easy to read. Use rectangular blocks for sectioning the receipt, and include small text fields for each piece of information. Avoid cluttering the space; focus on clarity and simplicity.

Consider using stroke for borders and fill for background colors to differentiate between various sections of the receipt. For instance, the total amount section can have a different fill color to make it stand out. Keep fonts consistent and legible, choosing simple sans-serif styles that scale well in the SVG format. Also, ensure that each element is properly aligned within its designated area.
Lastly, save the file with appropriate metadata so it can be easily reused and shared. Using descriptive titles for each SVG element and adding relevant labels will help maintain organization for future edits.