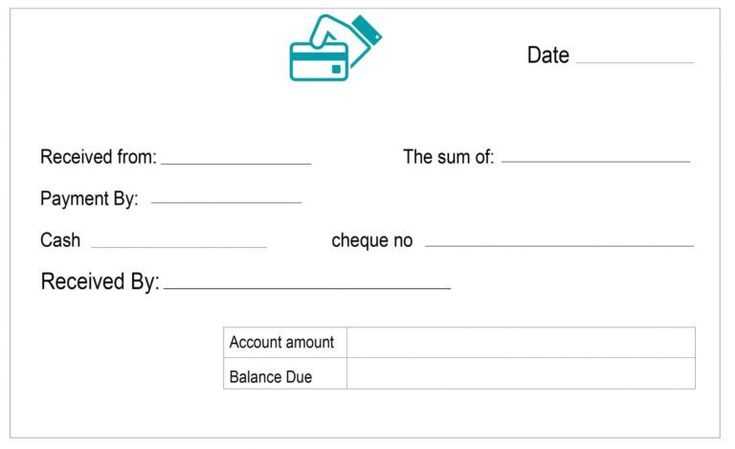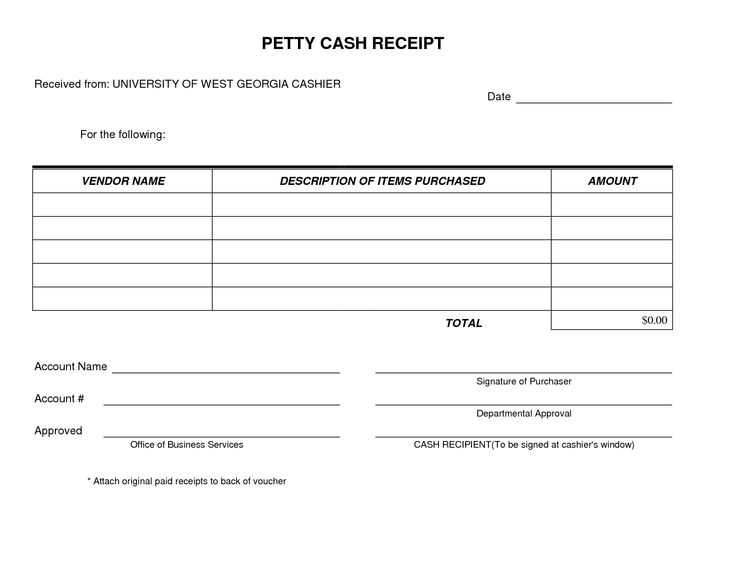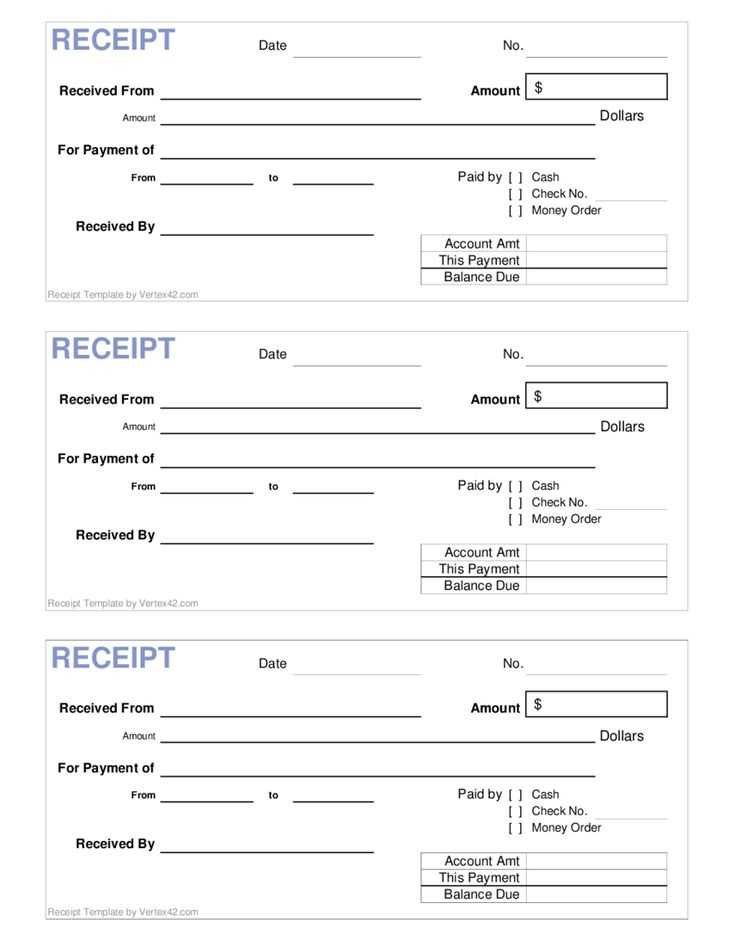
Customize your cash receipt template with a logo for a professional touch. A well-designed receipt helps to clearly communicate payment details, making transactions more transparent. By adding your company logo, you enhance brand recognition and present a polished image to your clients.
Ensure the logo is placed at the top of the receipt, preferably in the center or aligned to the left. The size should be appropriate, not too large, so it doesn’t overshadow the important details. Choose a high-quality image to keep the logo sharp and clear on both digital and printed formats.
For added clarity, include sections for the date, transaction amount, method of payment, and the name of the payer. This structured layout helps both you and your clients to quickly reference key information. Keep the font size readable and the text spacing consistent for an organized, easy-to-read format.
Using a cash receipt template with your logo not only strengthens your business image but also ensures you maintain accurate records for both clients and your financial tracking. Customize the template to fit your specific needs and save it for repeated use in future transactions.
Cash Receipt Template with Logo
To create a polished cash receipt template with a logo, begin by ensuring the template reflects your business branding while being functional. A clean layout is key for both clarity and professionalism. Here are some tips to help you build an effective template:
Design Considerations
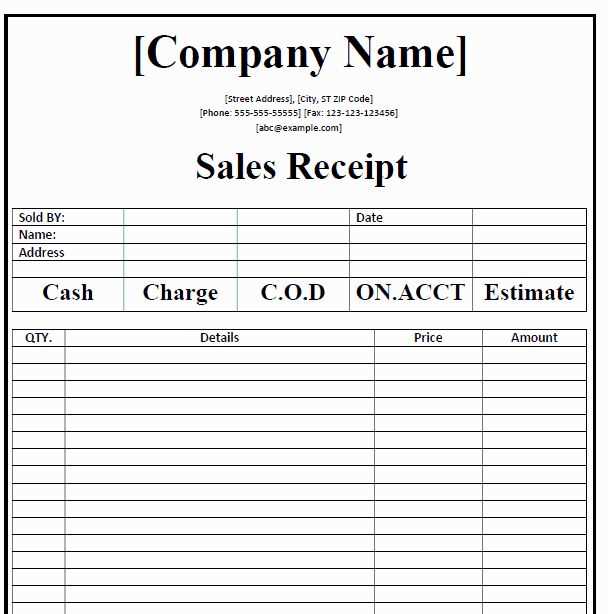
- Place your logo at the top of the receipt. This keeps it visible without overwhelming the content.
- Use simple fonts for easy readability, like Arial or Helvetica, and keep font size consistent across sections.
- Make sure there is enough space between different elements for clear separation and organization.
Essential Information to Include
- Business Name and Logo: Clearly display your logo and business name at the top.
- Date and Receipt Number: Add a field for the date and unique receipt number for tracking purposes.
- Payment Details: List the amount paid, payment method (cash, card, etc.), and any additional charges or discounts.
- Itemized List: If applicable, include a breakdown of purchased items or services.
- Customer Information: If relevant, include the customer’s name or contact information.
- Business Contact: Provide your business address, phone number, and email for customer reference.
Using these elements, you’ll ensure your cash receipt is clear, professional, and in line with your brand identity. A well-designed template helps customers easily understand their transaction and reinforces a trustworthy image of your business.
Customizing Your Template Layout
Adjust the layout of your receipt template to better match your brand’s identity. Begin with resizing the header section where your logo appears. Ensure it fits without overwhelming the document. A clean, professional placement at the top left or center can make a strong first impression.
Modify the font style and size to align with your company’s aesthetic. Keep the text legible while offering a personalized touch. Choose fonts that are easy to read at a glance, but still fit within the design scheme. Avoid using too many font types; limit it to two at most for a cohesive look.
Next, customize the color scheme to reflect your brand’s identity. Use your brand colors for important sections like totals or headings to create a visual connection with your customers. Keep background colors neutral for a clean, professional appearance.
Adjust the spacing between sections to ensure your content is clear and organized. Proper padding around the receipt items makes it easier to read. Avoid overcrowding the page by leaving enough room around logos, totals, and client information.
Lastly, add any extra elements that reflect your business’s personality, such as a tag line or social media handles. These should be placed subtly so they don’t overpower the main details but remain visible for customers to see.
Adding a Professional Logo
To add a professional logo to your cash receipt template, choose a high-quality image that clearly represents your brand. Avoid using low-resolution or pixelated logos, as this can diminish your business’s credibility. Place the logo in a prominent spot, such as the top left or center, where it will be immediately noticeable. Ensure the logo is scaled correctly to fit the template without overwhelming the text or other important elements.
Here are some specific steps to follow:
| Step | Action |
|---|---|
| 1 | Select a logo with a transparent background, ideally in PNG format for best clarity. |
| 2 | Resize the logo to fit within the designated space without distorting its proportions. |
| 3 | Position the logo in a visually appealing area on the receipt, ensuring it doesn’t clash with key information like the total amount or payment details. |
| 4 | Ensure proper contrast between the logo and the background to maintain visibility. |
| 5 | Test the receipt by printing or viewing it digitally to confirm the logo appears clean and sharp. |
By following these steps, your receipt will reflect a polished, professional image that strengthens your brand identity.
Essential Details for Your Cash Receipt
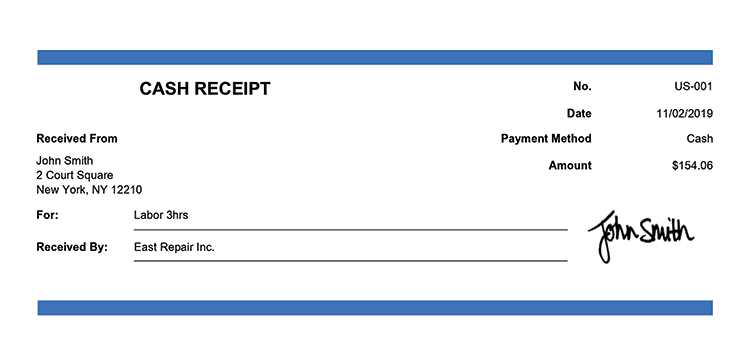
Clearly list the transaction date. This helps both parties keep track of payment history. Ensure the amount paid is prominently displayed, with clear breakdowns if needed–like taxes, discounts, or additional fees. Providing a unique receipt number adds a layer of accountability and organization. Use this number for easy referencing in future communications or audits.
Business Information
Include your business name, logo, address, and contact details. These elements confirm the authenticity of the receipt and establish a connection between the transaction and your brand. Make sure your contact info is accurate and visible for any follow-up inquiries.
Payment Method
Specify the method of payment–whether it’s cash, credit card, or other forms. Including this prevents confusion and serves as a clear record for both you and the customer.
Choosing the Right Fonts and Colors
Use fonts that align with your brand identity and enhance readability. Stick to no more than two or three font types for clarity. Choose a clean, sans-serif font like Arial or Helvetica for a modern, professional look. If you want a more formal tone, a serif font such as Times New Roman can work well. Ensure that the font size is legible, typically ranging from 10 to 12 points for the main text, and slightly larger for headings.
Font Pairing Tips
Pair contrasting fonts for visual interest. For example, use a bold, modern sans-serif font for the headings and a more neutral serif font for the body text. This contrast draws attention while maintaining balance. Avoid overly decorative fonts that can make reading difficult, especially for important details like transaction amounts or contact information.
Color Selection
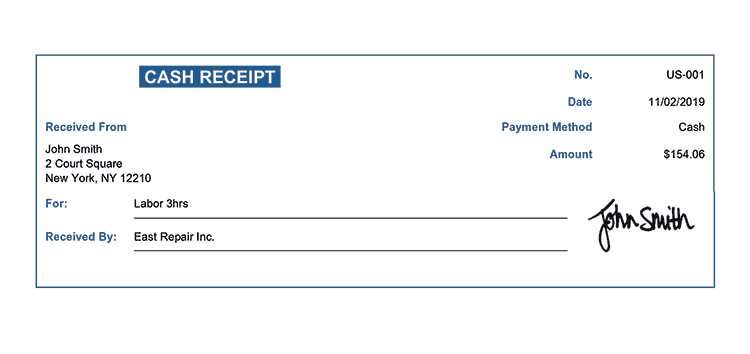
Choose colors that complement your brand’s logo and reinforce your message. Stick to a limited color palette to maintain consistency across the receipt. Use dark colors, like navy or black, for the text to ensure readability. Accentuate key details, such as totals or discounts, with contrasting colors, like a deep red or blue. Avoid using too many bright colors that could distract from the important information.
Formatting for Digital and Print Use
For consistent presentation across digital and print formats, ensure that your cash receipt template adapts to both media types without losing quality or legibility.
- Resolution: Set the resolution to at least 300 DPI for print. For digital use, 72 DPI suffices but higher resolution ensures sharper images on high-definition screens.
- File Format: Use vector-based file formats like SVG or PDF for scalability without pixelation. For printing, PDF is commonly preferred for its ability to preserve layout and fonts. For digital, PNG or JPEG works well for web use.
- Font Choice: Stick with web-safe fonts or embed fonts within the document for consistency across platforms. Use clean, legible fonts for both print and screen, such as Arial, Helvetica, or Times New Roman.
- Margins and Spacing: Maintain standard margins (0.5 inches to 1 inch) to prevent any content from being cut off during printing. Adequate white space around text and the logo ensures readability on both platforms.
- Logo and Branding: Ensure the logo is high-resolution and appropriately sized to fit both formats. Avoid scaling the logo too small on digital formats or too large for print versions, as it may reduce legibility.
- Color Mode: Use RGB color mode for digital receipts to ensure vibrant colors on screens. For print, switch to CMYK color mode to match printer settings and prevent color discrepancies.
Test your template on various devices and printers to confirm proper display and printing results. Adjust the layout or file type based on the medium for optimal results.
Saving and Sharing Your Receipt Template
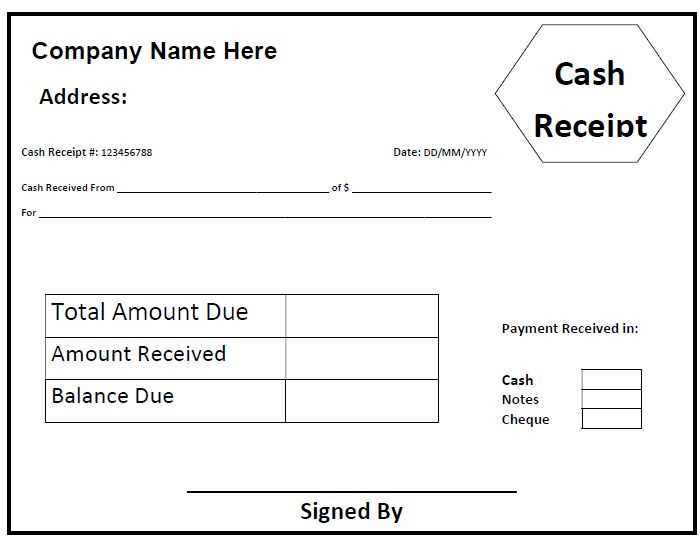
To save your receipt template, simply select the “Save” option within your design software. Most tools allow you to save in formats like PDF, PNG, or JPEG, which are easy to access and share. Make sure to name your file clearly for easy identification later.
Saving Formats
PDF is the best option for a printable receipt template. It ensures the layout stays intact across different devices. For quick sharing, PNG or JPEG are great choices, but they may lose quality if printed. Consider the intended use before saving.
Sharing Your Template
Once saved, you can share the template via email, file-sharing platforms like Google Drive, or even through direct messaging apps. For large files, opt for cloud storage to maintain the quality without clogging up inboxes.
Tip: Include instructions or notes along with the template to guide others in filling out the receipt correctly. This can be especially helpful if you’re sharing it with team members or clients who might be unfamiliar with the format.
