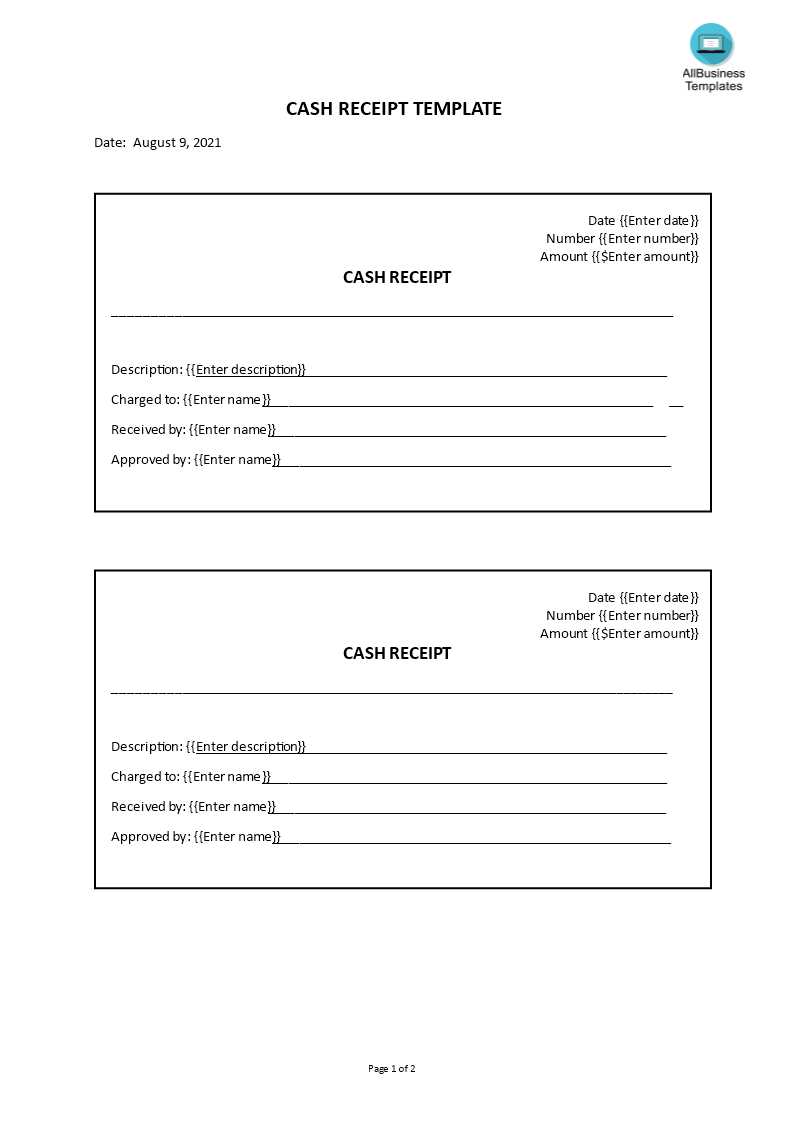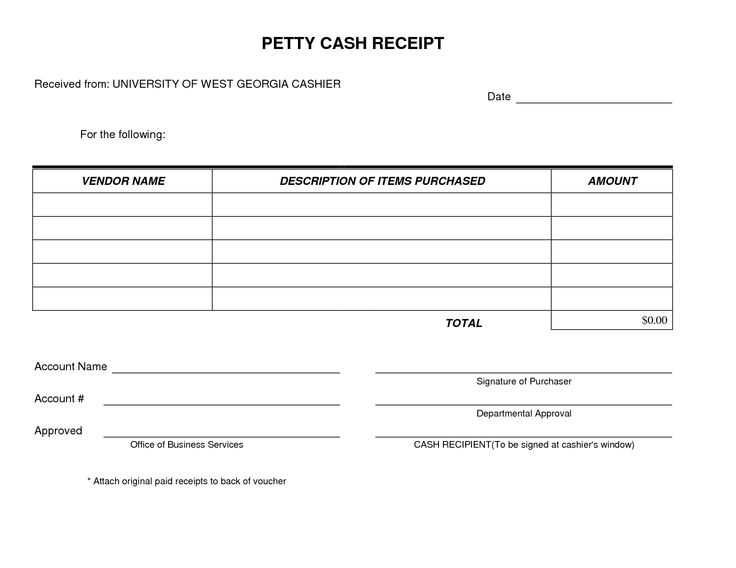
Start using a fillable business cash receipt template to simplify transaction documentation and ensure accuracy in every exchange. This tool allows you to quickly record payments, reduce errors, and maintain clear financial records. By eliminating manual writing, you streamline your process and create a more professional presentation of your transactions.
A fillable receipt template typically includes fields such as date, amount paid, payer’s information, and the purpose of payment. Customize these fields to suit your specific needs, ensuring that all relevant details are captured. The flexibility of a digital template means you can easily modify the format, whether you’re handling one-time payments or recurring transactions.
Accuracy is enhanced with this template, as it automatically calculates totals and keeps track of previous payments. Avoid common mistakes by entering information into designated fields that reduce human error. This tool also creates a consistent format, making it easier to review financial records over time.
Customizing your receipt template allows you to include any other necessary details, such as invoice numbers or payment methods. Using a fillable format ensures you have all the data you need without extra effort. Consider integrating your receipt template with other business management tools to further streamline your workflow.
Fillable Business Cash Receipt Template
A fillable business cash receipt template is a convenient tool for recording cash transactions in a streamlined and organized manner. It ensures accuracy and saves time when documenting cash payments made for goods or services. By utilizing a fillable template, you can easily input transaction details without the need for manual formatting. Below are the key features and tips for using a fillable cash receipt template effectively:
Key Elements to Include
- Date: Always include the date of the transaction for proper record-keeping.
- Receipt Number: Assign a unique number to each receipt for easy tracking and reference.
- Payee Information: Include the name of the person or entity making the payment.
- Amount: Clearly state the amount paid in cash, ensuring it matches the total due.
- Description of Goods/Services: Provide a brief but clear description of what was purchased or paid for.
- Payment Method: Indicate that the payment was made in cash to distinguish it from other payment methods.
- Signature: Add space for both the payee’s and the recipient’s signatures to validate the transaction.
Advantages of Using a Fillable Template
- Time-saving: Reduces the time spent on formatting receipts manually.
- Consistency: Ensures uniformity in receipt format for every transaction.
- Professionalism: Creates a polished and organized appearance for your business transactions.
- Record Maintenance: Facilitates easy tracking and storing of receipts for future reference or audits.
Creating a Customizable Template for Easy Transactions

Design a template that allows quick customization, ensuring you can adjust it for different business scenarios. Keep the layout clear with sections for essential transaction details like the date, amount, payer’s name, and payment method. Include optional fields for discounts or taxes, making it adaptable to various payment types. The template should be simple to fill out, with drop-down menus or pre-filled options for frequently used data, like payment methods or common items/services.
Key Features for Efficiency
Include customizable fields that can be easily edited. Use a grid layout for better organization, grouping similar items (e.g., payer info, item description, payment breakdown). This minimizes time spent editing and reduces the risk of errors. Integrating formulas to calculate totals automatically will save time and prevent miscalculations. Provide a space for notes or additional details related to the transaction for clarity.
Keep the Design User-Friendly

Ensure that the template’s design is intuitive and does not overwhelm the user. Use clear fonts, enough spacing, and visual cues to guide the user through the process. Avoid unnecessary distractions, and focus on the content’s ease of use and accuracy. Testing with different users can help refine the layout for practical, real-world application.
Key Elements to Include for Accurate Recordkeeping

Begin with clearly identifying the transaction date. This provides a specific point of reference for all entries, ensuring there is no ambiguity about when the payment was made. Next, always include the payer’s name and contact details to facilitate easy follow-up and verification. This step reduces confusion when cross-referencing documents later.
Transaction Amount and Method
The amount paid should be stated in both numeric and written form, ensuring clarity. Include the payment method, whether it is cash, check, or electronic transfer, to avoid any discrepancies. Payment method details, such as the check number or transaction reference, should be recorded to provide a trail for auditing purposes.
Description of Goods or Services
Provide a concise description of the product or service for which the payment was made. This clarifies the purpose of the transaction and helps in sorting and categorizing receipts. For example, if the payment was for a product, include the product name, quantity, and any applicable serial numbers.
Including the signature of the payer or an authorized representative adds an extra layer of authenticity. This can be especially helpful for larger transactions where validation might be necessary. Lastly, always ensure that your receipts are stored in an organized manner, either digitally or physically, with a clear filing system for easy retrieval.
How to Integrate the Template with Your Accounting System
To connect the fillable business cash receipt template with your accounting system, first ensure the template is compatible with the software you use. Most modern accounting tools support importing CSV or Excel files. Save your receipts as these file formats for a smoother transfer.
Once saved, import the receipts directly into the accounting system. Locate the import function in the system’s settings, select your saved file, and map the fields from the template (e.g., date, amount, payment method) to the corresponding fields in the system.
For systems with APIs, consider setting up an automated process that transfers data from the template to the accounting system in real-time. You may need to work with a developer to integrate the template with the API, ensuring data is processed and categorized correctly without manual input.
Lastly, test the integration by running sample transactions through the template and verifying they appear correctly in your accounting system. Adjust any settings as necessary for smooth operation.


