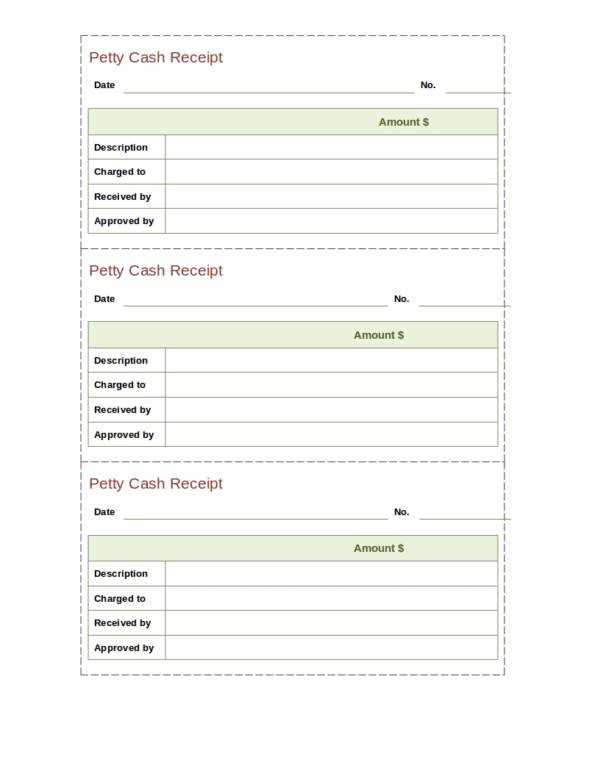
If you’re looking to create a simple and customizable cash receipt, an Excel template is the perfect solution. With the ability to tailor it to your specific needs, this template allows for easy tracking of cash transactions. A fillable format ensures you can update each entry quickly without the need for complicated software or manual calculations.
By using this template, you can include all the important details: date, amount, payer’s name, payment method, and any relevant notes. The Excel format makes it easy to store, edit, and even share receipts. You can save time and reduce errors with automated calculations for totals or balances, making this tool a go-to for personal or business use.
Simply download the template and start filling in the required fields. Customization is straightforward, and you can adjust the layout to fit your particular requirements. Whether you need to track a single receipt or multiple transactions, the Excel template adapts to your needs and keeps your records organized.
Fillable Cash Receipt Template in Excel
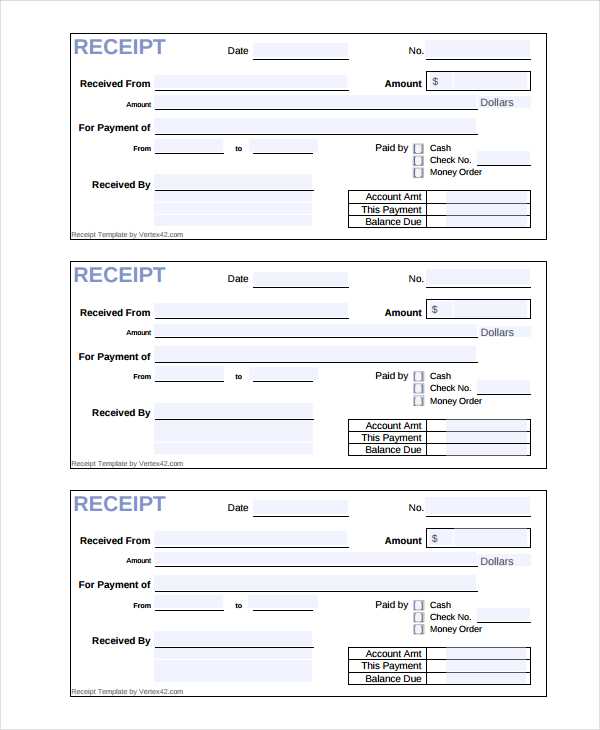
Creating a fillable cash receipt template in Excel is a simple process that can save you time and effort. Follow these steps to build a functional and reusable receipt form.
Step 1: Set up the basic layout
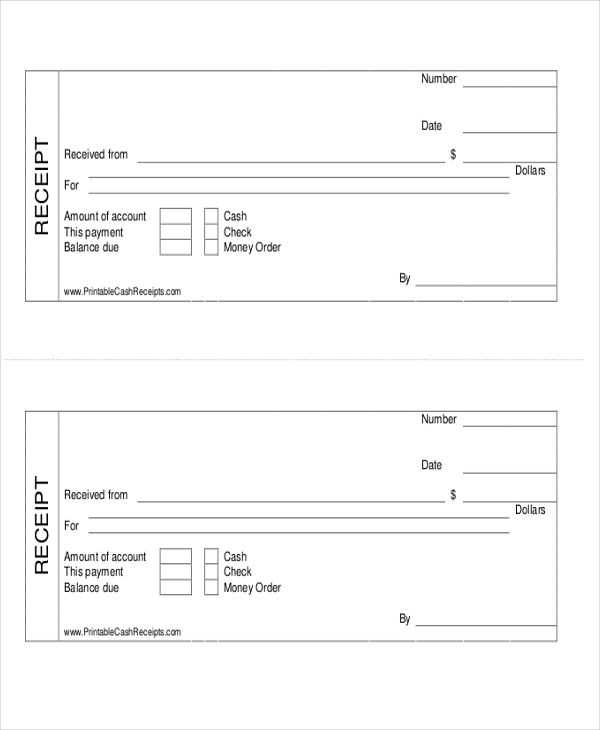
Start by opening a new Excel sheet. Set up the columns for the necessary information: receipt number, date, payer’s name, description of goods/services, amount received, and payment method. Make sure each category is clearly labeled in the first row.
Step 2: Add form fields
Use the “Data Validation” feature to create drop-down menus for predefined fields such as payment methods (e.g., cash, check, credit card). This ensures consistency and simplifies data entry.
For fields like the payer’s name and amount received, leave them open for manual input. You can also format the amount field to accept currency values by selecting the cell, right-clicking, and choosing “Format Cells” to apply the currency style.
Step 3: Create a unique receipt number system
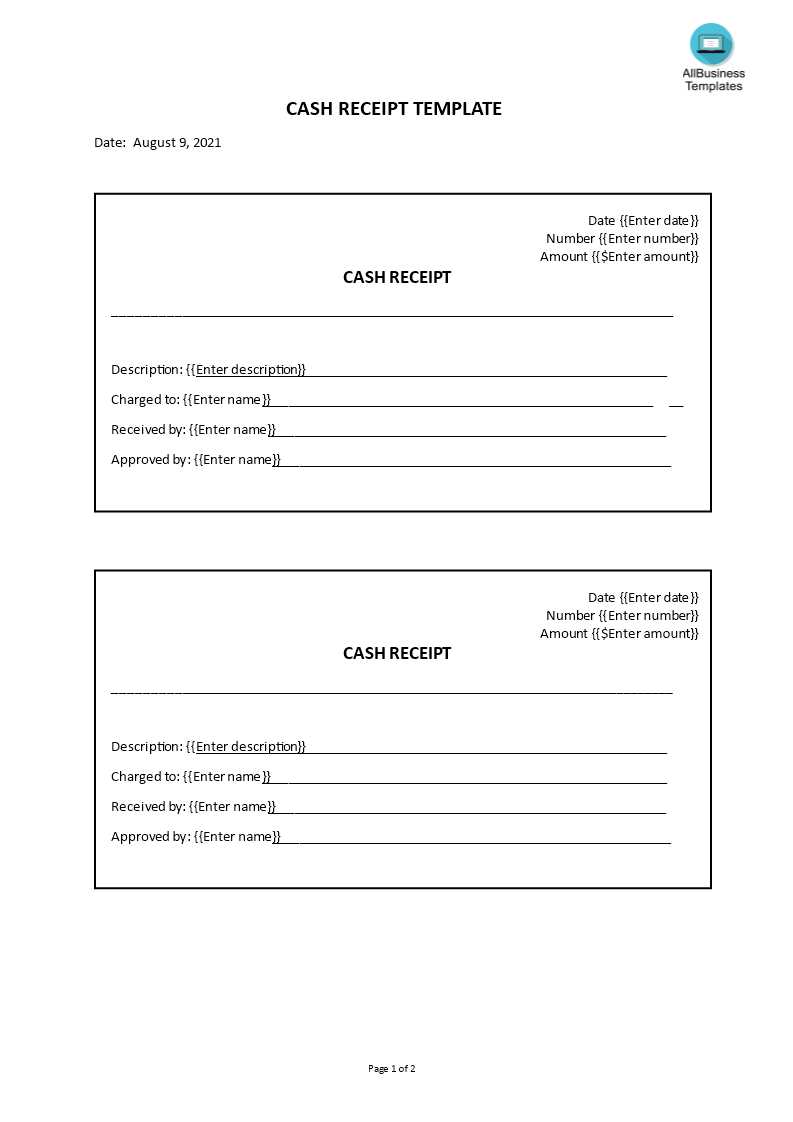
Incorporate a formula to automatically generate a unique receipt number. This can be done by using the formula =TEXT(ROW(A1),”0000″), which will generate numbers starting from 0001 and increment automatically as you add new entries.
Step 4: Design and customization
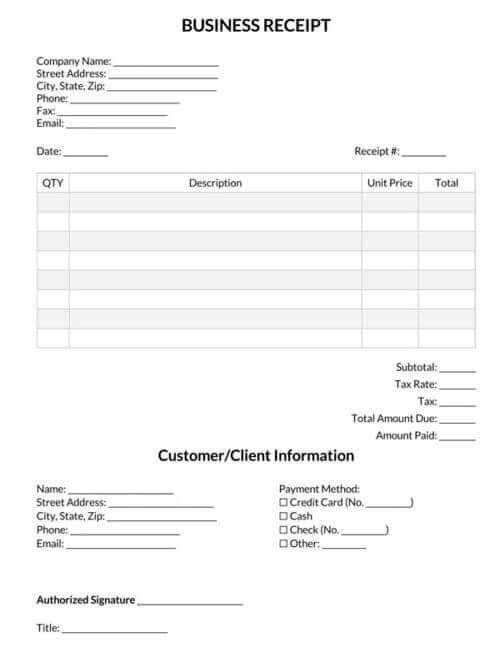
Make the template visually appealing by adding borders, shading, and bold text for headings. You can also include your company logo in the header section. This will make the receipt look more professional while remaining easy to edit for different transactions.
Step 5: Save as a template
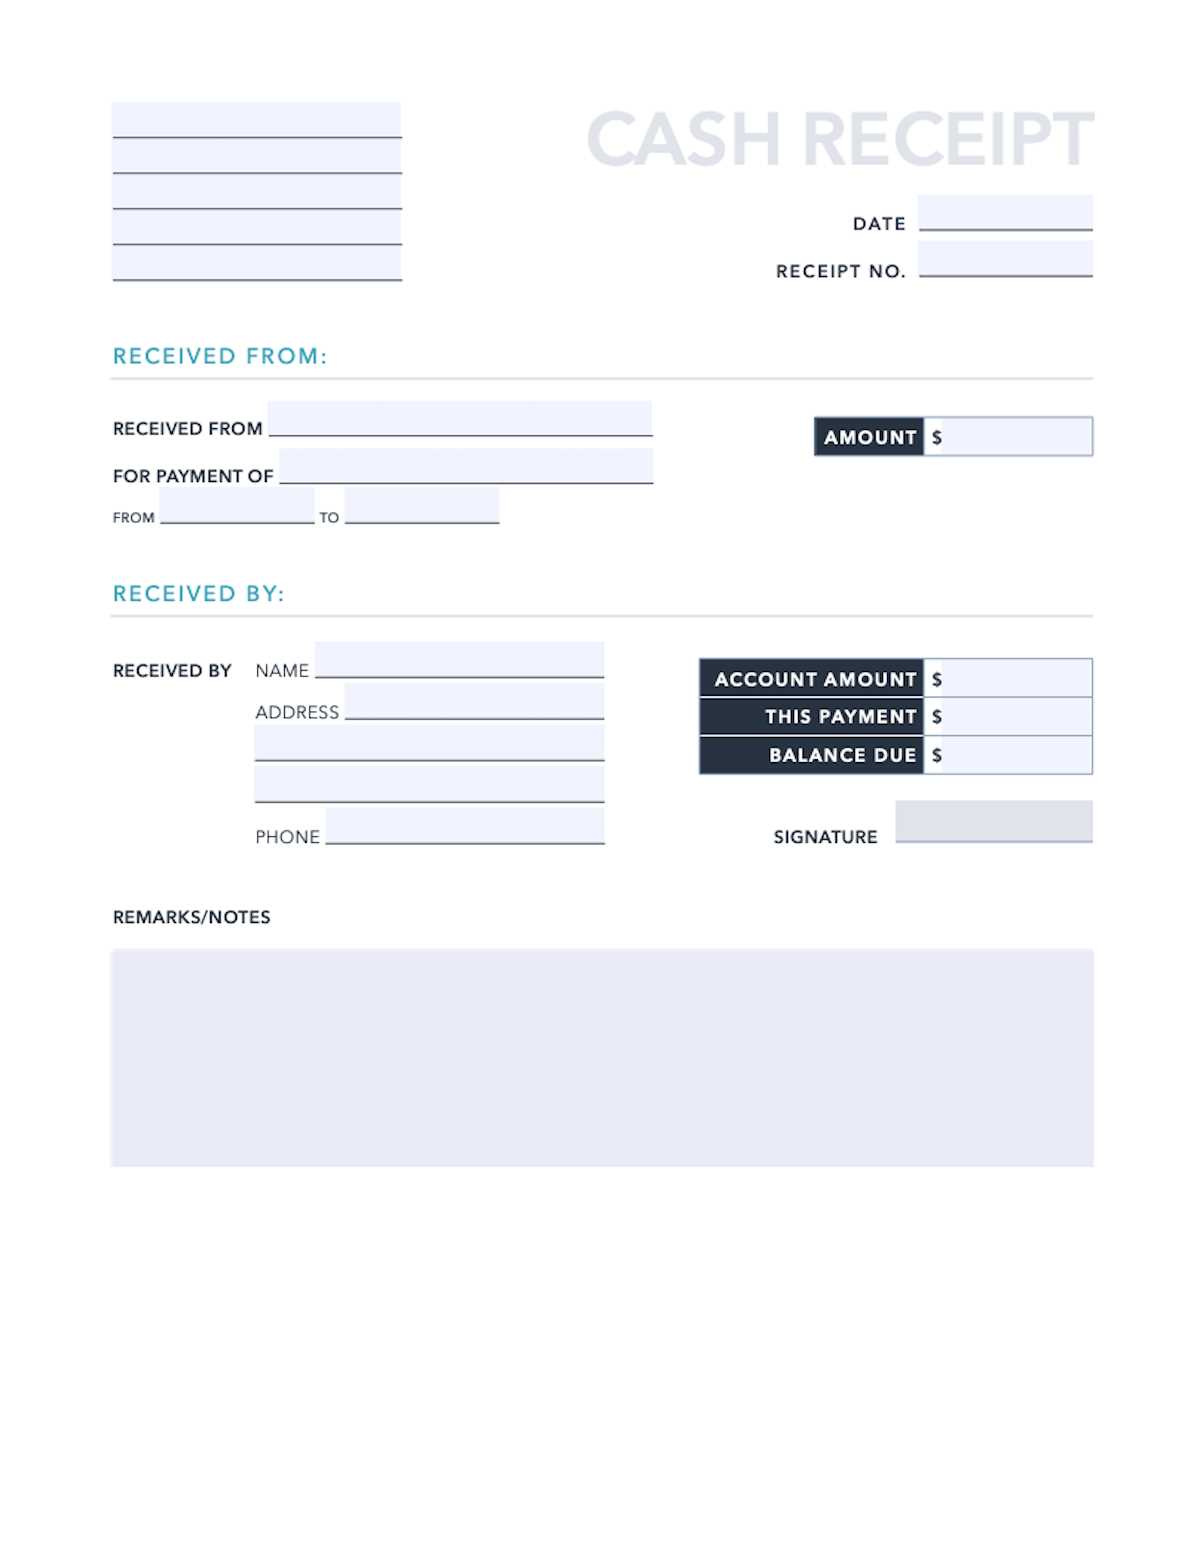
Once you’ve finished setting up the template, save it as an Excel template (.xltx) to keep the original file intact. This will allow you to reuse it for each new transaction without altering the layout or formulas.
Customizing Your Template for Different Payment Types
To adapt your cash receipt template for various payment methods, add distinct sections for each type. For cash payments, ensure there is a dedicated space for the amount received, with options for rounding if needed. For credit card transactions, include fields for card type and authorization number. You can also add checkboxes for multiple payment options, allowing you to track combined methods like a cash and card split.
Consider adding a place to note the transaction fee for card payments or other charges. Include separate lines for the payment date and transaction number to make tracking easier. Customize the template to handle different currencies by using dropdown menus or input boxes that automatically adjust formatting based on the selected currency.
For electronic payments, integrate a field for online transaction references or payment gateway details. Keep the layout simple but clear, allowing users to quickly input and review transaction information without confusion.
Ensuring Proper Formatting for Accuracy and Clarity
Set clear cell borders around each section, making it easier to distinguish between categories like payment details, date, and total. Use bold headers to emphasize key information, such as “Amount” and “Receipt Number,” so they stand out immediately to users. When entering monetary amounts, format cells to display numbers as currency, ensuring consistency throughout the template.
Align numbers properly: Ensure that all numeric entries, like amounts, are right-aligned. This makes it easier to read and compare figures. Avoid left or center alignment for numbers, as it can cause confusion and errors.
Use consistent fonts and sizes: Stick to one or two simple fonts to maintain a professional appearance. Choose larger font sizes for headers and subheaders, and slightly smaller sizes for the data fields. Keep the font style uniform across the document to prevent distractions.
Be cautious with color choices. Use light shades to highlight headers or important sections, but avoid overwhelming the document with too many colors. This ensures clarity without sacrificing readability.
Lock specific fields: For templates that will be filled out by others, lock fields that should remain unchanged, such as titles and formula cells. This prevents accidental edits and keeps the document accurate and structured.
Lastly, review the template for consistency. Ensure that all cells follow the same format, such as date formats, decimal places, and alignment. This attention to detail will improve clarity and help reduce errors when filling out the receipt.
Automating Calculations for Time-Saving
Set up formulas for automatic calculations to reduce manual work in your fillable cash receipt template. By doing this, you can quickly get totals and breakdowns of amounts without needing to input them repeatedly.
Implementing Basic Formulas
- SUM function: Use the SUM function to calculate the total amount for multiple transactions. This formula can be set for a range of cells, and it will update automatically as new data is entered.
- Multiplication and Division: For applying tax rates or discounts, use multiplication and division formulas. This can help you instantly adjust amounts based on percentage changes.
- IF statements: Use the IF function to apply conditions. For instance, if an amount exceeds a certain threshold, it could trigger a change in the tax rate applied to that transaction.
Setting Up Automatic Date and Time Stamps
- TODAY function: Automatically insert the current date in the receipt using the TODAY function. It updates each time you open the document, eliminating the need for manual entry.
- NOW function: To capture both the date and the time of transaction, the NOW function is a great tool. It helps you track time-sensitive transactions accurately.


