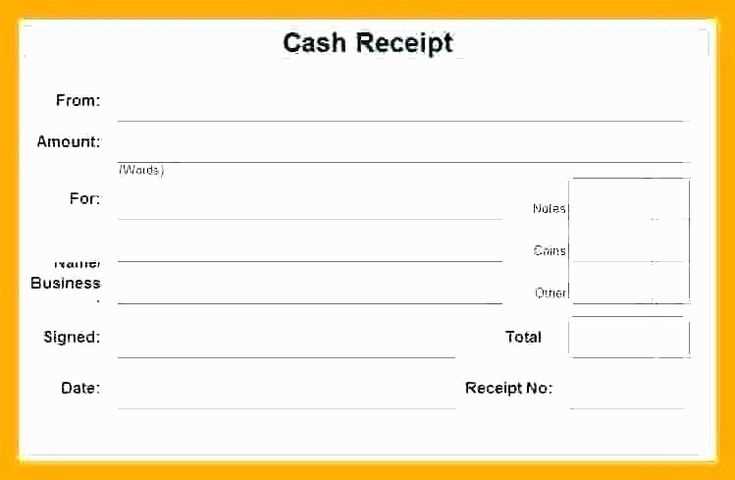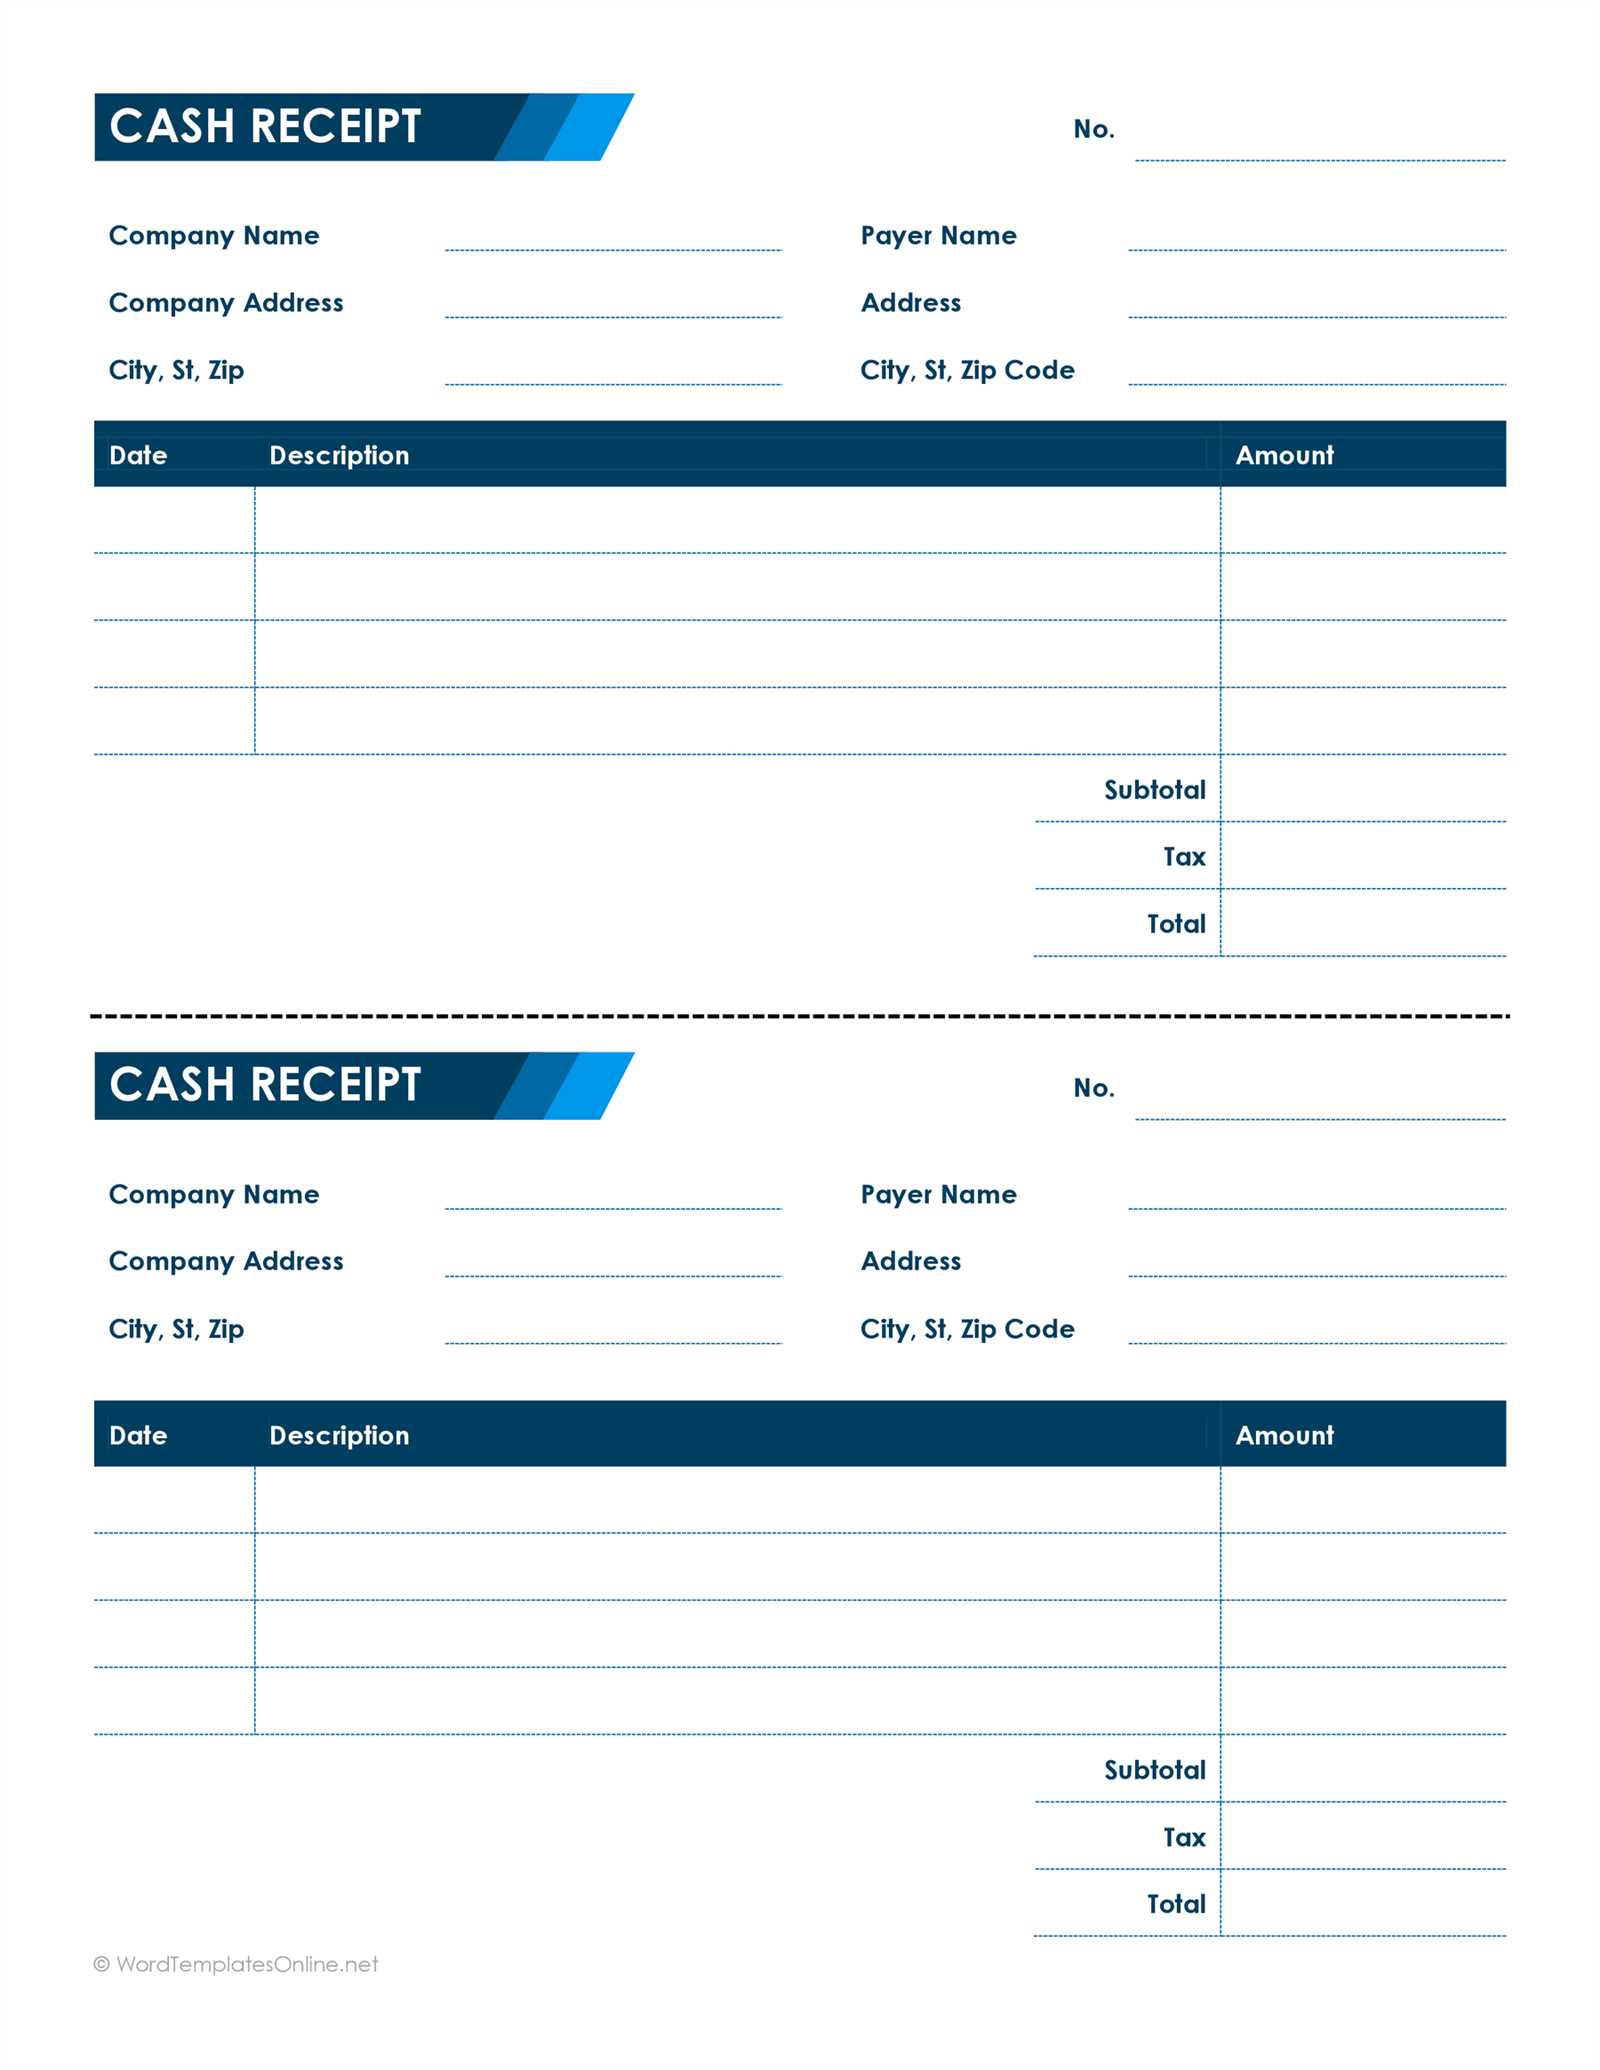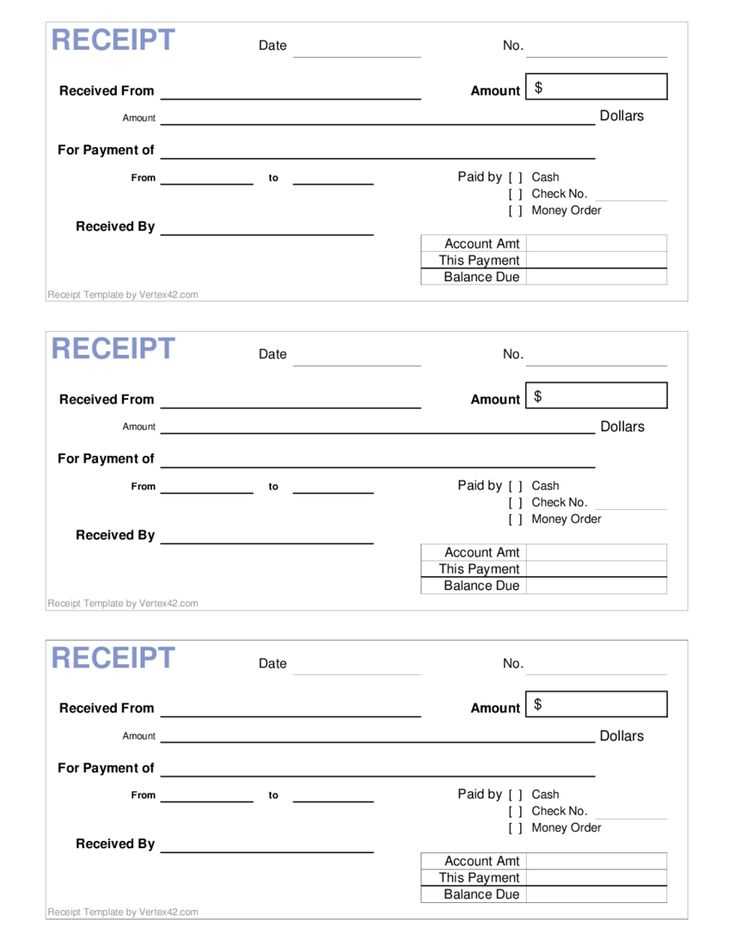
Creating a cash register receipt template can simplify transactions and enhance your business’s professional appearance. Customize your template by including fields like transaction details, itemized lists, and tax calculations for clarity. You can design this template using basic text formatting, or explore more advanced options with spreadsheet tools or design software.
Start with clear labels for each section, such as the store name, transaction date, and total amount. Ensure the design is simple yet functional, offering all the necessary information without overcrowding. Add spaces for item names, quantities, and prices, keeping the layout intuitive for both the cashier and the customer.
If your business handles taxes, include a section for tax breakdown, so the customer can easily see how much is being charged. Adjust the format to fit the type of printer used, whether it’s a thermal printer or standard paper. Always test your template before printing large batches to ensure everything aligns properly and fits on the receipt paper.
Printable Cash Register Receipt Template
To create a simple and functional cash register receipt, focus on including key details clearly. The template should capture transaction specifics without unnecessary clutter. Here are the main sections to consider:
- Store Information: Place the business name, address, and contact details at the top. This makes it easy for customers to contact you or locate your store if needed.
- Receipt Number: Assign a unique number for each receipt. This helps in tracking and referencing transactions easily.
- Date and Time: Include the date and the exact time of the transaction for accurate records.
- Itemized List of Products: List each product purchased, along with its price and quantity. This ensures transparency and clarity for the customer.
- Total Amount: Clearly display the total cost after taxes and any discounts.
- Payment Method: Indicate the method of payment, whether it’s cash, card, or another form. This avoids any confusion later.
- Return/Exchange Policy: Briefly note the store’s policy for returns or exchanges to set clear expectations.
For an even better experience, consider adding a barcode for easy scanning in future interactions. Customize the design to match your brand’s aesthetic while maintaining legibility. Keep the layout straightforward so customers can quickly read and understand all relevant details.
Creating a Customizable Receipt Template
Design a receipt template by first choosing the key elements you need: store name, address, transaction details, and payment method. Ensure these sections are clear and easy to read. Use a simple grid layout to separate these components for better organization. Here’s an example of what you can include:
| Store Name: | [Your Store Name] |
| Address: | [Store Address] |
| Transaction Date: | [Date] |
| Items Purchased: | [Item List] |
| Total Amount: | [Total] |
| Payment Method: | [Payment Method] |
Customize fonts and spacing for clarity. Keep the font size consistent across sections, but you can emphasize important information like the total amount or payment method by making them bold. Adjust the margins and padding to fit everything neatly into a printable format. Make sure your design looks good both on screen and when printed. You might also want to add a section for customer feedback or store promotions, depending on your business needs.
Finally, test the template with various types of receipts to ensure it works across different transactions. Adjust the layout for different receipt sizes, whether you’re using thermal printers or regular paper. Regularly update the template to match any changes in your store’s information or branding.
Choosing the Right Format for Printing
For clear and legible receipts, opt for a format that aligns with your printer’s capabilities and the space available on the receipt paper. A standard format is often best for most transactions, ensuring all the necessary details fit without overcrowding. Common options include portrait or landscape, with portrait being ideal for most cash registers. It uses space efficiently and works well with narrow receipt paper.
If your printer supports thermal printing, adjust the layout to maximize the output quality. Choose a simple layout with text and a small logo if needed, to avoid wasting paper or ink. Pay attention to the margins and font size, ensuring that all information is readable without cramping the text. A 12-point font is typically suitable for most receipts.
Consider the size of your receipt paper. 3-inch wide rolls are common in retail, but some businesses may prefer a smaller 2-inch roll for compact receipt storage. Ensure your format accommodates the width without cutting off text. Always print a test receipt before finalizing the format to check alignment and readability.
Adding Legal Information to Receipts

Include the necessary legal details on receipts to ensure compliance with tax and consumer protection laws. This typically involves the following key elements:
- Business Name and Address: Always display the full legal name and the physical address of your business. This helps establish the legitimacy of the transaction.
- Tax Identification Number (TIN): Depending on your region, the inclusion of a TIN may be mandatory for tax reporting purposes. This ensures that your business is properly identified in the tax system.
- VAT or Sales Tax Information: If applicable, show the VAT or sales tax rate and amount charged for the goods or services. This is particularly important for businesses operating in regions with a value-added tax system.
- Refund Policy: Clearly state the business’s refund and return policy. This protects both the consumer and the business by setting expectations upfront.
- Terms of Service: If relevant, a brief mention or reference to the business’s terms of service may be required. This helps clarify the relationship between the buyer and seller.
Make sure to adjust the content based on the jurisdiction and type of business. Check local regulations regularly to stay up to date with any changes in legal requirements. By including the necessary legal information, you can avoid potential disputes and protect your business interests.
Incorporating QR Codes for Enhanced Functionality
Adding QR codes to cash register receipts streamlines customer interactions and boosts convenience. For example, customers can scan the code to access digital receipts, saving paper and time. This simple addition also allows you to provide links to special offers, loyalty programs, or detailed product information directly on the receipt.
Make sure to use a reliable QR code generator that integrates seamlessly with your point-of-sale system. The code should lead to a mobile-friendly webpage, where customers can view their purchase details, track order status, or access customer support. Consider personalizing the experience by offering targeted promotions based on purchase history.
Another benefit of QR codes is their ability to enhance payment security. With a QR code, the customer can confirm their transaction details directly on their smartphone, reducing errors or fraud risks. Keep the code size appropriate so it scans easily across different devices, and test it regularly to ensure it works smoothly under various conditions.
Finally, don’t forget to include a clear call-to-action next to the QR code, guiding the customer on what to do next. Whether it’s to view their digital receipt or join your rewards program, clear instructions will increase engagement and ensure a seamless experience for all users.
Designing for Quick Scanning and Reading

Keep the font size legible, typically 10-12pt for body text. This ensures clarity without overwhelming the space on the receipt.
Choose a simple, sans-serif font like Arial or Helvetica. These fonts are clear and easy to read, especially in a small size.
Use bold for key information, such as item names, prices, and totals. This makes it easier for customers to spot the most important details quickly.
Align text left for a clean, straightforward look. Left alignment improves readability and reduces scanning time compared to centered or right-aligned text.
Include enough white space between lines of text. This prevents the receipt from looking crowded and makes it easier for customers to focus on one section at a time.
Limit the amount of text. Stick to necessary details like item descriptions, prices, tax information, and payment method. Extra information can clutter the design and slow down the scanning process.
Utilize clear section breaks, such as extra spaces or lines, to separate different parts of the receipt, like itemized purchases, taxes, and total amounts. This helps direct the reader’s attention to specific areas quickly.
Consider the contrast between text and background. A high contrast, such as black text on a white background, ensures readability even under poor lighting conditions.
Integrating Receipt Templates with Point of Sale Systems

Linking receipt templates directly with your Point of Sale (POS) system ensures smooth, automatic printing of customer receipts. This integration eliminates manual entry and improves accuracy by pulling data directly from transactions.
Streamlining Data Flow
To connect receipt templates with your POS, ensure that your system supports customizable receipt layouts. Most modern POS software allows you to upload a template file (such as .txt or .xml) and link it with specific transaction details like item names, prices, taxes, and totals. The software automatically populates the fields based on the transaction data.
Customizing Templates
Custom receipt templates can reflect your brand’s identity. You can add logos, color schemes, and specific text elements such as return policies or promotional messages. Just ensure your POS system supports these customizations and that the template format is compatible with it.
Key Tip: Test the template regularly to ensure that all data appears correctly and nothing is cut off, especially when printing on different receipt sizes.


