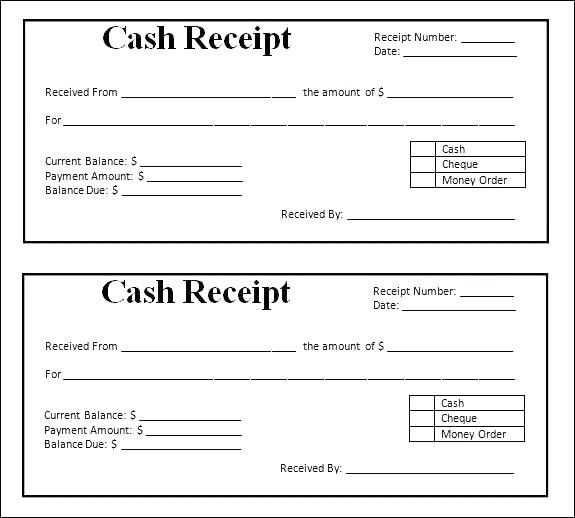
How to Create a Custom Cash Receipt Template
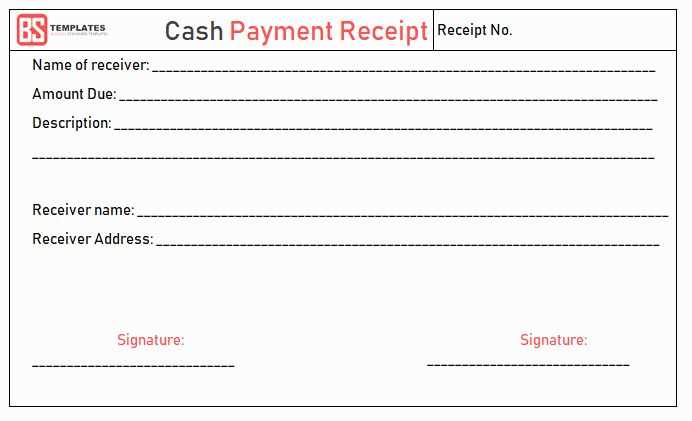
QuickBooks provides built-in receipt templates, but customizing them improves branding and clarity. Open QuickBooks and navigate to Lists > Templates. Click New, choose a cash receipt format, and select Customize. Modify fields like company logo, address, and payment details. Save the changes and set the template as default.
Essential Fields to Include
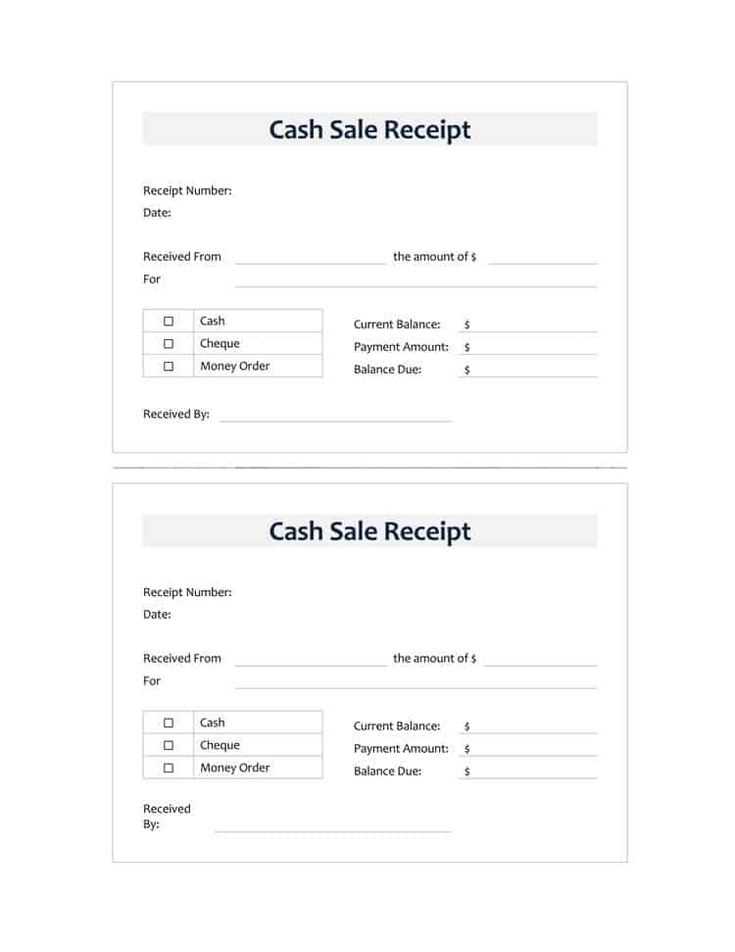
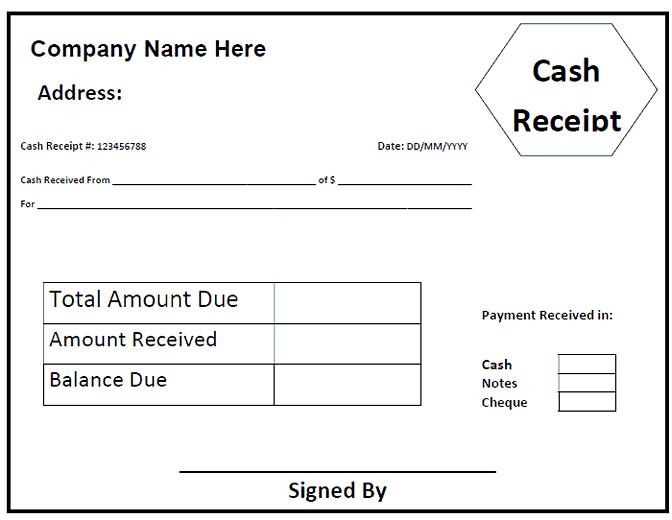
- Date: Indicates when the transaction occurred.
- Receipt Number: Helps with tracking and reconciliation.
- Payer Information: Name and contact details.
- Payment Method: Specifies cash, check, or electronic transfer.
- Amount Received: Clearly states the total payment.
- Description: Notes on goods or services provided.
- Authorized Signature: Confirms receipt authenticity.
Printing and Sending Receipts
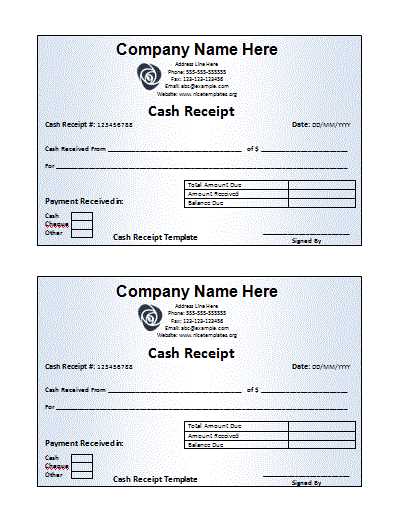
To print a receipt, select the completed transaction in the Receive Payments window and click Print. For email delivery, choose Send and ensure the recipient’s email is correct.
Automating Receipt Generation
QuickBooks Online allows automatic receipt generation for recurring transactions. Navigate to Gear Icon > Recurring Transactions, create a new template, and set the frequency. This reduces manual entry and ensures timely documentation.
Customizing and automating receipts in QuickBooks enhances record-keeping and improves professionalism. A well-structured receipt template minimizes errors and provides clear documentation for every cash transaction.
QuickBooks Cash Receipt Template: Customization and Use
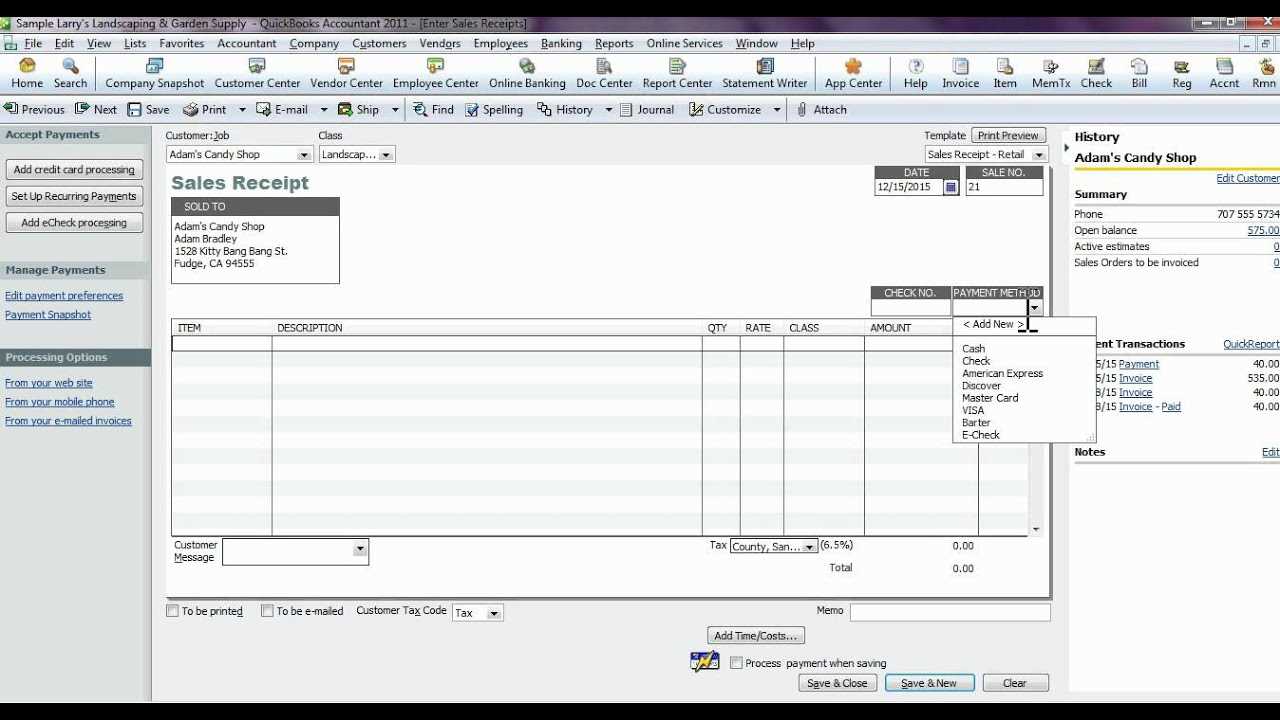
Adjust the default cash receipt template in QuickBooks to include your company’s branding, additional details, or specific formatting. Open QuickBooks, navigate to “Lists,” select “Templates,” and choose “Cash Receipt.” Click “Edit Template” to modify fonts, colors, and layout. Use the “Additional Customization” section to add or remove fields, such as customer address, payment method, or custom messages.
To ensure professional-looking receipts, upload a company logo under “Layout Designer.” Adjust text alignment and spacing for clarity. Save and preview the template before finalizing. If adjustments are needed, revisit the customization panel and refine the layout.
For automation, create multiple templates tailored for different payment types. Assign templates based on transaction categories under “Manage Templates.” This streamlines receipt generation and keeps records organized. After customizing, test-print a receipt to verify alignment and information accuracy before using it with customers.


