Creating a clear and easy-to-read cash register receipt is a simple way to provide customers with a quick summary of their purchases. Start with the basic elements: store name, date, transaction number, item list, and total amount. These details should be displayed in a clean and logical order.
Ensure accuracy when listing item names, prices, and quantities. Any errors can lead to confusion or disputes later. Include the total price at the bottom of the receipt, ensuring it stands out for easy identification.
Additionally, consider adding tax information where applicable. Clearly label any taxes applied to the total amount so that customers can see how the final price is calculated. Transparency in this regard builds trust and avoids misunderstandings.
Include a return policy or a customer service contact if relevant, as this can be helpful for shoppers. Provide a contact number or website for support if needed. The inclusion of such details gives customers a clear understanding of their rights after the transaction is complete.
Here’s a detailed plan for an informative article on the topic “Template Cash Register Receipt” in HTML format, with three practical and narrow headings:htmlEditTemplate Cash Register Receipt
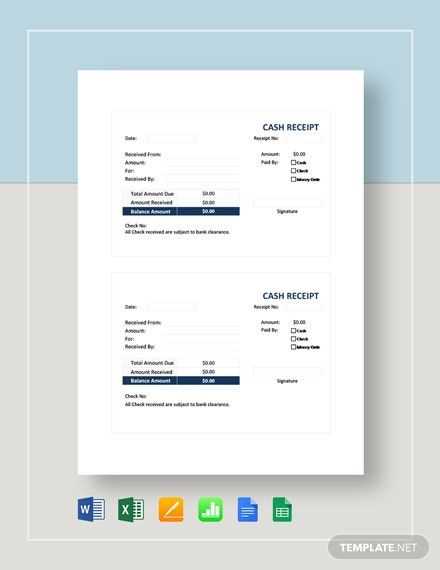
To create a functional and simple cash register receipt template, first focus on the layout. The structure should include clearly defined sections for business information, items purchased, and the total amount. Each of these components should be spaced well for easy reading and printed clearly on standard receipt paper.
Designing the Header

The header of your receipt should display the business name, address, and contact details in a readable font. This section also includes space for the date and time of the transaction. Ensure the header is prominent and aligns with your brand identity. This will help customers quickly recognize where the receipt is from.
Itemized List of Products
Below the header, list each item purchased along with its quantity, price, and any applicable taxes or discounts. Use a simple table or formatted lines to make each entry easy to follow. It’s crucial to avoid clutter and ensure clarity by keeping item names and prices aligned. The total price should be clearly displayed at the bottom of this section.
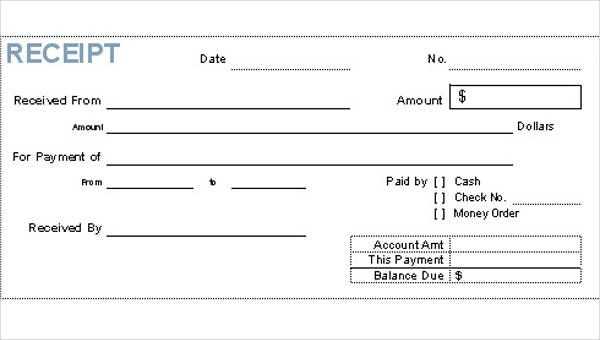
Footer with Payment Details

The footer of the receipt should include payment details, such as the method of payment, transaction number, and any relevant terms or return policies. This section should be concise and structured to fit within the remaining space at the bottom of the page. Keep the font size consistent with the rest of the receipt to ensure a professional appearance.
How to Create a Simple Receipt Template

Begin by determining the key elements of your receipt: business name, address, phone number, transaction details, itemized list, total, and date. These should be clearly structured in the template for easy reading.
Use a basic grid layout to organize the information. Place your business name and contact details at the top, followed by the transaction information. An itemized list should include columns for item description, quantity, price, and total. At the bottom, include a space for the total amount and date.
To create the template, open a word processor or spreadsheet software. Use tables or grids to structure the receipt. Avoid unnecessary fonts or colors, keeping the layout clean and straightforward. Make sure there’s enough space for each section to be easily read, with clear breaks between items, totals, and dates.
If you’re using a spreadsheet, utilize cells to align information neatly. For a word processor, make use of tabs or tables to ensure proper alignment of data. You can even add a unique receipt number to help track transactions.
Once the template is set, save it in an easily accessible format for reuse. This way, you can quickly fill in the required details for each transaction without having to recreate the layout each time.
Customizing Templates for Specific Business Needs

Adjust your receipt templates to reflect your business’s unique identity. Begin by incorporating your logo and brand colors for a personalized touch. Include specific details relevant to your transactions, such as product codes or pricing tiers. If your business handles discounts or promotions, make sure to dedicate space for those offers clearly.
For service-based businesses, adding a breakdown of services and their prices can enhance transparency. A simple and clear layout showing the details helps customers understand their charges. Businesses that provide warranty or return policies can also benefit from including this information directly on the receipt.
Consider offering multiple languages for receipt templates, especially if you serve a diverse customer base. This ensures a smoother experience for non-native speakers. For retail businesses, including the option to add item descriptions or quantities helps customers track their purchases easily.
If your business requires specific tax information, such as VAT or sales tax rates, ensure that your template includes sections dedicated to these details. Customizing the format for easy readability can also reduce confusion during audits or financial reviews.
Finally, make sure your template is compatible with your point-of-sale (POS) system to avoid errors or printing issues. Test different versions of your receipt template to see which layout works best for your business, while keeping it aligned with customer expectations.
Integrating Receipt Templates with POS Systems
Integrating receipt templates with your POS system streamlines the transaction process and enhances customer experience. Start by ensuring your POS software allows for customizable receipt templates. This flexibility lets you add key details like logos, addresses, and specific items.
- Check compatibility: Ensure that your POS system supports receipt template integration, either natively or through third-party plugins.
- Choose a template format: Depending on your business, choose between pre-designed templates or custom-built ones tailored to your branding.
- Consider data flow: Ensure that your POS system seamlessly transfers transaction details (like prices, taxes, and discounts) to the receipt template without manual input.
Once the integration is set up, test the system by running a few transactions. This ensures that all the relevant data is accurately captured and presented on the receipt. Address any formatting issues or errors during the testing phase.
Automating receipt generation ensures consistency across your business. It also speeds up the checkout process and reduces human error, improving accuracy in customer transactions.