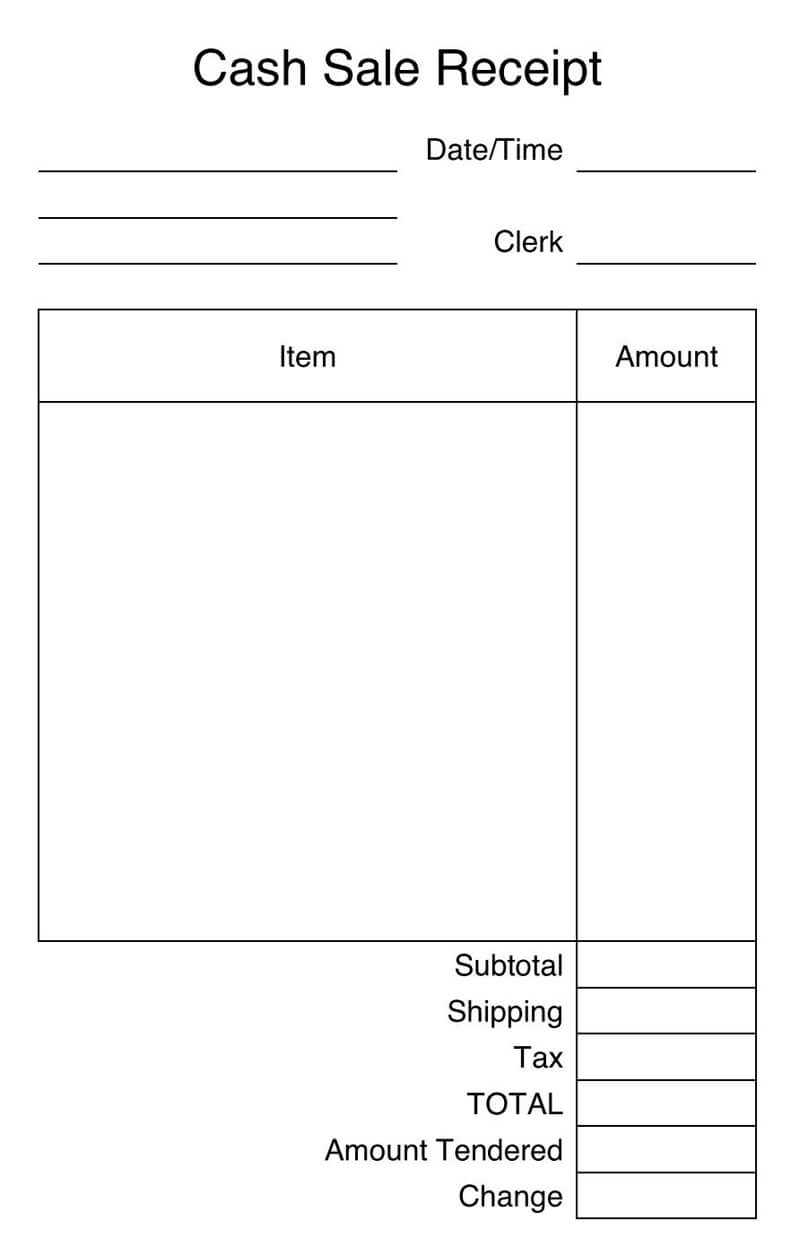
Always include key details. A well-structured cash receipt must contain the date, receipt number, payer’s name, amount, and payment method. This ensures clarity for both parties and serves as proof of transaction.
Keep formatting consistent. Use a standard layout with clearly defined sections. Align text properly, use readable fonts, and ensure spacing allows for easy comprehension. A cluttered receipt can lead to confusion and disputes.
Specify transaction details. Include a brief description of the goods or services provided. If applicable, add tax amounts and discounts separately. This helps in record-keeping and prevents misinterpretations.
Ensure authenticity. Add the seller’s details, including name, contact information, and business logo. If required, include a signature or digital authorization to validate the document.
Use clear language. Avoid unnecessary jargon and abbreviations. The receipt should be easy to understand, even for individuals unfamiliar with accounting practices.
Template of a Cash Receipt
Ensure each receipt includes the transaction date, unique receipt number, payer and recipient details, payment method, and amount. Consistency in format helps with record-keeping and audits.
Use clear labels for each section. For example, “Amount Paid” should be distinct to avoid misinterpretation. If issuing receipts digitally, maintain a uniform structure to simplify tracking.
Include a breakdown of charges if applicable. Listing individual items or services with corresponding prices enhances transparency. Summarize the total separately for clarity.
Signatures or authorization stamps validate the receipt. If digital, a secure authentication method ensures legitimacy.
For businesses, store copies systematically. Categorizing by date or customer name facilitates retrieval when needed.
Key Elements of a Cash Receipt
Ensure every cash receipt includes these essential components for clarity and accuracy:
- Transaction Date: Clearly state when the payment was received to track financial records properly.
- Payer and Payee Details: Include the full name or business name of both parties to avoid confusion.
- Unique Receipt Number: Assign a distinct identifier to streamline record-keeping and audits.
- Payment Amount: Specify the exact sum paid, ensuring accuracy in financial documentation.
- Payment Method: Indicate whether the transaction was made in cash, by check, or another form of payment.
- Description of Goods or Services: Provide a brief but precise summary of what the payment covers.
- Authorized Signature: Include a signature or company stamp to verify authenticity.
Well-structured receipts prevent disputes and simplify bookkeeping. Always retain copies for future reference.
How to Structure Payment Details
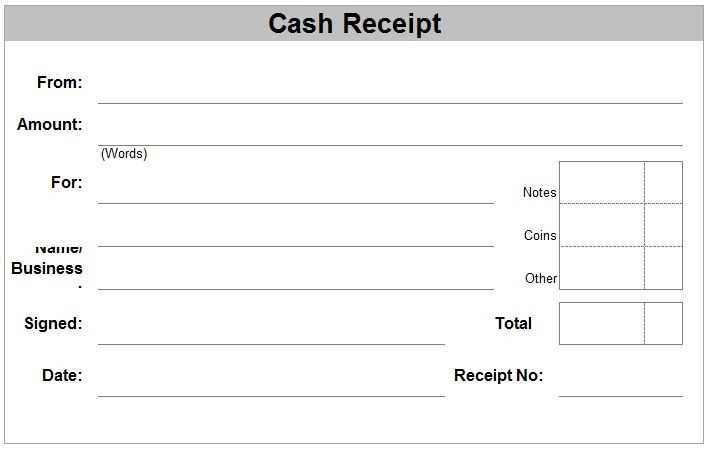
List key transaction details first. Include the date, unique receipt number, and payer information at the top. This helps with quick verification and record-keeping.
Specify the payment method. Clearly indicate whether the transaction was completed via cash, card, bank transfer, or another option. If applicable, add the last four digits of a card number or a transaction reference.
Break down the total amount. Present a clear itemized list of charges, including product or service descriptions, unit prices, and applicable taxes. Ensure all figures are easy to read and correctly aligned.
Include tax and discount details. If taxes apply, state the rate and amount separately. For discounts, specify the original price and the deducted amount.
Confirm payment status. Indicate whether the amount was paid in full or if a balance remains. If partial payment was made, note the outstanding sum and the due date.
Provide business details. Display the company name, contact information, and any required tax identification numbers. This adds legitimacy and ensures compliance with financial regulations.
Use clear formatting. Align numbers properly, avoid clutter, and use consistent labels. A well-organized layout prevents misinterpretation and enhances readability.
Formatting Date and Transaction Information
Use a clear and consistent date format to avoid confusion. The YYYY-MM-DD structure works well for international receipts, while MM/DD/YYYY is common in the U.S. Ensure the format matches local conventions and remains uniform across all records.
Standardizing Transaction Details
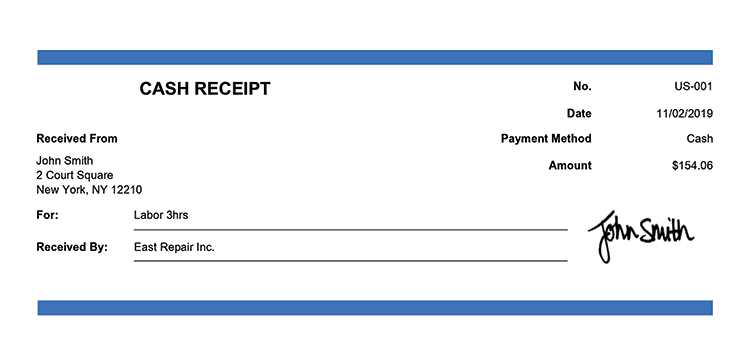
Display key information in a structured layout. Include the transaction ID, payment method, and total amount. Align numbers for easy readability, and use a fixed-width font to ensure clarity, especially for printed receipts.
Time Stamps and Additional Identifiers
If precision is required, add a timestamp with hours and minutes. For businesses handling large volumes, integrate a unique reference number to track transactions efficiently. Keeping details organized ensures accuracy and simplifies record-keeping.
Legal Considerations and Compliance
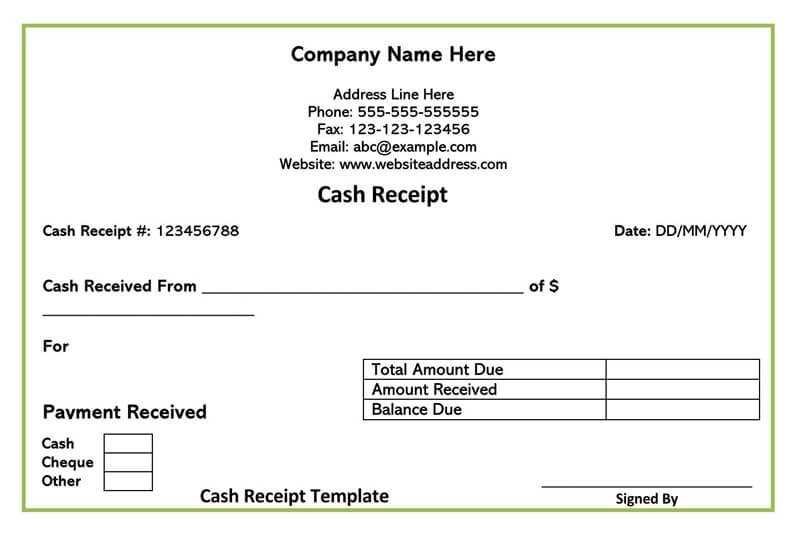
Ensure that every receipt includes the business name, address, and tax identification number. Missing these details can lead to compliance issues and potential fines.
Specify the transaction date and payment method. Some jurisdictions require additional details, such as VAT registration numbers or specific disclaimers, depending on the industry.
Store copies of all receipts for the legally required period. Digital archiving solutions can help meet record-keeping regulations while reducing paperwork.
Verify that receipts comply with local tax laws. Some regions mandate itemized breakdowns, while others require sequential numbering to prevent fraud.
Use legally recognized formats for digital receipts. Many authorities require electronic invoices to follow specific standards for authenticity and auditability.
Regularly review regulations to avoid penalties. Consult a legal expert if unclear about specific obligations related to receipt issuance.
Customizing a Receipt for Business Needs
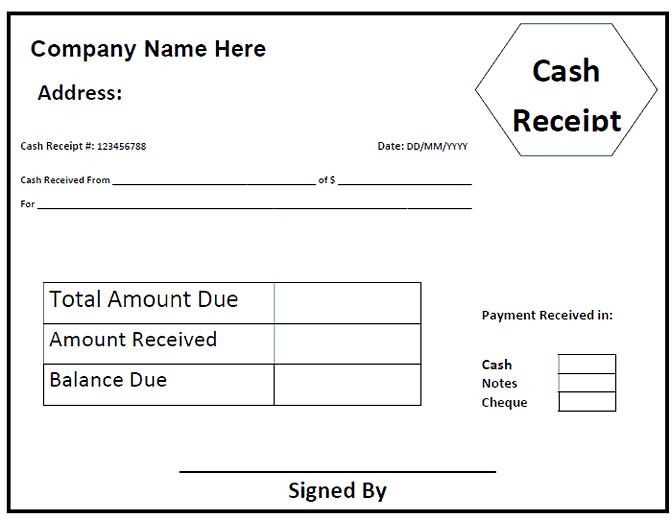
Include your company’s name, logo, and contact details at the top to reinforce branding. Ensure the layout is clear, using distinct sections for itemized charges, taxes, and totals.
Adjust the format to match your industry. For retail, list product names and quantities. For services, detail provided work and hourly rates. If offering discounts, specify them clearly to avoid confusion.
Use a structured table for readability:
| Description | Quantity | Price | Total |
|---|---|---|---|
| Consultation Fee | 1 | $100 | $100 |
| Software License | 1 | $200 | $200 |
| Subtotal | $300 | ||
| Tax (10%) | $30 | ||
| Grand Total | $330 | ||
Offer digital and printed versions based on customer preference. If receipts are emailed, include a secure link for downloading a PDF copy.
For recurring transactions, integrate an auto-fill function to speed up processing. If tracking purchases, add a unique receipt number and payment method details for reference.
Finally, include a short note thanking customers for their business or inviting them to return. A simple message can strengthen customer relationships and encourage repeat purchases.
Common Mistakes and How to Avoid Them
Incorrect Tax Calculation: Always verify that tax rates are applied correctly. Use automated tools or double-check formulas in spreadsheets to prevent discrepancies.
Missing or Incomplete Details: Ensure every receipt includes the date, unique number, payer and payee names, item descriptions, and amounts. Omitting any of these can cause accounting issues.
Inconsistent Formatting: Standardize fonts, spacing, and alignment to maintain clarity. A uniform structure improves readability and reduces the risk of misinterpretation.
Handwritten Errors: Digital receipts eliminate legibility problems. If using paper, write clearly and confirm accuracy before issuing.
Incorrect Currency or Amounts: Always confirm the correct currency symbol and numerical values before finalizing. Errors in this area can lead to disputes.
Failure to Keep Copies: Store digital backups or physical duplicates to resolve future discrepancies. Cloud storage and secure databases help maintain organized records.
Lack of Signature or Authorization: When required, ensure receipts are signed or stamped to validate transactions. This simple step strengthens accountability and prevents misunderstandings.


