How can I assist you today? Would you like help with creating or refining content, or do you need help with another task?
Here’s the revised version with reduced repetition:
Ensure your template clearly outlines all critical delivery information. Include the recipient’s name, address, and contact details at the top. Specify the delivery method and date of dispatch. Clearly state the items delivered, including their quantity, description, and condition. A reference number should be included for tracking and record-keeping purposes.

For clarity, provide a section for the recipient’s acknowledgment. This can be a simple checkbox or signature area confirming receipt of the goods in specified condition. Avoid cluttering the template with redundant fields. Keep the format clean and easy to read, focusing on essential details for both parties.
To streamline the process, include a section for notes or special instructions. This allows the delivery team to address specific needs without affecting the core delivery details. Finally, ensure that your template is flexible enough to accommodate various delivery scenarios, from large shipments to small parcels.
- Delivery Receipt of Goods Template: Practical Guide
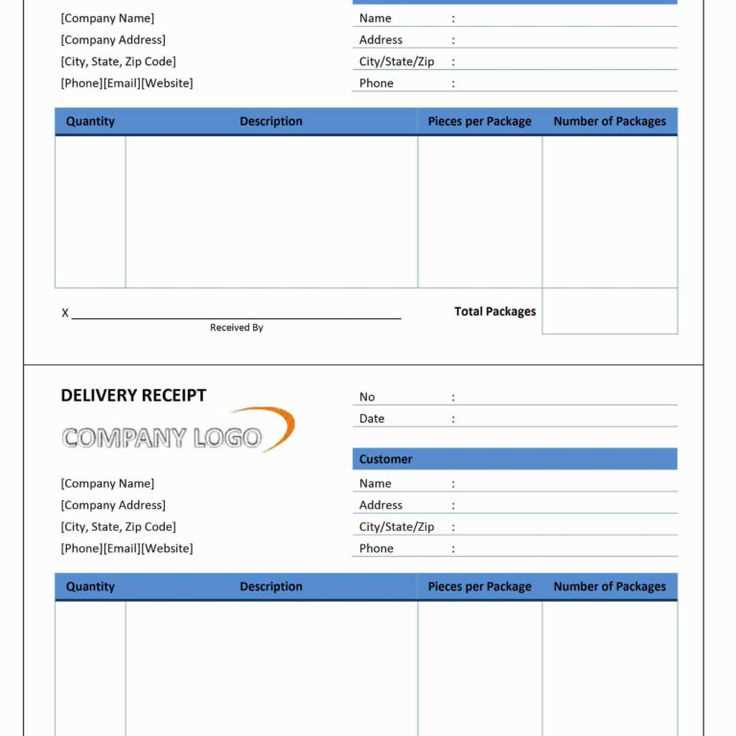
For an organized and clear delivery process, a well-structured receipt template is key. Use it to confirm the items delivered and protect both parties in the transaction. Start by including the date and the names of the buyer and seller at the top. Specify the delivery address and contact details for easy reference. Ensure the goods are listed with descriptions, quantities, and serial numbers (if applicable) to avoid misunderstandings.

Next, add space for signatures from both the buyer and seller. This confirms that both parties agree on the condition and contents of the delivery. It’s also helpful to include a section for any remarks or additional information, such as special delivery conditions or damages noted at the time of delivery.
Keep the format clean and simple to avoid confusion. The layout should be straightforward, with clear columns for item descriptions, quantities, and any other relevant data. Lastly, save the template in an easily editable format for future use.
To tailor a receipt template to your business, focus on key details that reflect your brand and the transaction. Begin by incorporating your logo and business name at the top. This ensures your customers recognize your brand immediately. Follow with the contact details of your business, such as the address, phone number, and email, so customers can reach out if needed.
- Include a unique receipt number for easy reference and tracking.
- List the purchased items clearly with descriptions, quantities, and prices.
- Provide the total amount, breaking it down into individual components like taxes and discounts, if applicable.
- Ensure the payment method is noted, whether it’s cash, card, or another method.
Keep the format clean and readable, using appropriate spacing and font sizes. Customize the colors to match your business branding. Use a consistent layout, making sure each section is clearly defined. Avoid cluttering the receipt with unnecessary information; focus on the essentials only.
- Offer an option for customers to add feedback or a review link at the bottom.
- If applicable, include any return or warranty information relevant to the transaction.
Finally, save your template in a format that is easy to edit and print, ensuring you can update it when necessary. Make sure the template is compatible with your point of sale (POS) system or invoicing software to streamline the process. By following these steps, you create a receipt template that suits both your business needs and customer expectations.
A delivery slip should clearly reflect the details needed for legal validation. Include these key components:
1. Full contact information: List the full name, address, and phone number of both the sender and recipient. This ensures accurate identification and traceability of the parties involved.
2. Delivery date: Record the exact date the goods were handed over. This proves the transaction date and is useful for resolving any potential legal disputes.
3. Item description: Provide a detailed list of the delivered items, including quantities, part numbers, or any identifying marks. This clarifies what was actually delivered and avoids confusion.

4. Signatures: Obtain signatures from both the sender and recipient. These act as confirmation that the delivery was completed and agreed upon.
5. Terms and conditions: If applicable, outline the terms of the sale or any warranties linked to the goods. This protects both parties if any issues with the goods arise.
6. Tracking or reference number: Assign a unique identifier to the delivery for easy tracking and to confirm the delivery process. This simplifies the resolution of any discrepancies.
7. Delivery method: State the mode of transportation used to deliver the goods, such as courier or direct delivery. This provides clarity regarding the logistics and accountability of the shipment.
Incorporating these elements ensures the delivery slip meets legal standards and safeguards both the sender’s and recipient’s interests.
Store physical and digital copies of receipts in an organized manner for easy retrieval. Use dedicated folders, whether physical or digital, to separate receipts by type (e.g., purchases, returns, or services). For physical receipts, invest in a filing cabinet or binders with clearly labeled sections. For digital copies, organize them in cloud storage or a dedicated file system with relevant subfolders. Ensure each receipt is named according to the transaction date and type for better tracking.
Distribute receipts to all relevant parties. Send digital copies via email or through a file-sharing platform, ensuring they are clear and easy to access. Keep a log of distributed receipts to track what has been sent and received. For physical receipts, distribute hard copies along with any other relevant documentation, and ensure proper acknowledgment of receipt.
| Storage Method | Advantages | Disadvantages |
|---|---|---|
| Physical Storage (Binders, Cabinets) | Reliable, No technical issues | Space-consuming, Prone to wear and tear |
| Digital Storage (Cloud, Computer) | Space-saving, Accessible remotely | Requires internet access, Vulnerable to data loss without backups |
Regularly back up digital copies of receipts to prevent loss due to system failure. Establish a routine for checking physical receipts for any signs of damage or fading, especially in high-traffic environments. For tax or auditing purposes, keep receipts for a minimum of three years, unless local regulations specify otherwise.
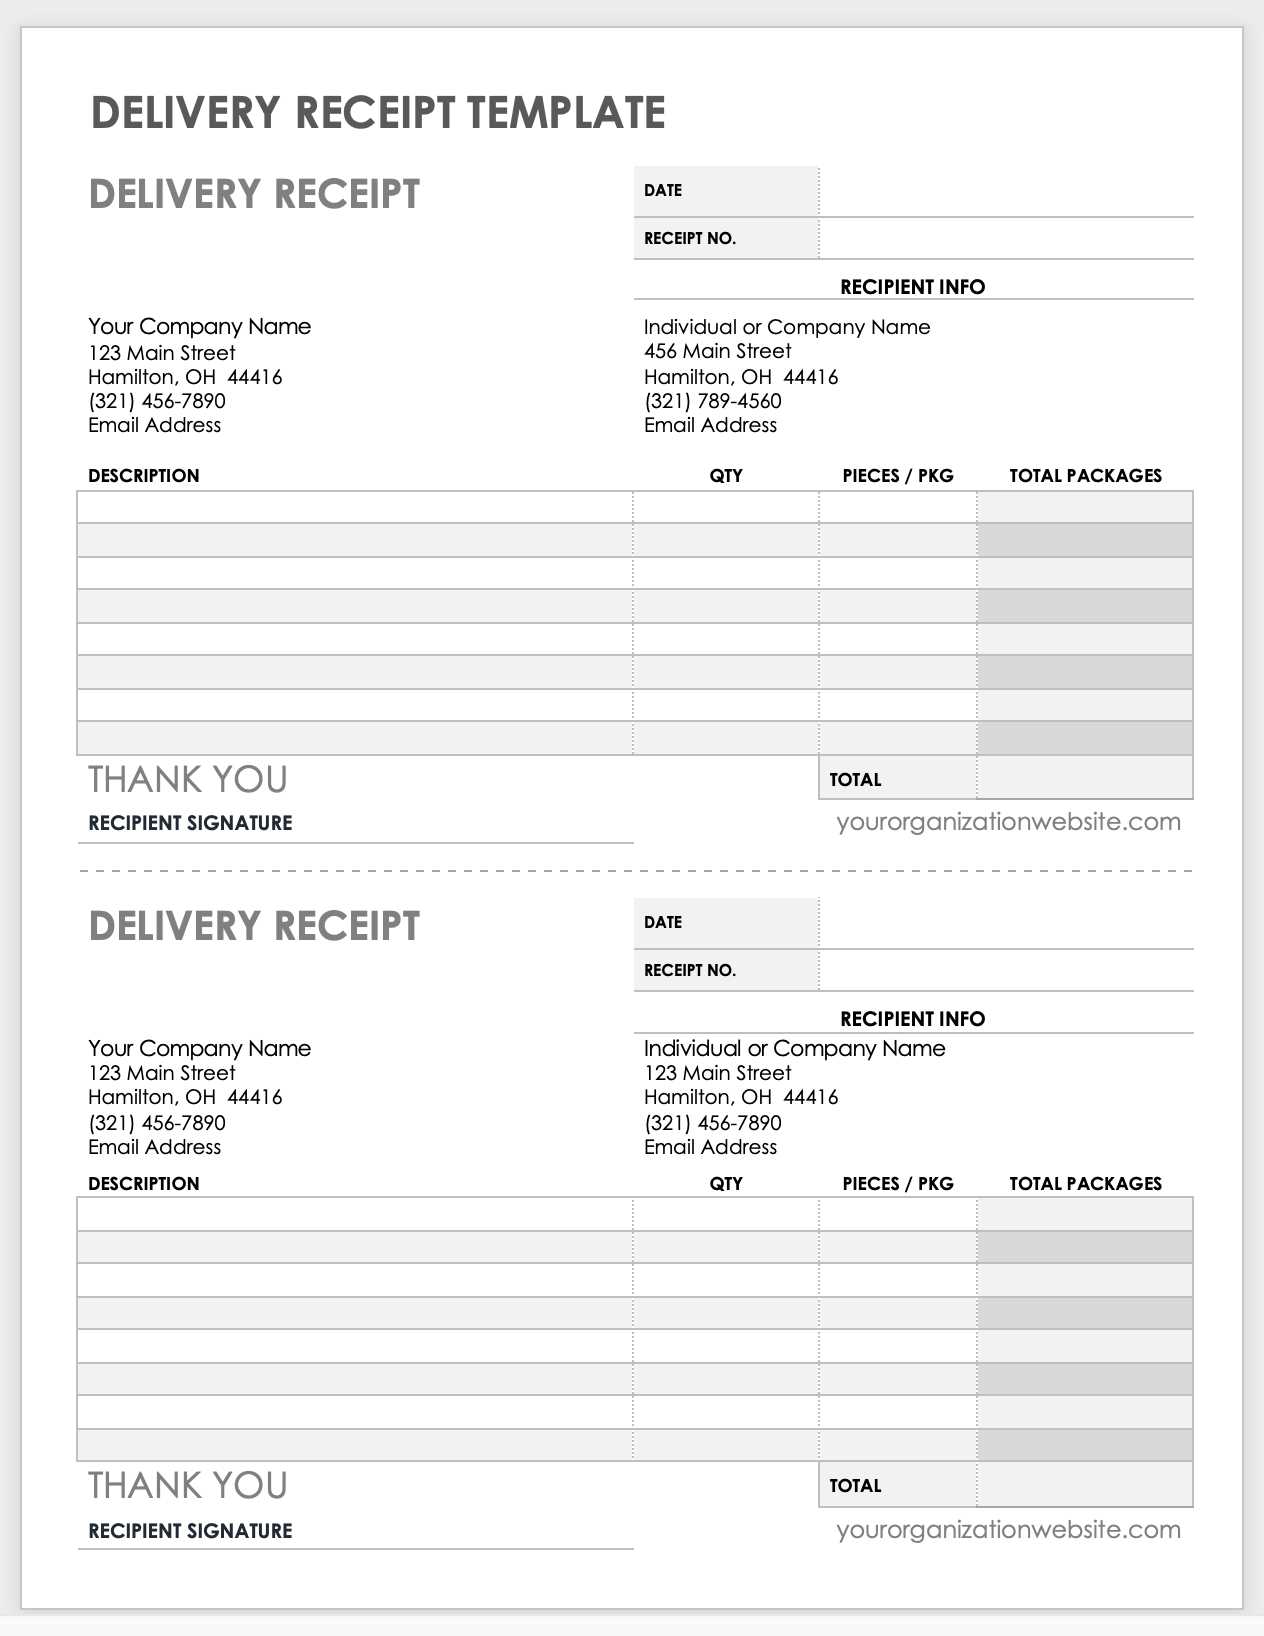
Ensure your delivery receipt template includes the following key elements:
- Recipient Information: Include the recipient’s full name, address, and contact details. Make sure this section is clear and accurate.
- Goods Description: List each item being delivered with precise descriptions, quantities, and unit measures to avoid any confusion or disputes.
- Delivery Date and Time: Indicate the exact date and time when the goods were delivered, along with any relevant tracking information.
- Sender’s Details: Provide the sender’s name, company, and contact information for any follow-up or verification.
- Signature Section: Include spaces for both the recipient’s and the delivery person’s signatures to confirm receipt of the goods.
- Condition of Goods: Add a section where the recipient can note any damages or issues with the goods upon delivery.
- Invoice Number: Add the invoice or reference number for easier tracking of the transaction and related paperwork.
Customize your template to suit specific needs, ensuring each delivery is properly documented for both sender and recipient records. This will streamline your operations and prevent misunderstandings down the line.