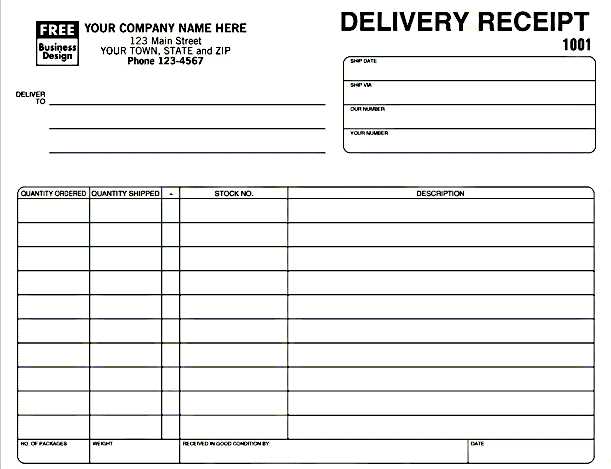
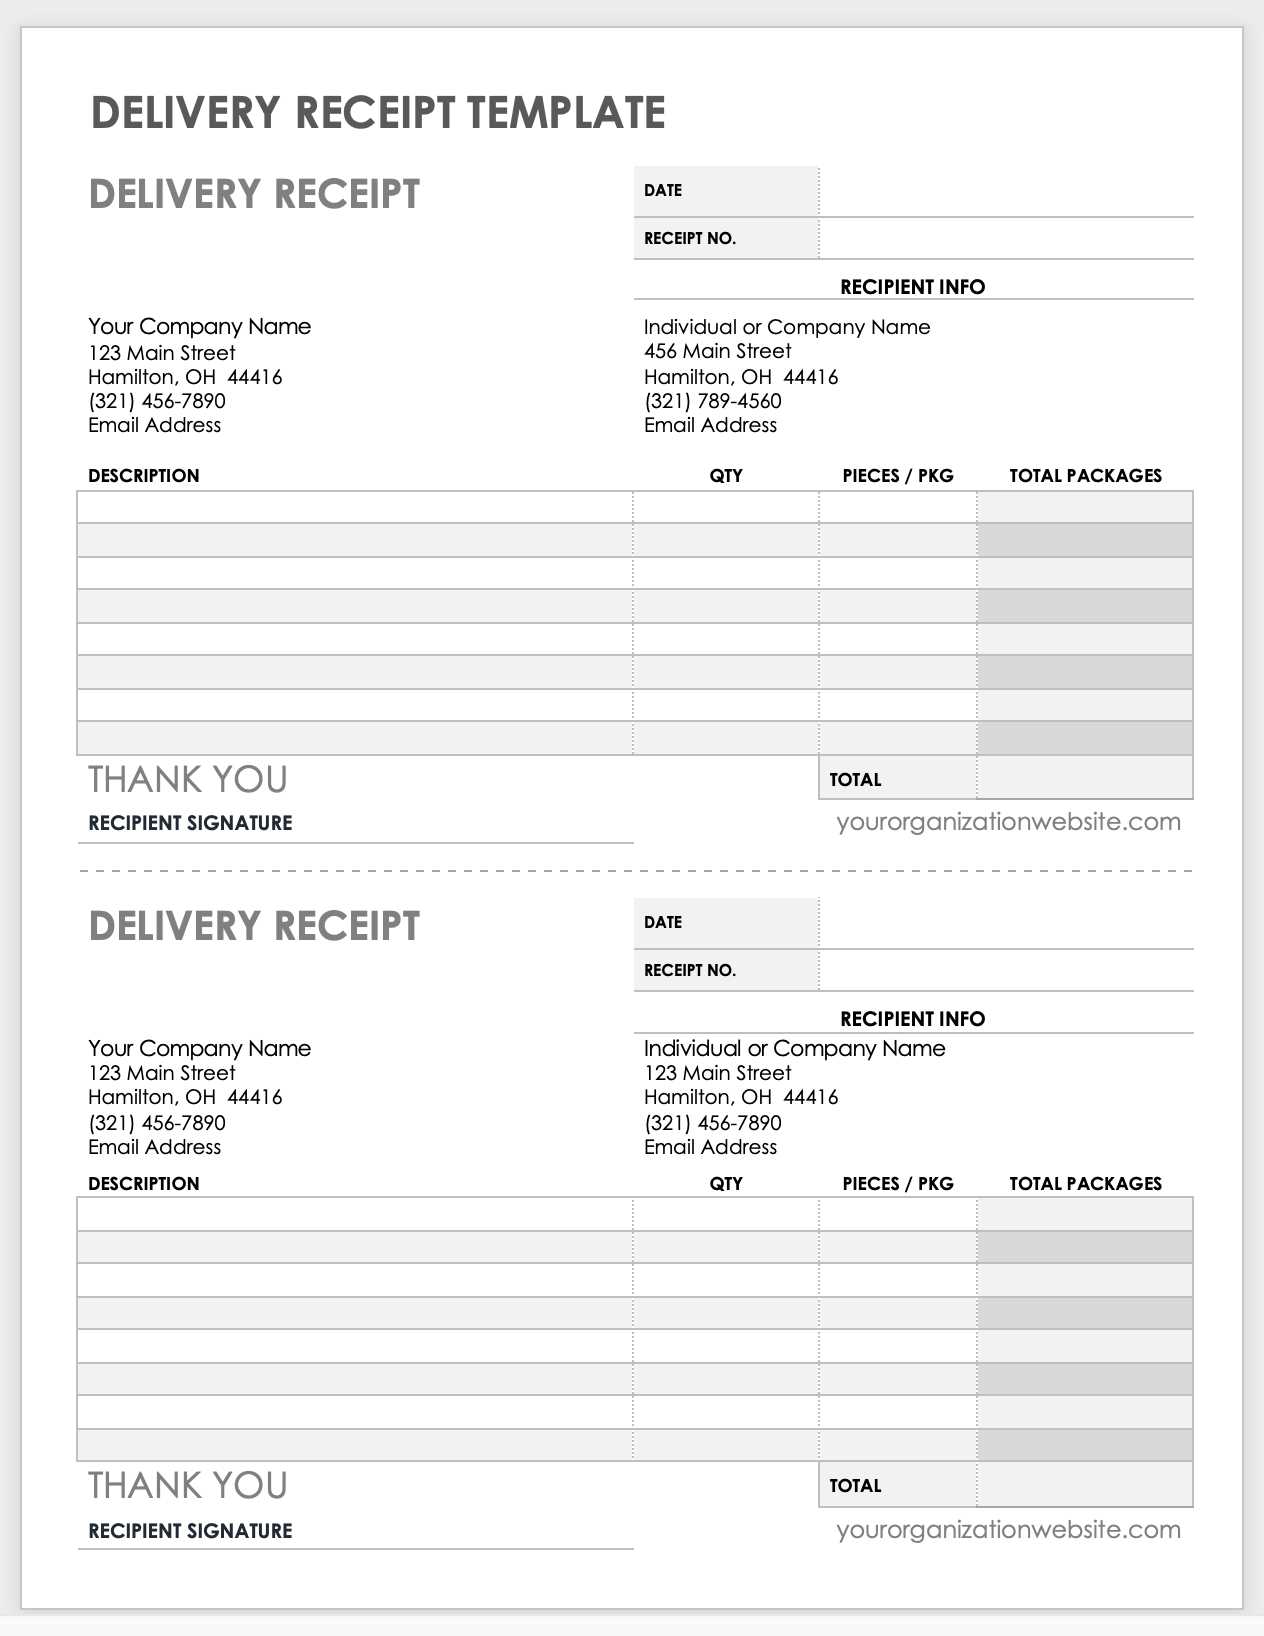
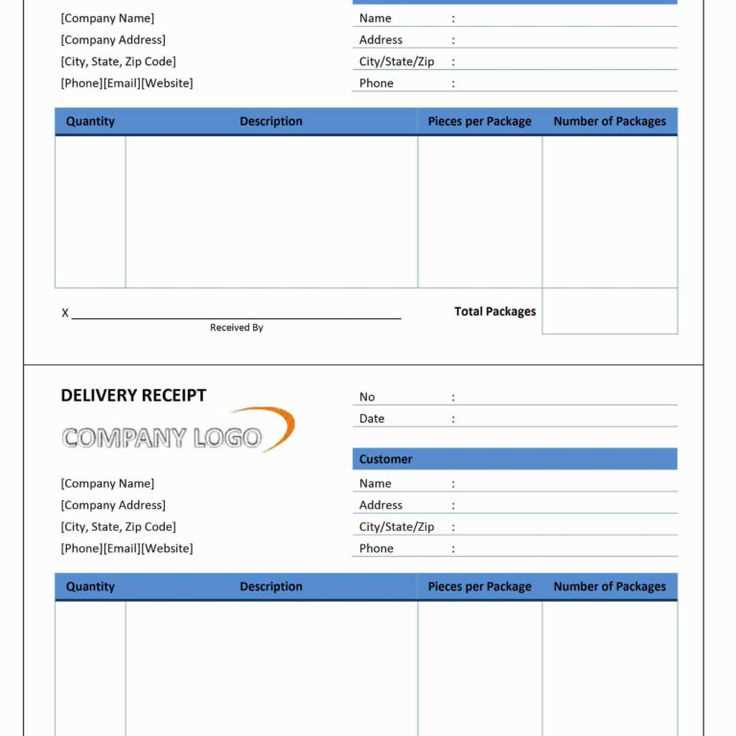
What to Include in a Delivery Receipt

A well-designed delivery receipt template should clearly show the details of the transaction. Start with basic information like the recipient’s name and address. Next, include the sender’s details, such as name and contact information. Always mention the delivery date and time for a complete record. If applicable, provide a brief description of the items being delivered, including quantity and any special instructions.
Formatting Tips

Keep the template simple and easy to follow. Use a clean, organized layout that allows for easy reading. Start with a header section for the recipient and sender details. Underneath, list each item in a clear table format to avoid confusion. Include a section for signatures at the bottom. This helps both parties confirm that the delivery has been completed as per the agreement.
Key Elements to Consider
- Recipient Information: Name, address, phone number.
- Sender Information: Name, address, contact info.
- Delivery Information: Date, time, delivery method.
- Items Delivered: Name, description, quantity.
- Signature Section: Space for both recipient and sender signatures.
Customizing Your Template

Make sure to adjust the template to your specific needs. For example, if you’re delivering a high-value item, you might want to include additional details such as tracking numbers or a breakdown of each item’s value. If you’re operating in a specific industry, consider adding any relevant legal disclaimers or warranty information related to the delivery.
Having a professional, consistent format will not only ensure clear communication between parties but also help in case any issues arise. A simple and efficient template keeps everything organized and secure for both the sender and the recipient.
How to Personalize Your Delivery Receipt
Common Errors to Avoid in Delivery Receipts
Integrating Receipt Templates with Software
Top Methods for Storing and Sharing Delivery Receipts
Personalizing delivery receipts helps maintain a professional image and ensures all necessary information is easily accessible. Begin by customizing the header with your company logo, address, and contact details. This makes the receipt easily recognizable. You can also add personalized fields such as customer names or specific notes related to the transaction.
Avoid common errors when creating receipts. First, check for accuracy in dates and transaction amounts. Missing or incorrect details can lead to confusion and delays. Be sure to include all essential information such as delivery address, item descriptions, and the payment method used. Double-check spelling to maintain professionalism and prevent miscommunications.
Integrating receipt templates with software simplifies the process of generating and tracking receipts. Look for software that supports custom templates, allowing you to automatically fill in customer information and transaction details. This reduces manual errors and speeds up the process. Integration with accounting software can also help with record-keeping and invoicing, streamlining your workflow.
Storing and sharing receipts can be done efficiently using cloud storage. Cloud services offer quick access and secure storage for your receipts, reducing the risk of data loss. You can share receipts via email or provide downloadable links to customers. Make sure the format you choose is universally accessible, such as PDFs, to ensure that customers can view and store their receipts easily.