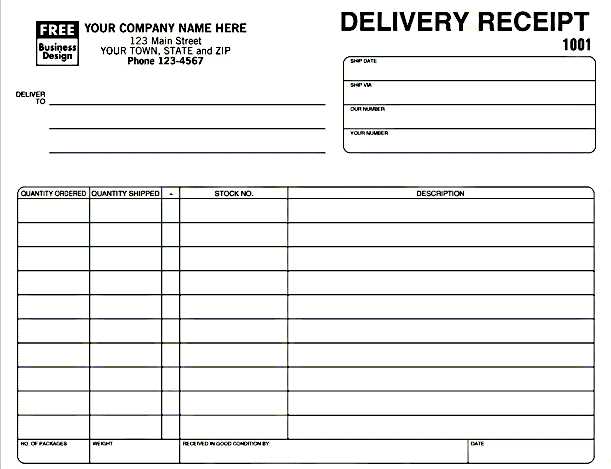
A well-structured delivery receipt template helps businesses keep track of deliveries, ensuring that both parties are on the same page. It provides a clear record of what was delivered, to whom, and when, reducing the chances of disputes or misunderstandings.
To create an effective receipt, include key details such as the recipient’s name, address, and contact information. Specify the items delivered with accurate descriptions, quantities, and any relevant serial numbers or identifiers. Also, make sure to note the delivery date and time, along with any special instructions or conditions that may apply.
For smoother transactions, include a section for signatures, where both the sender and the recipient can confirm the accuracy of the information. Adding a section for comments allows for additional notes or discrepancies to be documented, which could be useful for future reference.
By using a delivery receipt template, businesses ensure transparency, accountability, and clarity in their operations, leading to better customer satisfaction and fewer delivery-related issues.
Here’s the revised version of the text without repetitions:
Focus on clarity by eliminating redundant phrases. Keep sentences concise to improve readability. Instead of repeating similar ideas, opt for varied vocabulary to convey your message effectively.
- Remove unnecessary adjectives that do not add value to the information.
- Break long sentences into shorter, more direct ones to avoid confusion.
- Use bullet points or lists to highlight key points without over-explaining each item.
- Avoid using complex terminology unless it’s necessary for the context.
Review your content to ensure every word serves a clear purpose. Streamline your writing for a smooth, engaging flow.
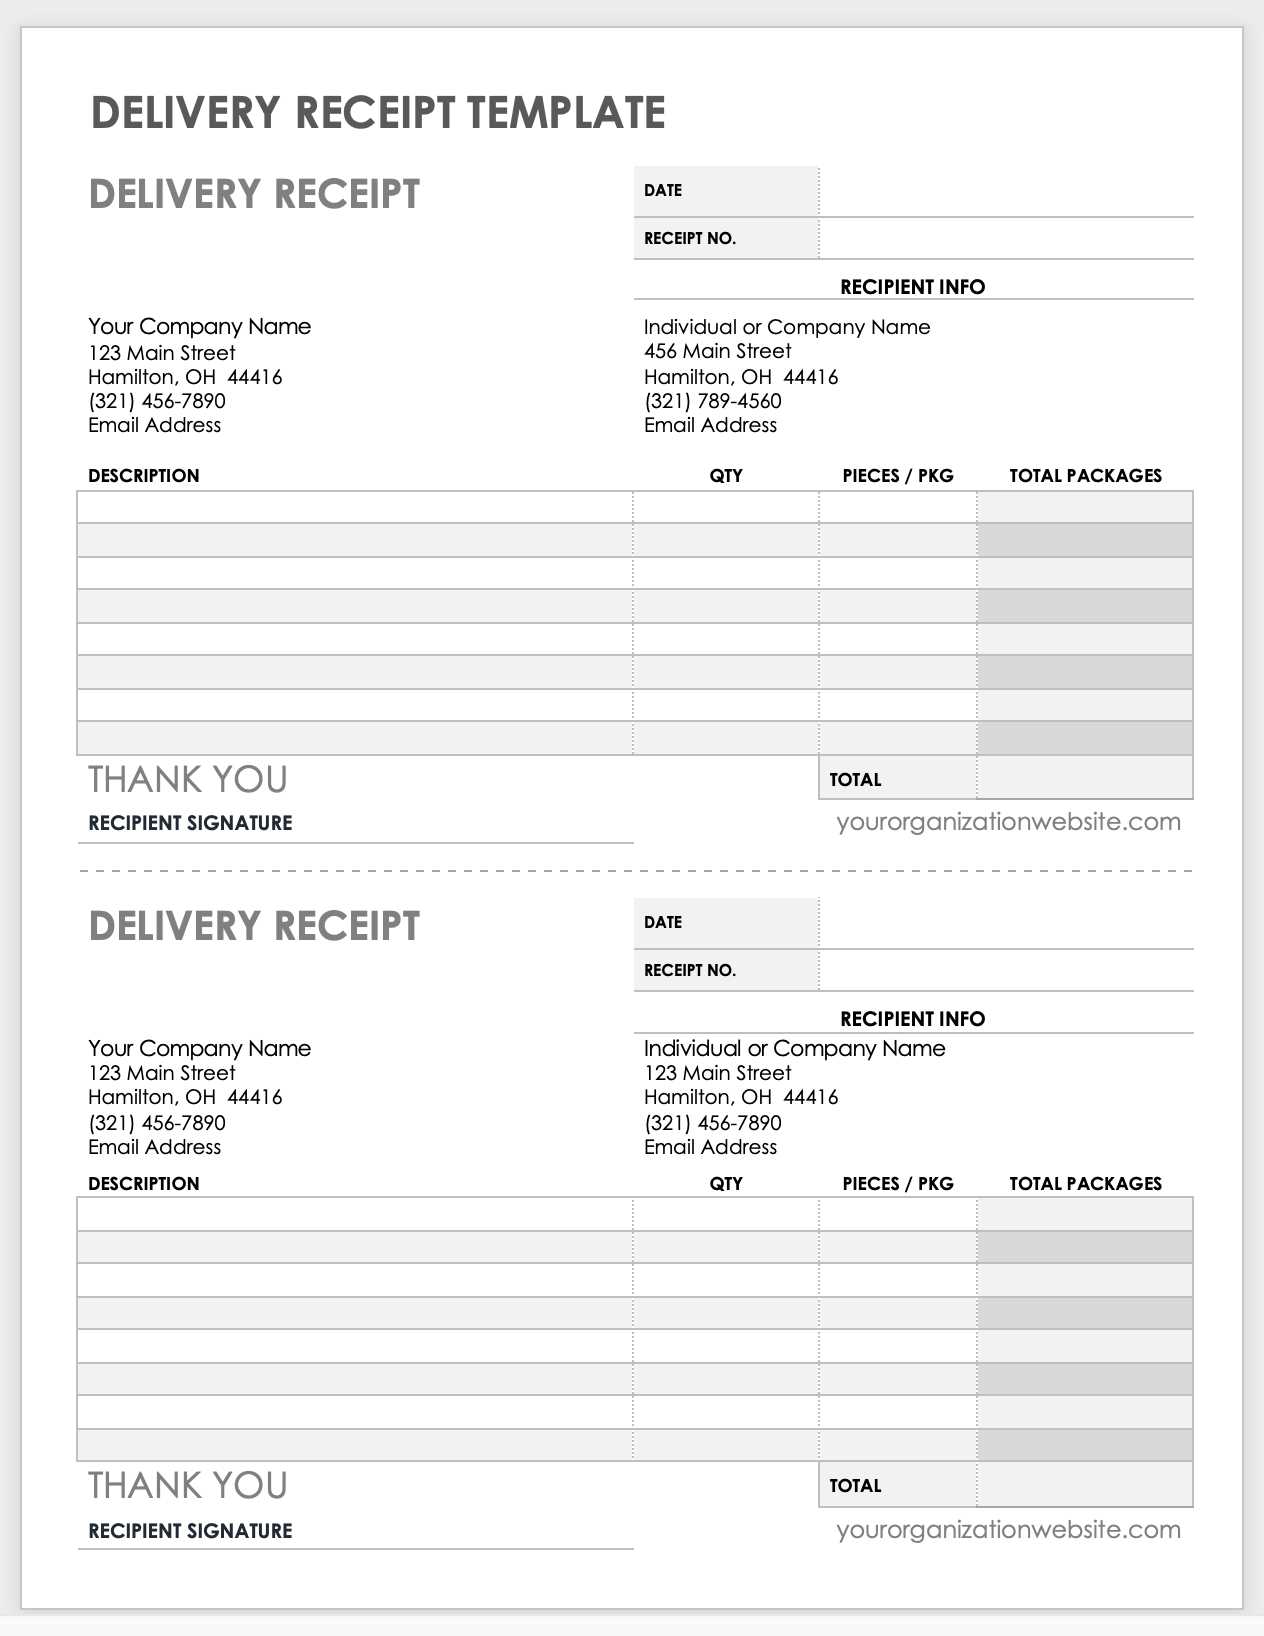
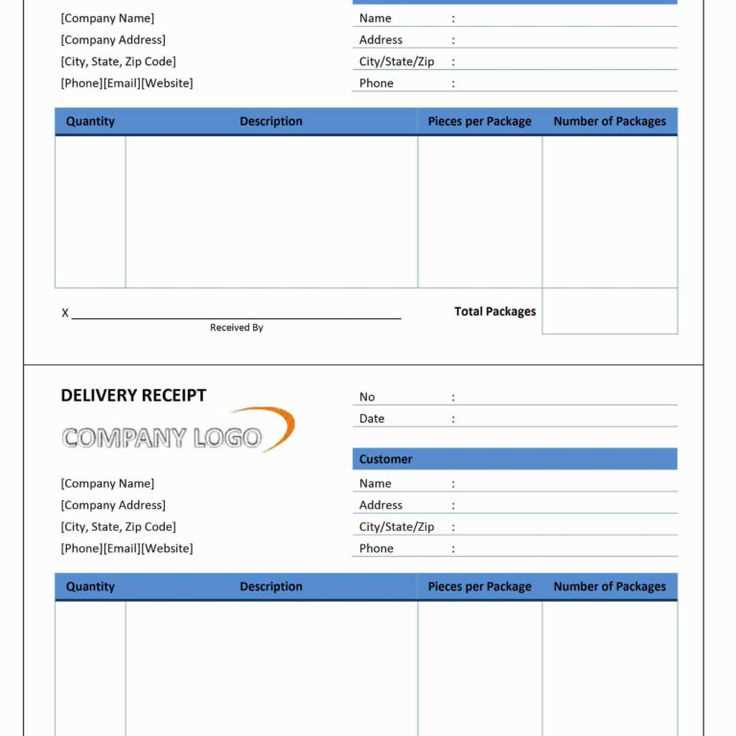
- Template for Delivery Receipt
A clear and concise delivery receipt template helps both the sender and recipient track the transaction. Below is a sample structure for creating an effective receipt:
Key Sections of a Delivery Receipt
- Sender Information: Include the name, address, and contact details of the sender.
- Recipient Information: List the recipient’s name, address, and contact number.
- Delivery Date: Specify the exact date and time when the goods were delivered.
- Delivery Details: Provide a description of the items delivered, including quantities, serial numbers (if applicable), and any other relevant information.
- Condition of Items: Mention the condition of the items upon delivery (e.g., damaged, intact).
- Signature Section: Leave space for both the sender and recipient to sign, confirming the delivery.
Additional Tips
- Ensure that the format is simple and easy to read.
- Include a tracking number or order reference to make it easier to trace the delivery.
- Always use a professional tone, even in a simple receipt template.
- Make sure the information is accurate and updated regularly.
Select a format that suits both your needs and those of the recipient. A digital receipt is often the most practical choice, especially for online transactions, as it can be easily stored and shared. PDFs are a reliable option due to their portability and universal compatibility across devices. Ensure the format you choose retains the clarity of all details and is easy for the recipient to access, whether on a smartphone or computer.
Consider the Purpose of the Receipt

If the receipt serves as proof of purchase for personal records, a simple PDF or an email with embedded receipt details works well. For business use or taxes, opt for a format that allows for easy printing and record-keeping. CSV or Excel formats can be helpful when you need to process multiple receipts at once, as they can be imported into accounting software.
Mobile-Friendly Formats

Since many people access receipts on their phones, make sure the format is optimized for mobile devices. Avoid formats that may require special software to view. Stick to standard file types like PDFs, or send receipts in the body of an email for quick access. Always test your receipts on multiple devices before sending them out.
Clearly state the recipient’s name, address, and contact details. This ensures the delivery reaches the correct person without delays. Include both the delivery address and billing address if they differ, for clarity.
Include the delivery date and time window, if applicable. Specify whether it’s a scheduled time or a general delivery window to set expectations.
Provide a description of the delivered goods or services. List item names, quantities, and any relevant product codes or serial numbers. This helps both parties confirm that the correct items were received.
Note the tracking number or reference code linked to the shipment. It allows both sender and receiver to track the package status at any point during the delivery process.
Ensure the delivery method is mentioned. Whether it’s by courier, postal service, or other means, this provides transparency and clarity on how the package was shipped.
Include a space for the recipient’s signature upon delivery. This serves as proof that the goods were delivered and received in good condition.
Specify any applicable terms regarding returns or damages. Outline the process if items are damaged or need to be returned, including timeframes for action.
Tailor the template to reflect your branding by adjusting colors, fonts, and logos. Ensure that the design aligns with your company’s visual identity for a consistent customer experience.
Update the header and footer sections with relevant company details such as your address, contact information, and social media links. This provides recipients with easy access to additional information while maintaining professionalism.
Include custom fields that are specific to your business, such as order numbers, shipment methods, or product categories. This will help streamline your internal processes and make tracking deliveries more efficient.
Adjust the layout for readability and clarity, ensuring that key details like delivery date, items shipped, and recipient’s information are easily visible. A clean, organized format improves customer satisfaction and reduces confusion.
Lastly, review and update the template regularly. As your business evolves, so should your delivery receipts. Keep the template current with any changes in your offerings or policies to avoid outdated or irrelevant information.
Double-check the data before issuing a receipt. Verify the buyer’s information, product details, and payment amount. Cross-reference with your records to confirm accuracy. This ensures the receipt matches the transaction exactly.
Review the Transaction Details
Take a moment to confirm each item listed, including quantities, prices, taxes, and discounts. Compare the receipt with the original order form or system entry. Any discrepancies could lead to confusion or disputes later.
Automate the Process
Use receipt generation software that automatically fills in essential fields. This minimizes human error and speeds up the process. Set up systems that track inventory and sales data in real-time to ensure receipts are consistent with actual transactions.
Lastly, always keep a copy of the receipt for your records. This makes it easy to resolve any future discrepancies and helps maintain accurate financial documentation for both parties.
Begin by selecting a user-friendly platform or software for creating the digital template. A reliable tool will allow you to design and store templates with ease, ensuring quick access during delivery tasks. Prioritize simplicity in the layout, with clear sections for customer details, delivery status, and timestamps. This clarity reduces errors and enhances communication.
Customize the Template Fields
Incorporate dynamic fields that can automatically populate customer data, delivery times, and addresses directly from your database or tracking system. This feature saves time and minimizes manual data entry, reducing human error.
Include Tracking and Confirmation Features

Ensure that the template includes fields for tracking numbers, delivery confirmation checkboxes, and a section for the recipient’s signature. This provides an instant reference for both the customer and your team, ensuring a smooth follow-up process.
Testing the template before full implementation is a must. Run trial deliveries to identify potential issues with formatting or data entry. Once optimized, integrate it seamlessly into your existing workflow to streamline operations and improve the customer experience.
Inaccurate dates are a frequent mistake. Always double-check the transaction date before finalizing the receipt. A wrong date can lead to confusion or issues with returns or refunds. Ensure that the date reflects the actual day of the purchase or service provided.
Another issue arises when item descriptions are vague. Be clear and specific about what was sold or provided. Include model numbers, sizes, quantities, and any relevant details that can help identify the item or service. This reduces the chance of misunderstandings and simplifies future references.
Failing to include a unique identifier, such as an order number or transaction ID, can complicate record-keeping. This information helps track the transaction efficiently, especially when reconciling records or dealing with returns. Add a distinct reference code to every receipt template.
Forgetting to list the payment method is another common mistake. Specify whether the payment was made by cash, card, check, or other methods. This clarifies the transaction and provides a clear audit trail for both parties involved.
Incorrect tax calculations are problematic. Always verify that tax rates and amounts are accurate. If your receipt template automatically calculates tax, make sure it’s configured correctly and reflects current tax laws.
Many templates overlook including the seller’s contact information. Ensure your business name, address, phone number, and email address are easy to find on the receipt. This is helpful for customer inquiries or in case follow-up is necessary.
Finally, don’t neglect clarity in formatting. A cluttered or hard-to-read receipt can frustrate customers. Use a clean, organized layout with sufficient spacing, so all details are easy to understand at a glance. This improves the overall experience and minimizes errors.
Use a well-organized list to track the items being delivered. Clear bullet points help recipients quickly identify what they are receiving.
Delivery Details
Provide a summary of the delivery, including dates, time, and the person accepting the items. Make sure to specify the location or any relevant delivery instructions.
| Item Description | Quantity | Delivered By | Received By |
|---|---|---|---|
| Item A | 2 | John Doe | Jane Smith |
| Item B | 1 | John Doe | Mark Johnson |
Signature Confirmation

Require a signature from the recipient to verify that the items have been delivered as expected. Ensure space for both names and the date of receipt.