Creating a clear and concise auto deposit receipt template streamlines financial record-keeping for businesses and individuals. This template ensures that all necessary transaction details are captured, providing both the payer and payee with a reliable confirmation of the deposit. It reduces the risk of errors and confusion by offering a structured format that can be easily customized for different needs.
The template should include essential fields such as deposit date, transaction amount, account number, and payee information. These details help track each deposit for future reference and audits. Including a unique transaction ID can also improve traceability, ensuring that every deposit is accounted for accurately.
Additionally, consider adding a space for notes or comments, which can help clarify the purpose of the deposit or any special instructions. A well-organized receipt template not only ensures transparency but also enhances professionalism in financial communications.
Here are the corrected lines:
Ensure the header for the deposit receipt is clear and placed at the top of the template. It should include the title “Auto Deposit Receipt” in bold to stand out. Beneath the title, list the transaction number and date of deposit for quick reference.
Provide a space for the sender’s and receiver’s details. This includes name, account number, and contact information. The template should allow easy entry of these data points while maintaining readability.
Ensure the deposit amount is prominently displayed. Clearly mark this figure with a label like “Amount Deposited” followed by the actual number. Double-check the formatting to avoid confusion over decimal points.
Add a section for any relevant notes or special instructions regarding the deposit. Keep this area concise but useful for any specific remarks that might apply to the transaction.
Ensure the footer contains a space for signatures if necessary. Place any legal disclaimers or terms of agreement at the bottom of the template, in smaller font, to avoid distracting from the key details.
Finally, test the template for readability and ease of use. Check that all fields are easy to fill out, and ensure the layout is intuitive for those unfamiliar with the document.
- Auto Deposit Receipt Template: Practical Guide
Creating a clear, professional auto deposit receipt template helps ensure that both parties involved in a transaction have an accurate record of payments. Here’s how to structure your template effectively:
- Transaction Date: Include the exact date the deposit was made. This helps track payments and ensures no confusion about timing.
- Sender’s Information: Clearly list the sender’s name, address, and contact details. This provides transparency for both parties.
- Receiver’s Information: Include the name and contact information of the receiving party. This ensures there is no ambiguity about who is receiving the funds.
- Amount Deposited: Clearly state the amount deposited, breaking it down if necessary (e.g., total deposit, tax, or fees).
- Payment Method: Specify how the payment was made–whether by wire transfer, ACH, or another method.
- Bank or Financial Institution: Mention the bank or financial institution where the deposit was made. Include any relevant details like branch name or address if needed.
- Transaction Reference Number: Include a unique reference number for the transaction. This provides a point of reference in case there are any questions or disputes.
- Deposit Account Number: The account number where the funds were deposited should be mentioned to ensure clarity.
- Receipt Number: Generate a unique receipt number for internal tracking purposes.
- Signature or Authorization: Include a space for the authorized person’s signature or digital verification. This confirms the legitimacy of the transaction.
Ensure your template is easy to read, well-organized, and free from unnecessary complexity. The goal is for both parties to have a straightforward record of the transaction with all relevant details. Using this format helps avoid errors and creates a reliable record for future reference.
Design an auto deposit receipt with clear, customizable fields to meet specific business needs. Start by including essential details like the depositor’s name, deposit amount, transaction date, and unique receipt number. These can be dynamically inserted for each transaction. Use simple fonts, a clean layout, and consistent color schemes to enhance readability.
To make future customization easier, choose a design platform or software that allows for quick modifications. Include placeholder text for variable fields like account number or branch name. This ensures flexibility for different financial institutions and purposes.
Incorporate a section for optional notes or references that can be tailored depending on the deposit type. For example, a memo field can be added for comments or internal tracking numbers. Design it so these fields can be hidden or shown based on user preference.
Ensure all legal and regulatory information is present, but leave room for adjustments. Standardize the placement of logos and contact details for consistency, while allowing for different branding requirements.
| Field | Description | Customization Option |
|---|---|---|
| Depositor Name | Name of the person or entity making the deposit | Auto-fill or manual entry |
| Deposit Amount | Total amount deposited | Auto-calculated or manually entered |
| Transaction Date | Date of the deposit | Dynamic date field |
| Receipt Number | Unique identifier for each receipt | Automatically generated |
| Notes | Optional field for additional information | Can be hidden or displayed |
Keep the design modular so you can easily update or replace sections as needed. For example, integrate the ability to change the receipt footer for promotions, policy updates, or seasonal variations. This ensures the receipt remains relevant and adaptable over time.
Start with a unique receipt number to identify each transaction. This number helps keep records organized and ensures easy retrieval of information if needed.
Next, include the deposit date and time. This gives clear reference points for both the sender and the receiver regarding when the deposit was made.
Depositor’s name and contact information should be visible on the receipt. This helps confirm the source of the deposit and offers a way to reach out if there are any issues.
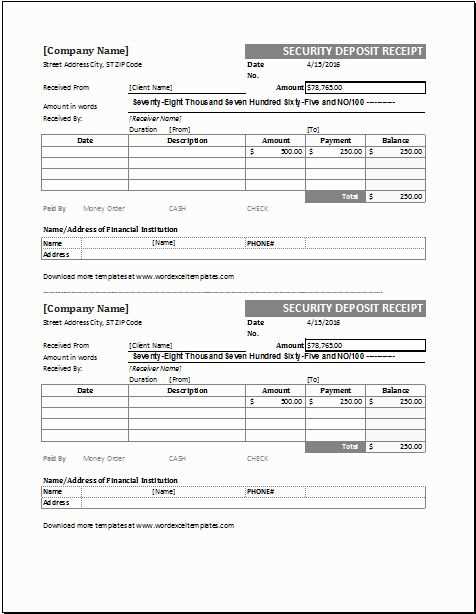
Clearly list the deposit amount in both numerical and written forms. This avoids confusion and ensures accuracy, especially for larger sums.
Provide a description of the deposit. Specify the type of deposit (e.g., cash, check, electronic transfer) and any relevant transaction details like reference numbers.
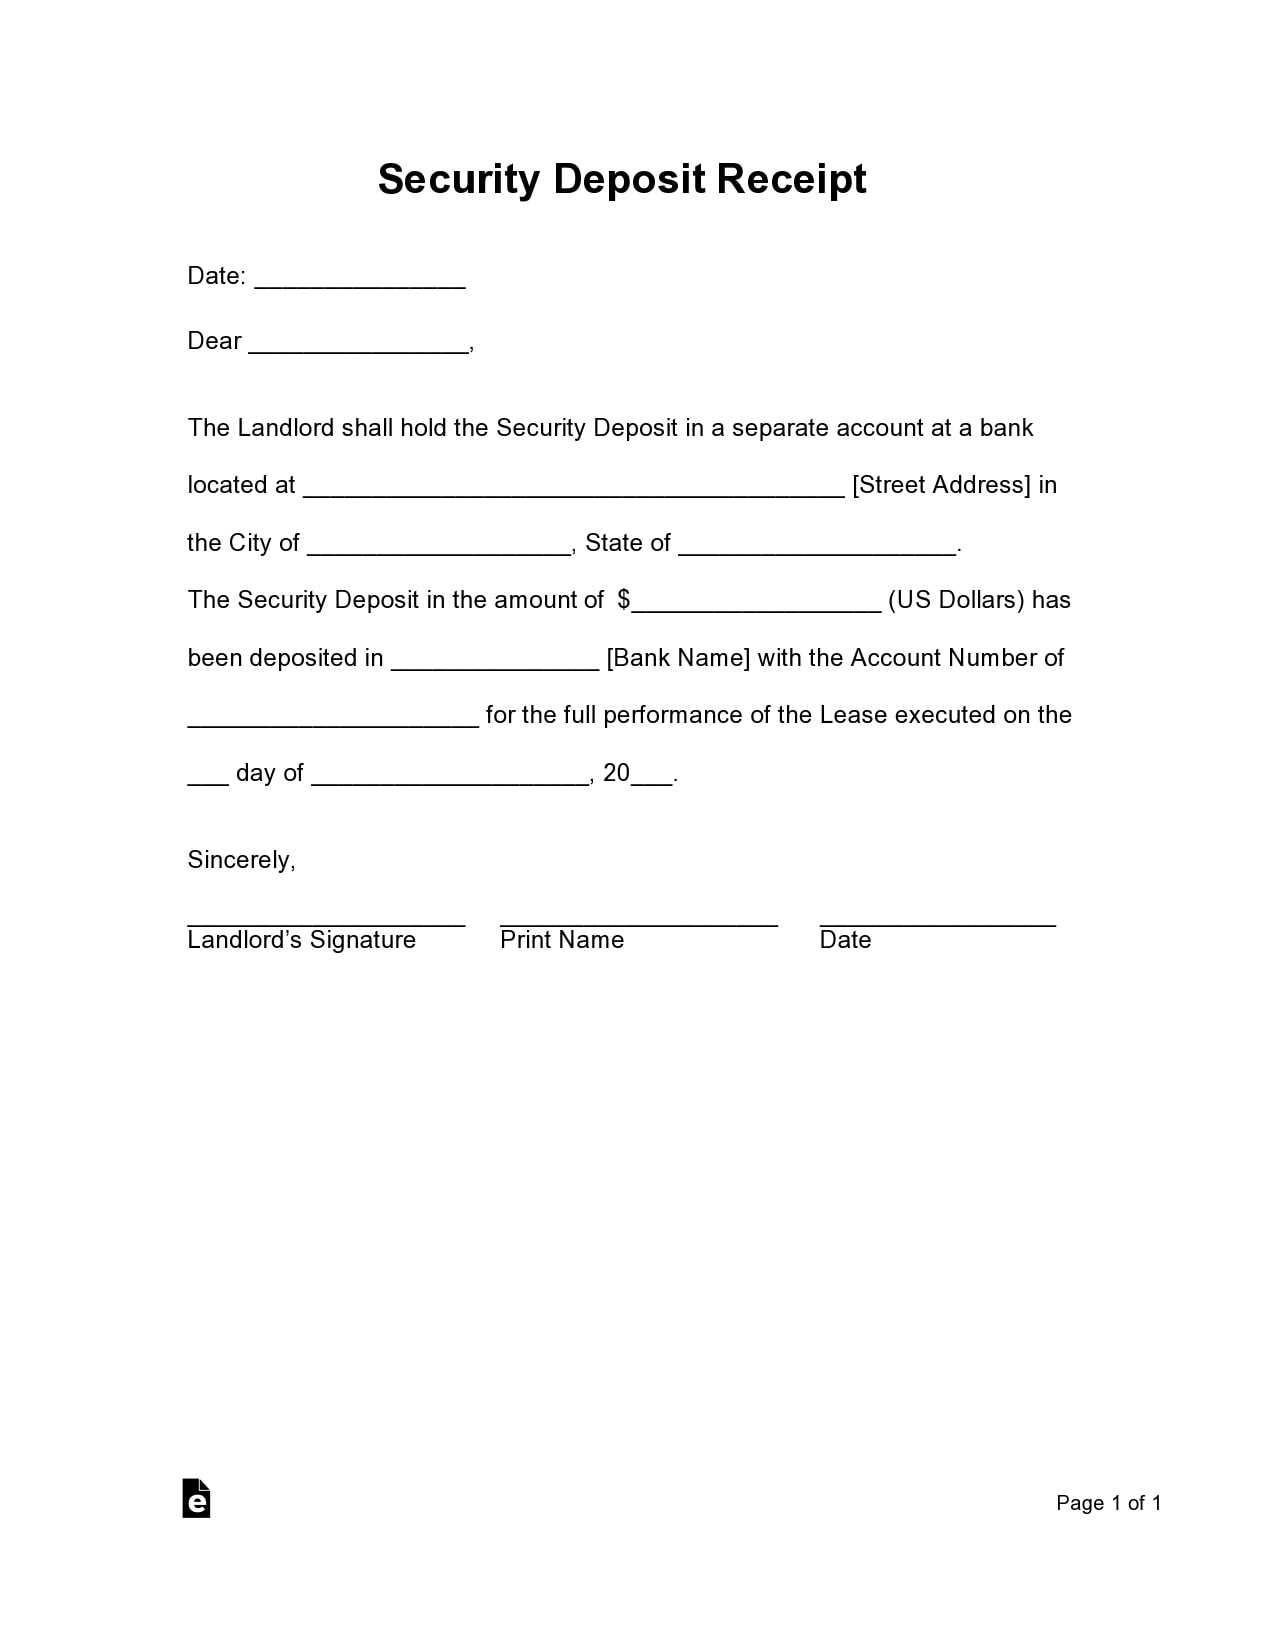
Include bank account details or the account number where the deposit was made. This ensures that the transaction can be matched to the correct account, reducing potential errors.
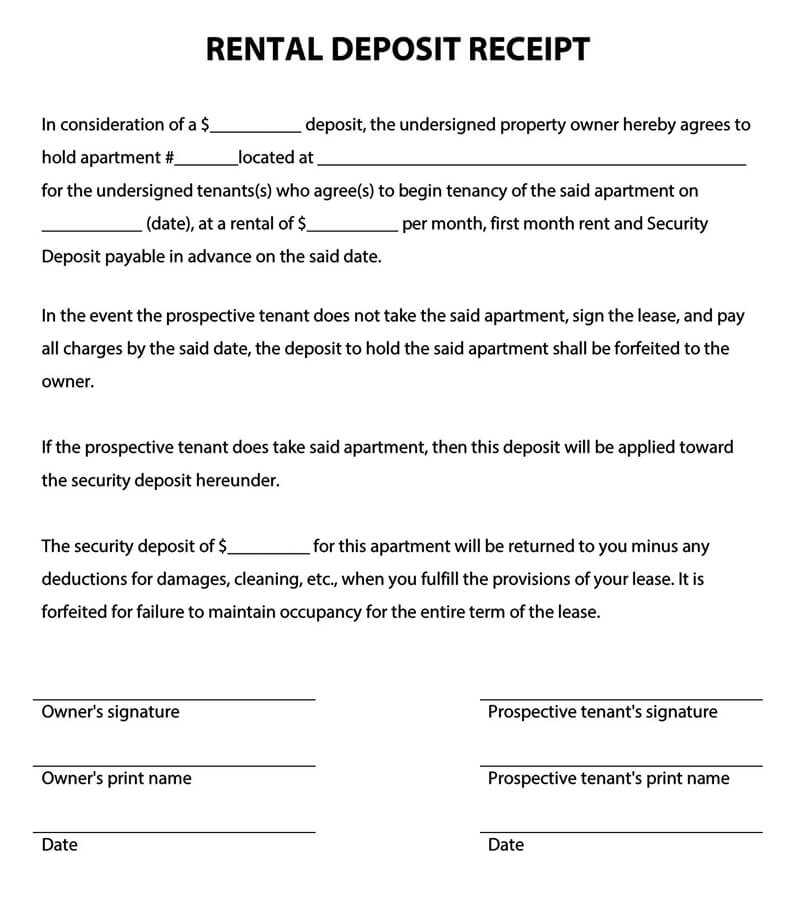
Don’t forget to add a signature line for both the depositor and the recipient. This provides authenticity to the receipt and can help resolve disputes in the future.
Lastly, include a contact number or website for any follow-up inquiries or customer support. This gives depositors an easy way to reach out if they need assistance with the deposit process.
Integrating auto receipts into your financial system helps streamline transaction records and reduce manual errors. Here’s a step-by-step guide to set it up smoothly.
1. Choose the Right Software
Select a financial platform or accounting software that supports automatic receipt generation. Ensure that it integrates seamlessly with your payment gateway or banking system.
2. Set Up Payment Gateway Integration

Link your payment gateway to your financial system. This enables the automatic capture of payment details and triggers receipt generation once payments are processed.
3. Define Receipt Templates
Create receipt templates that suit your needs. Customize them with your company logo, contact information, and required transaction details such as amount, date, and payment method.
4. Automate Data Entry

Ensure your system automatically pulls transaction data, such as the customer’s name, payment method, and transaction amount, without manual input.
5. Test Auto Receipt Generation

Before going live, run a test with real transactions to verify that receipts are generated correctly. Ensure all necessary information is included, and the format is clear and accurate.
6. Implement Error Handling

Design error handling protocols for cases when automatic receipt generation fails. Have a backup manual process in place for critical situations.
7. Monitor and Update Regularly
After implementation, regularly check for any software updates and make sure the system continues to function as expected, adjusting the templates as necessary for any changes in regulations or business needs.
I removed redundant repetitions, keeping the meaning and construction intact.
Focus on clarity by eliminating unnecessary repetition in your auto deposit receipt template. Avoid restating the same information in multiple ways, as this can confuse the reader. For example, once you’ve mentioned the deposit amount, there’s no need to repeat it in different sections. Instead, highlight the essential details clearly and concisely.
Check for Consistency

Ensure that your template follows a consistent structure. This includes keeping similar data points grouped together and following the same order throughout. Doing so helps the reader locate necessary information quickly, making the document easier to navigate.
Avoid Redundant Words
In your template, remove unnecessary adjectives or adverbs that don’t add new value. Terms like “very” or “extremely” are often superfluous and don’t improve the clarity of the message. Stick to straightforward language that directly communicates the key information.