A deposit return receipt serves as a clear confirmation for both parties involved in a transaction, ensuring that the deposit has been successfully returned. Creating a well-structured template will save time and reduce misunderstandings. This template should include specific details such as the amount of the deposit, the return date, the names of the parties, and any conditions attached to the return.
Start by including basic transaction information, including the deposit amount, the method of payment, and the date the deposit was originally made. These details provide transparency and trackability. Next, specify the amount being returned and the return method, whether by check, cash, or bank transfer. Make sure to note any adjustments made during the return process.
Additionally, include space for the signatures of both parties to formally acknowledge the completion of the transaction. This final step adds a layer of accountability. A simple, concise format not only makes the process smoother but also enhances trust between the involved parties.
Deposit Return Receipt Template

To create a clear and concise deposit return receipt, include the following key components:
Receipt Number: Assign a unique number to each receipt for tracking purposes.
Date of Return: Specify the exact date the deposit was returned to the customer.
Customer Information: Include the full name, address, and contact details of the customer receiving the return.
Amount Returned: State the exact amount of the deposit being returned, ensuring accuracy down to the last cent.
Reason for Return: Clearly explain why the deposit is being returned, such as a canceled transaction or fulfilled agreement.
Payment Method: Note the method used to return the deposit (e.g., check, cash, bank transfer).
Signature: Include a space for the customer’s signature as acknowledgment of the return.
Company Details: Provide the name, address, and contact information of the company issuing the receipt.
This template ensures that both the customer and the company have a formal record of the returned deposit.
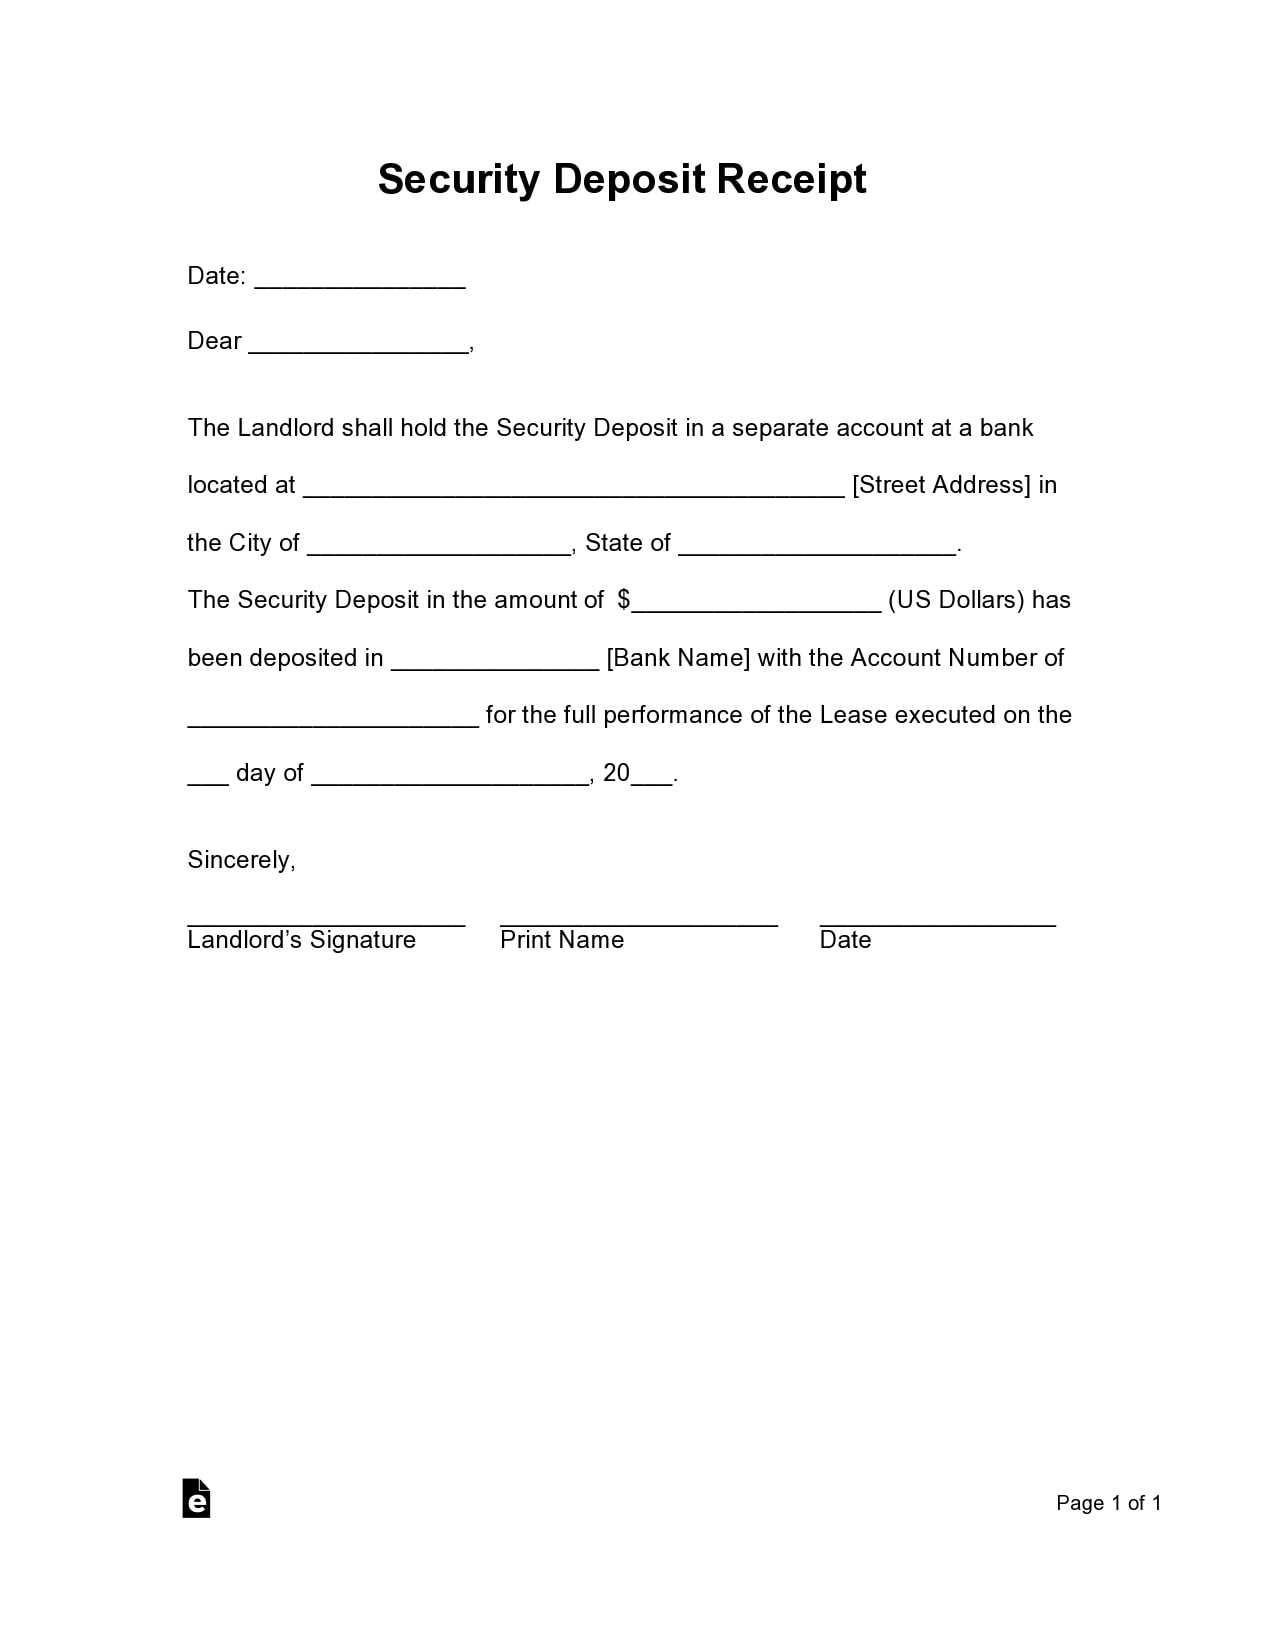
Creating a Clear Header for Your Receipt
Design a straightforward and informative header to provide immediate clarity. A clear header helps recipients quickly understand the purpose of the receipt. Follow these tips to ensure your header is easy to read and contains all necessary details:
- Company or Business Name: Place this at the top in a prominent size to immediately identify the source of the receipt.
- Receipt Title: Use a clear label like “Deposit Receipt” or “Return Receipt” for easy identification. Keep it brief and direct.
- Date and Time: Include the date and time of the transaction. This is key for any follow-up or references.
- Receipt Number: Add a unique receipt number for tracking purposes. This is particularly helpful for record-keeping.
Avoid clutter by limiting the information in the header to what’s absolutely necessary. This creates an immediate, straightforward context for the transaction.
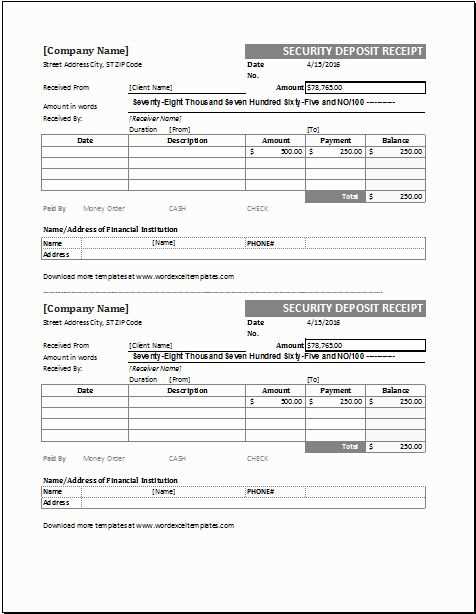
Including Accurate Deposit Amount and Payment Details
Ensure the deposit amount is clearly stated in both numerical and written form. This reduces any chance of misunderstanding or error. For example, write “$500” and “Five Hundred Dollars” to confirm the exact figure.
Next, include payment details, such as the payment method used (e.g., cash, credit card, check), and the date of payment. This adds clarity and confirms the transaction specifics. If a check was used, list the check number and the bank it was drawn from. This provides a traceable record in case of disputes.
If applicable, reference any invoices or agreements connected to the payment. This can help tie the deposit back to a specific contract or transaction, reinforcing the reason for the deposit.
Finally, verify that all amounts match the terms agreed upon to avoid any discrepancies later. Cross-checking these details before finalizing the document ensures the accuracy of the information provided.
Specifying the Return Policy and Conditions
Clearly outline the conditions for returning a deposit to prevent confusion. Specify the time frame during which a return is allowed, detailing any limitations or exceptions. Make it clear whether partial or full refunds are possible based on the circumstances of the return.
Time Frame for Deposit Returns
Define the period within which a return request can be made, such as within 30 days of deposit payment. Include whether weekends and holidays affect the time frame and if there are any variations for different deposit types.
Refund Conditions and Deductions

Clarify the circumstances under which a refund is granted, including any deductions for processing fees or damages. Specify if the refund amount will vary depending on when the return is requested, and whether a deposit is non-refundable under specific conditions.
- Refund is granted if the request is submitted within the set time frame.
- Processing fees may be deducted if applicable.
- Refund requests after the deadline will not be accepted unless a special condition is met.
Providing Contact Information for Customer Inquiries

Clearly present contact details to allow customers to reach you without hassle. Provide an email address, phone number, and any other relevant channels such as a customer service form or live chat option. Ensure these contact methods are easy to find and prominently displayed on the receipt template.
Email Address
List a dedicated email address for customer inquiries. Make sure the address is checked regularly so customers receive timely responses. Avoid using personal email accounts for this purpose to maintain professionalism.
Phone Number
Include a direct phone number for customers who prefer speaking with a representative. Specify business hours to help set clear expectations about availability. If you have a toll-free number, include that as well for added convenience.
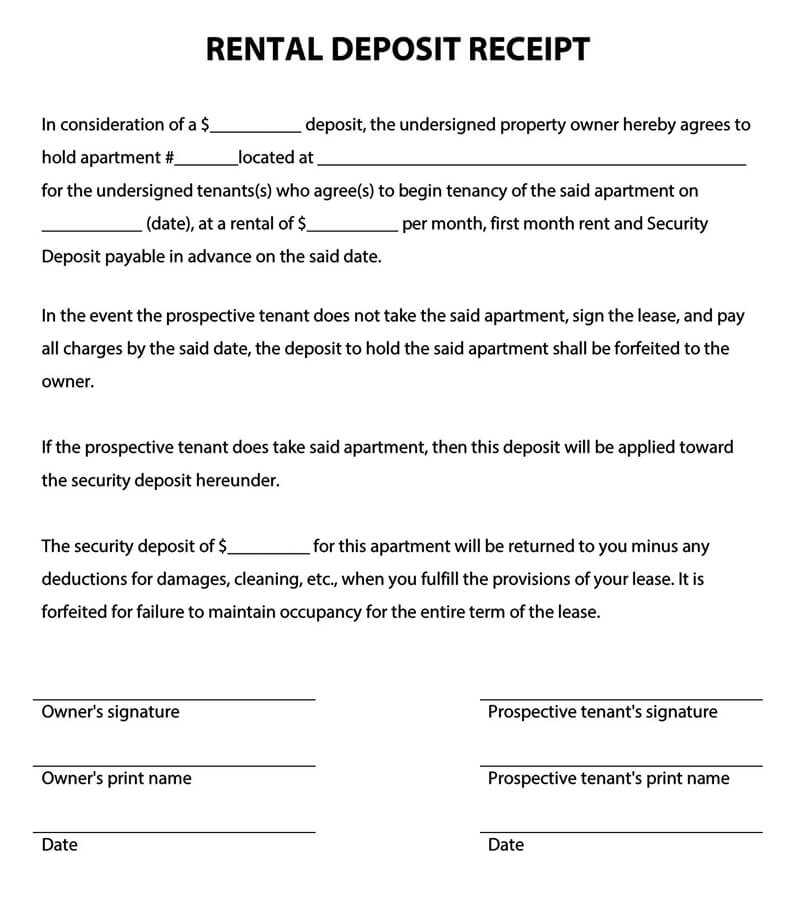
Adding Signature Lines for Both Parties
Include signature lines for both parties at the bottom of the deposit return receipt to confirm mutual agreement. These lines should be placed clearly below the document’s content and before any additional terms or conditions. The structure should be straightforward, with enough space for the signature and date of each party.
| Party | Signature | Date |
|---|---|---|
| Party 1 | ____________________ | ____________________ |
| Party 2 | ____________________ | ____________________ |
Ensure the lines are equally spaced and clearly labeled with the party names. Include the word “Date” next to each signature line to prompt the parties to provide the date of signing. This simple yet clear layout will minimize confusion and guarantee that the document is properly signed by both individuals.
Ensuring Legal Compliance and Proper Documentation
Always include clear terms for refund procedures in your deposit return receipt to avoid legal issues. Specify conditions for refunds, timelines, and the responsible parties. Clearly state that the receipt serves as proof of agreement for both parties, reducing potential disputes.
Adhere to Local and Industry Regulations

Check local laws regarding refund policies and ensure your receipt complies with relevant regulations. For example, some regions require a specific timeframe for refund requests, or detailed reasons for withholding deposits. Being informed about these requirements helps prevent legal complications.
Include Key Details for Transparency
Ensure the receipt includes the transaction date, amount deposited, recipient’s information, and conditions for returning the deposit. Adding a section for both parties’ signatures solidifies the agreement, preventing future misunderstandings. Avoid vague language–be specific about all terms.