Creating a receipt for a document template requires clear structure and detailed information. Include the date, item description, quantity, and price breakdown. Clearly display the total amount due to avoid confusion.
Make sure to add both the buyer’s and seller’s information. Include full names, addresses, and contact details for transparency and reference. Always specify the payment method to ensure both parties are aligned on the transaction details.
Use a professional layout that makes the receipt easy to read. Incorporating proper spacing and alignment will keep it organized. A well-designed template will save time and reduce errors in future transactions.
Here is the corrected version:
Ensure that your receipt template includes the following key elements to be both functional and clear:
Details for Proper Formatting
Each receipt should feature the business name, address, and contact information at the top. Directly below, include the transaction date and a unique receipt number. This will help in tracking and referencing.
Clear Breakdown of Items

List the items or services provided, including their quantity, unit price, and total cost. Make sure the subtotal, taxes, and any discounts are easy to identify. Include a final total amount at the bottom.
| Item | Quantity | Unit Price | Total |
|---|---|---|---|
| Item 1 | 2 | $10.00 | $20.00 |
| Item 2 | 1 | $15.00 | $15.00 |
| Subtotal | $35.00 | ||
| Tax (5%) | $1.75 | ||
| Total | $36.75 | ||
End the receipt with payment method details, such as “Paid by Credit Card” or “Cash.” This will confirm how the transaction was completed. Always include the return or refund policy if applicable.
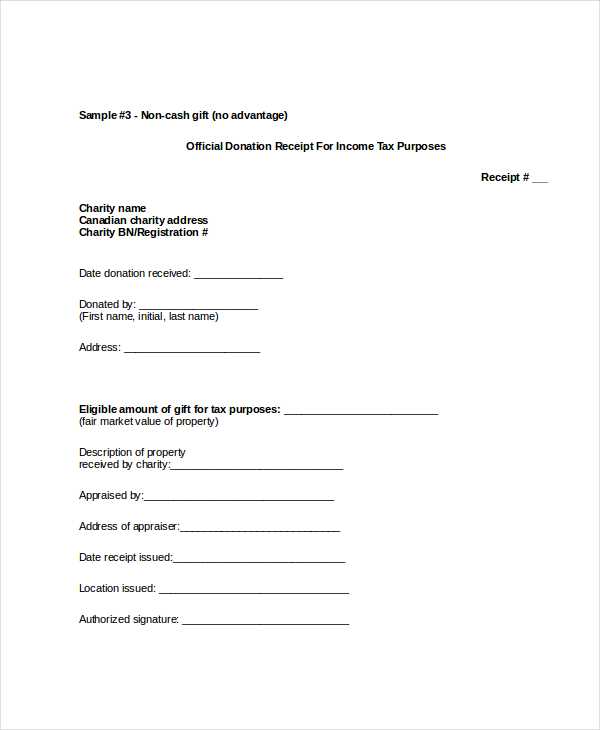
- Receipt for Document Template
A document receipt template should include key information such as the name of the recipient, the title or description of the document being received, the date of receipt, and the signature of the receiver or authorized person. A clear layout is essential to avoid confusion.
Basic Information to Include
Ensure the following elements are clearly stated:
- Recipient’s full name
- Document title or description
- Receipt date
- Signature of recipient
Formatting Tips
Use a clean, simple design. Avoid overcomplicating the layout. Divide the template into sections, ensuring there is enough space for each detail. A straightforward structure will make it easier to fill out and understand.
Selecting the correct format for your receipt or document template directly impacts clarity and professionalism. Stick to widely accepted formats like PDF or DOCX for ease of use and accessibility. These formats ensure the document remains unaltered when shared, preserving the integrity of the data.
PDF Format
PDF is a solid choice for finalizing documents. It retains formatting and looks consistent across all devices. If you need the document to be viewed or printed without changes, PDF is your best option. It’s also compatible with a variety of devices and operating systems.
DOCX Format
If the document requires ongoing edits or collaboration, DOCX is a more flexible option. It allows changes and can easily be converted to PDF when finalized. Many users prefer DOCX for working in teams or making revisions before finalizing a document.
Start by clearly defining the purpose of the document. This will guide the structure and content. Always include the date and location of issuance to establish the document’s timeline. Be sure to include the recipient’s name and any relevant contact details to ensure proper identification.
Provide a brief but precise description of the items or services being received, along with their respective quantities and any agreed-upon terms. This prevents any misunderstandings and provides clarity. Additionally, specify any amounts owed, if applicable, including taxes or discounts.
Clearly state payment terms. If payment is due immediately, or within a specified number of days, this needs to be stated without ambiguity. Always include a reference or transaction number for future tracking and verification purposes.
| Element | Description |
|---|---|
| Date and Location | Indicate when and where the document was issued. |
| Recipient Details | Full name and contact information of the recipient. |
| Item or Service Description | Clearly list the received items or services and quantities. |
| Amount Owed | Indicate the total amount due, including taxes and discounts. |
| Payment Terms | State the deadline for payment or conditions attached. |
| Reference Number | Provide a transaction or reference number for future tracking. |
Lastly, ensure the document is signed by authorized parties. This confirms the legitimacy and acknowledgment of the receipt. Keep the layout clean and organized to allow for easy understanding at a glance.
To create a well-organized document template, follow these steps to ensure clarity and consistency in the structure:
1. Define the Purpose
- Clarify the document’s intent, such as invoicing, agreements, or reports.
- Establish the tone, format, and sections that are needed.
2. Choose a Layout
- Decide on the document’s orientation (portrait or landscape).
- Choose font styles and sizes that are easy to read.
- Determine the spacing and margins to ensure readability.
3. Add Sections and Content

- Create headings for different sections, such as date, recipient, and payment details.
- Include placeholders for variable information, like amounts or names.
- Consider using tables or bullet points for organized presentation.
4. Design Consistency
- Ensure headers, footers, and section labels are uniform throughout.
- Use the same font styles and sizes for similar elements.
- Ensure alignment is consistent to maintain a professional look.
5. Review and Test
- Double-check that all fields are correctly placed and aligned.
- Test the template with sample data to ensure it functions as expected.
Adapt document templates to suit different purposes by adjusting key elements. For example, modify header styles, font sizes, and layout structures to align with the desired tone or industry standards.
Layout Adjustments
Choose between single-column or multi-column formats depending on content presentation. For formal reports, a clean, single-column format ensures readability, while multi-column layouts work well for brochures or marketing materials.
Color and Branding
Incorporate specific brand colors into the template. This includes adjusting background shades, text colors, and logo placement to maintain consistency across all documents. These visual modifications enhance recognition and adherence to corporate identity.
Incorporating these customizations allows for better alignment with specific organizational goals or personal preferences, leading to more professional and visually appealing documents.
Avoid vague or unclear headings. Titles like “Receipt Template” don’t communicate specific purpose. Instead, clearly state what the document is for, such as “Invoice Receipt Template” or “Payment Receipt Template.” This helps ensure your document is easy to identify and understand at a glance.
Incorrect Formatting
Inconsistent spacing, font sizes, or alignment can make a receipt template look unprofessional. Stick to a simple, uniform format throughout. Ensure margins, fonts, and headings are aligned correctly, so the document remains clean and readable. This enhances the visual appeal and user experience.
Missing Important Information
Excluding key details such as the recipient’s name, date, or payment method can lead to confusion. Make sure all critical sections are present and filled out properly. Each section should be clear and contain the necessary information to avoid ambiguity and ensure accuracy.
Start with a clean, intuitive platform like Figma. It enables teams to collaborate in real-time, offering powerful vector editing and prototyping features. Users can create interactive prototypes, making it perfect for designing documents that require user interaction.
Adobe XD

For those who need a robust design tool with a wide range of integrations, Adobe XD stands out. It combines design, prototyping, and collaboration into one package. It also provides seamless integration with other Adobe apps, streamlining your workflow.
Canva
If simplicity is your priority, Canva offers an easy-to-use interface with pre-built templates. You can quickly customize document designs, and the platform offers a wide range of fonts, icons, and images to enhance your template.
- Figma: Real-time collaboration and prototyping
- Adobe XD: Professional tool with cross-app integration
- Canva: User-friendly for quick design customization
Use clear and concise instructions for creating document templates. This ensures recipients know what to expect and how to proceed. Make sure to structure each template in a consistent way, so users can easily follow the format.
Steps for Designing a Document Template
- Identify key sections that need to be included, such as title, date, and signature lines.
- Ensure each section is labeled clearly and formatted consistently across all templates.
- Keep text aligned, with uniform margins and spacing to enhance readability.
- Use placeholders for dynamic content that can be replaced with actual data.
- Test the template to ensure it works well for various document types.
Common Mistakes to Avoid
- Avoid cluttered templates with too much information in one section.
- Don’t forget to leave space for signatures and dates, which are crucial for verification.
- Ensure the font size is large enough for readability but not overly large.