A well-crafted donation receipt serves as a formal acknowledgment of a charitable contribution. Use this template to streamline the process and ensure you capture all necessary details for both the donor and the organization. Each receipt should include specific information to comply with tax requirements and maintain transparency.
Start with the donor’s name, contact details, and donation date. Next, specify the amount donated or the description of donated items. For cash contributions, include the exact amount. If the donation includes goods or services, offer a brief description and estimated value. Mention whether any goods or services were received in return for the donation, as this may affect the donor’s tax deduction.
Finally, close with your organization’s name, address, and a statement confirming no goods or services were provided in exchange for the contribution, if applicable. Ensure that the receipt is signed by an authorized representative to validate the donation. By following this format, you maintain clear records and help donors receive proper credit for their generosity.
Here is the updated version with reduced repetition:
Focus on clear and concise language. Avoid unnecessary jargon and keep your sentences straightforward. Present the necessary information in a logical order, starting with the donor’s details, followed by the donation amount and purpose. Specify the date of donation and make sure to include your organization’s name and contact information. Keep the format simple with easily identifiable sections for clarity.
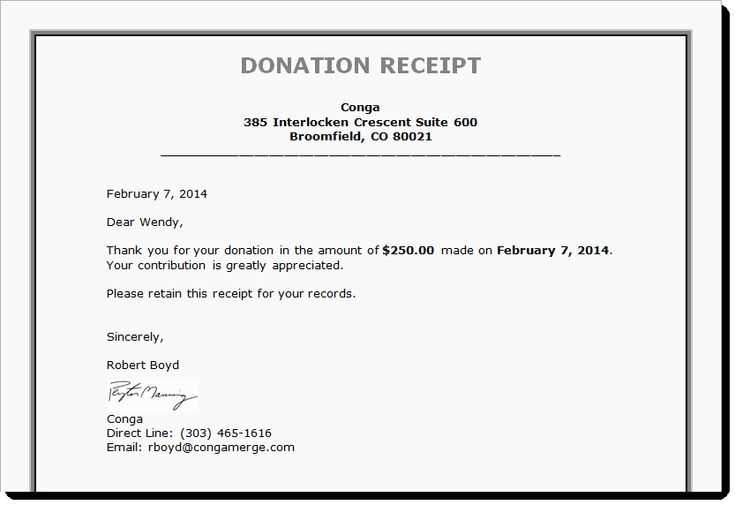
Consider including a brief thank-you message that directly addresses the donor’s contribution. For example, “Thank you for your generous donation of $100, which supports our efforts to provide education to underserved communities.” A straightforward message reinforces the significance of the donation without excessive wording.
Include a unique transaction number to ensure proper tracking and record keeping. This detail helps both parties stay organized and can simplify future correspondence. If applicable, include a reminder about any tax deductions the donor may be eligible for, but do not overemphasize this point. Stick to the facts without repeating or overexplaining.
Conclude the receipt with a closing remark that expresses gratitude once again, such as “Your support makes a meaningful difference.” Keep it short and to the point, ensuring the message feels personal but professional.
- Donation Receipt Template Guide
To create a donation receipt template, include the following key details:
- Organization Name: Clearly state the name of the organization receiving the donation.
- Donor Information: Include the donor’s name and contact details (address, email, phone number).
- Donation Date: Specify the exact date the donation was made.
- Donation Amount: Mention the total amount donated, including any specific allocation if applicable.
- Description of Donation: Describe the donated items or services, if applicable, including their fair market value.
- Tax Status: State whether the organization is a tax-exempt entity, which can impact the donor’s eligibility for deductions.
- Signature: Add the signature of a representative from the organization, with their title.
Make sure the template is simple, clear, and legally compliant, providing the donor with all necessary information for tax purposes.
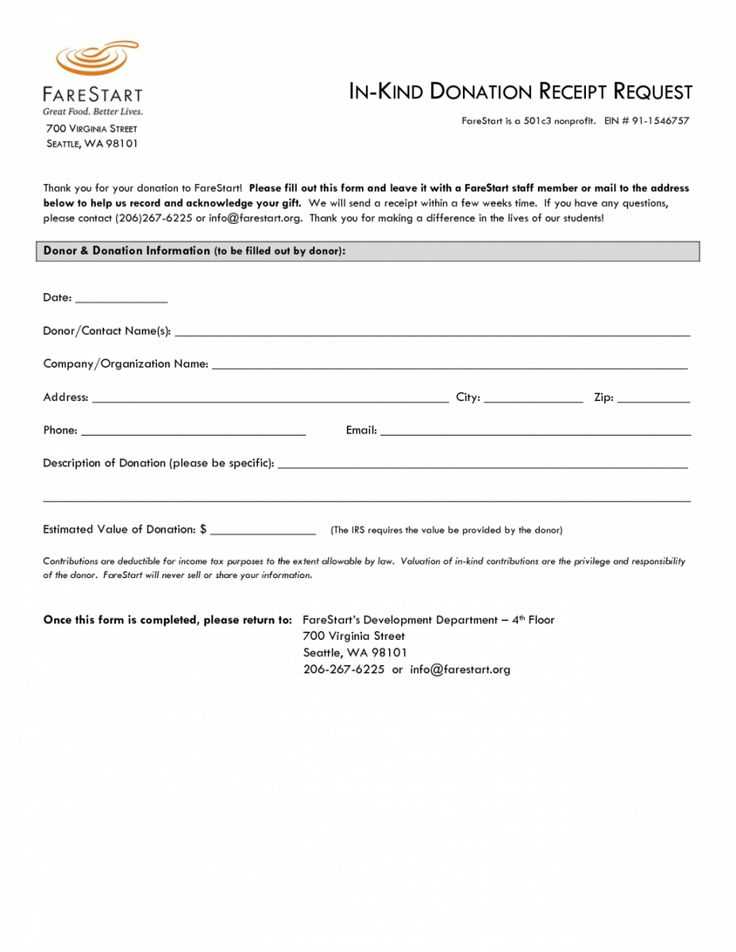
Include clear and precise details on the donation receipt to meet tax deduction requirements. Make sure to capture the following elements:
- Donor’s information: Name, address, and contact details.
- Organization details: Name, address, and EIN (Employer Identification Number) of the nonprofit.
- Donation description: Clearly state the item or amount donated, including the fair market value for non-cash donations.
- Donation date: Date of the donation.
- Confirmation of non-receipt of goods or services: Explicitly state if no goods or services were provided in exchange for the donation.
- Signature of an authorized representative: Signature of someone from the nonprofit confirming the transaction.
Provide donors with a copy of the receipt immediately after donation and keep a record for your organization’s tax filing. Ensure this information is included in all receipts to comply with IRS guidelines for charitable contributions.
Include the donor’s name and address, ensuring it matches the details on the donation record. Specify the amount or value of the contribution, and the date of the donation to establish clear documentation. Mention whether the donation is monetary, in-kind, or both. If applicable, state if the donor received any goods or services in exchange, as this affects tax deductions. Add the name of your organization, its tax-exempt status, and any relevant registration or identification numbers for legal transparency. Include a thank you statement, reinforcing appreciation for their support.
To create a meaningful and memorable experience, tailor your donation receipt based on the type of donor. Begin by addressing each donor personally, using their name and relevant details specific to their contribution. This shows appreciation and recognition for their support.
1. For One-time Donors

For one-time donors, emphasize their impact by including the donation amount and how it will directly contribute to your cause. Mention specific projects or initiatives that their funds are supporting. Personalizing the receipt in this way makes the donor feel that their contribution is important.
2. For Recurring Donors
For recurring donors, highlight the cumulative impact of their ongoing support. Mention the number of donations made and the total amount they’ve contributed. This reinforces their long-term commitment and emphasizes the difference their sustained support is making.
Tip: Include an optional section for donors to update their contact information or preferences to stay connected with future initiatives.
3. For Corporate Donors
Corporate donors often appreciate a professional and formal approach. Include the company name, the donation amount, and any relevant tax information. Acknowledge their business’s role in your mission and the shared goals between your organization and their company.
4. For Anonymous Donors
If a donor wishes to remain anonymous, ensure their receipt reflects this preference. While still thanking them for their contribution, avoid personal details. Instead, focus on the impact of their support without disclosing identifiable information.
Personalizing your donation receipts for different donor types not only strengthens your relationship with them but also fosters a sense of connection to your mission.
Nonprofit organizations must adhere to specific guidelines when issuing donation receipts. These receipts are not only a form of appreciation but also serve as a legal document for the donor to claim tax deductions. Below are the key legal requirements for nonprofit acknowledgments:
Required Information on the Donation Receipt
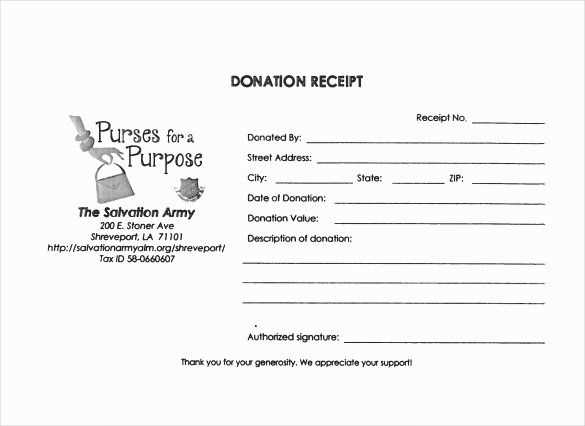
Each receipt must include the following details:
- The nonprofit’s name and address
- The donor’s name and address
- The date of the donation
- The amount of the cash donation or a description of non-cash donations
- A statement indicating whether any goods or services were provided in exchange for the donation
Statement on Goods and Services

If the donor receives goods or services in exchange for their donation, the receipt must include a description and good faith estimate of the value of those goods or services. If the value exceeds 2% of the donation, it must be specified, along with the amount that is tax-deductible.
Threshold for Acknowledgment Requirement
Donations of $250 or more require a detailed acknowledgment receipt. For donations under $250, a simplified acknowledgment may suffice, but it must still meet the basic requirements listed above.
| Donation Type | Required Information |
|---|---|
| Cash Donations | Donor’s name, amount, date, and tax-deductible status |
| Non-Cash Donations | Donor’s name, description, and estimated value |
| Goods or Services in Exchange | Details of goods/services, fair market value, tax-deductible portion |
Failure to comply with these guidelines can result in penalties for both the nonprofit and the donor, as it may invalidate the donor’s ability to claim tax deductions. Ensure all acknowledgments meet these requirements to maintain compliance and transparency.
Using Word or Google Docs for creating a donation receipt template offers flexibility and ease. Both tools provide simple ways to set up a professional-looking receipt with just a few steps.
Follow these steps to create your own receipt template:
- Choose a Template
– Both Word and Google Docs offer pre-made receipt templates. Start by selecting one that fits your needs. If you’re starting from scratch, simply create a new document and customize it. - Include Key Information
– Make sure to include the donor’s name, address, donation amount, date, and purpose of the donation. Add any other relevant details like the organization’s tax ID number, if applicable. - Formatting the Receipt
– Organize the receipt into clear sections, such as Donor Information, Donation Information, and Organization Details. Use bullet points or tables to keep everything neat and readable. - Insert a Logo or Header
– Include your organization’s logo or header at the top of the document for a more personalized touch. - Finalize and Save
– After formatting the receipt, proofread it for accuracy. Save it as a template so you can reuse it for future donations.
Using these simple tools, you can create and customize a donation receipt template quickly. Whether you need a simple format or a more detailed one, Word and Google Docs can meet your needs without hassle.
Send donation acknowledgments as soon as possible after receiving a donation. The quicker you send it, the more likely it is that the donor will remember their contribution, reinforcing their goodwill. Aim to send receipts within 24 to 48 hours. Ensure that each acknowledgment includes the donor’s name, the amount donated, the date of the donation, and your nonprofit’s tax-exempt status. Keep the tone warm and grateful.
Storing Acknowledgments Safely

Store acknowledgment receipts digitally and securely. Use a system that allows easy access to past receipts while protecting donor privacy. Make sure data is backed up regularly to avoid loss, and ensure that your storage methods comply with data protection laws. Digital records should be organized by donor name and date of donation for simplicity in retrieval.
Personalize the Process

Whenever possible, personalize your thank-you notes. Acknowledge specific details about the donation, such as its impact on a particular project or initiative. This adds a personal touch and makes donors feel their contributions are valued. You can also include a future call-to-action, such as inviting the donor to a special event or providing updates on the project they supported.
Ensure the receipt is clear and concise. Include the organization’s name, address, and contact details at the top. List the donor’s full name and address for accurate documentation. Include the donation date and the amount donated, along with any goods or services provided in return, if applicable. Be sure to note whether the donation is tax-deductible. Specify if the donation is monetary, property, or in-kind. If you received a check, include the check number for reference. Double-check all information for accuracy before issuing the receipt to avoid confusion in the future.
For tax purposes, include a statement clarifying whether the donor received any goods or services in exchange for their donation. This is vital for ensuring the donor can claim the correct amount for tax deductions. Keep your receipts simple but thorough, ensuring the donor can easily verify their contribution when needed.
Finally, keep a copy of the receipt for your organization’s records. This will help with future reporting and ensure compliance with regulations. Providing a receipt that meets these guidelines will build trust and transparency with your donors.