If you are looking for a quick and hassle-free way to create donation receipts on your Mac, a template is the perfect solution. It saves time and ensures consistency for your charitable organization or personal use. With the right template, you can easily generate professional receipts for every donation you receive, ensuring compliance and clear record-keeping.
Many donation receipt templates for Mac are available in formats like Microsoft Word, Pages, or PDF. These options allow for easy customization, so you can tailor the receipt to reflect your specific branding or organizational details. Choose a template that includes all necessary information, such as donor name, donation amount, and date. Some templates even provide space for a thank-you message, helping you show appreciation while maintaining a formal structure.
For simplicity and convenience, opt for templates that include automated fields or easy-to-fill sections. This eliminates the need for manual entry and speeds up the receipt creation process. Mac users can also find templates with built-in calculations for tax purposes, ensuring that donors receive accurate records for their tax deductions. Using a ready-made template will ensure you stay organized and professional, while freeing up your time to focus on other important tasks.
Here is the corrected text:
To create a donation receipt on a Mac, start by opening your preferred word processing software like Pages or Microsoft Word. If you don’t have a specific template, you can build one from scratch or search for available templates online. The receipt should include the donor’s name, donation amount, date, and a description of the donation. You can also add your organization’s name, contact information, and tax-exempt status if applicable. Keep the layout simple and clear, using headings for key information to make it easy for the donor to locate important details.
For customization, consider adding a thank-you note or message of appreciation to personalize the receipt. Make sure the formatting is clean, with sufficient spacing to avoid clutter. After finalizing the design, save the document as a PDF for easy sharing and printing.
Additionally, ensure that you have a way to track all donations to provide accurate and timely receipts to your donors. A spreadsheet or donation management tool can be useful to maintain records and automatically generate receipts as needed.
- Donation Receipt Template for Mac
To create a donation receipt on Mac, use templates in applications like Pages or Microsoft Word. These programs offer ready-made formats, or you can design your own custom layout. Here’s how to get started:
Using Pages for Donation Receipts

Pages on Mac offers various templates, including some tailored for donation receipts. You can access these by opening Pages and searching for “donation receipt” in the template chooser. Once you’ve selected a template, you can easily adjust the text fields to match your donor’s details, including:
- Donor’s name
- Donation amount
- Date of donation
- Organization’s name and contact details
- Tax identification number
Pages allows full customization, so you can add your logo or modify the color scheme to match your organization’s branding. Once the receipt is tailored, save it as a PDF for easy sharing or printing.
Using Microsoft Word for Donation Receipts
If you prefer using Microsoft Word, you can find donation receipt templates by going to the “New Document” section and searching for “donation receipt.” After opening the template, fill in the required fields, such as:
- Donor’s name
- Amount donated
- Date of donation
- Non-profit’s details, including address and tax ID
Word also allows for flexibility in design. You can add tables, logos, or adjust fonts as needed. After filling out the form, save the file or convert it into a PDF for distribution.
Both Pages and Word allow you to streamline the receipt creation process while maintaining a professional format. With these tools, you can quickly provide donors with accurate and clear records of their contributions.
Use Pages or Numbers to create a custom donation receipt on your Mac. Both apps are easy to use and provide the flexibility to design your own template without extra software. Here’s how you can quickly set one up:
Using Pages:
Open Pages and select a blank document. Use the built-in text boxes and shapes to design your receipt. Start by adding your organization’s name, the donor’s details, the donation amount, and the date. You can add a logo or a banner if needed. Adjust the layout using the alignment tools, making sure everything fits neatly on the page.
Use the “Tables” option if you prefer a more structured layout. You can easily create columns for each piece of information, like donor name, donation amount, and description. Highlight the table’s borders and fill colors to make it more visually appealing. Once your receipt looks good, save it as a template for future use or export it as a PDF for easy sharing.
Using Numbers:
Open Numbers and choose a blank spreadsheet. Create columns for all the necessary receipt information–donor name, donation type, date, and amount. Adjust the column width to fit the content and use bold formatting to highlight key details like the donation amount. Numbers offers gridlines that can help keep everything organized.
To make the receipt more personalized, add your logo in the header or footer. You can also use conditional formatting to highlight specific values, such as the total donation amount. Numbers automatically handles calculations, so it’s a good choice for managing donation records and generating receipts quickly.
Once your template is complete, save it for future use or export it as a PDF. This way, you can generate receipts instantly with the latest data.
Customizing Your Template:
After designing your receipt, customize it further with details like tax-deductible status or personalized thank-you messages. If you’re handling multiple donations, adding a receipt number can help track them easily. Adjust font sizes, colors, and spacing to create a polished look.
With Pages and Numbers, creating a donation receipt on a Mac becomes a straightforward process. Whether you prefer a more creative design in Pages or a structured layout in Numbers, both tools are excellent for generating professional-looking receipts without any extra software.
Formatting donation receipts with Apple’s Pages or Numbers is a straightforward process. Follow these simple steps to create a professional-looking receipt quickly.
1. Set Up Your Document

Start by opening Pages or Numbers and creating a new blank document. Select a template that fits the purpose, or opt for a blank document to customize from scratch. Pages provides a range of templates, while Numbers offers a grid-based layout that can be adjusted as needed.
2. Customize the Header

Include your organization’s name, logo, and contact information at the top of the receipt. This provides a clear identity for the donation receipt. You can add this information in a header section or place it at the top of the page. Keep the text bold and easily readable.
3. Add Donation Details
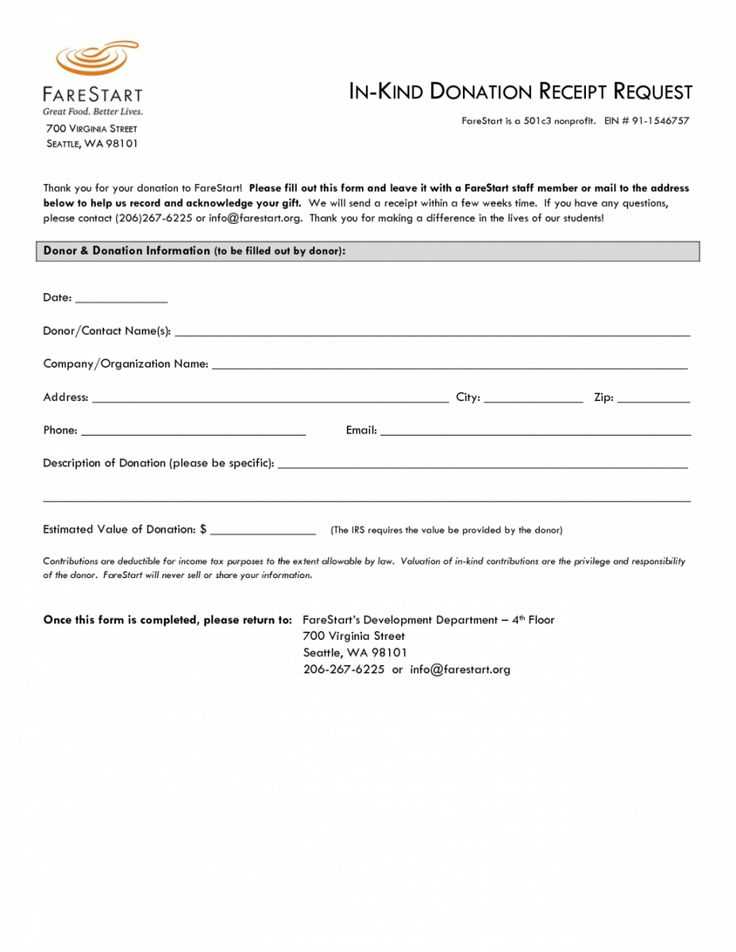
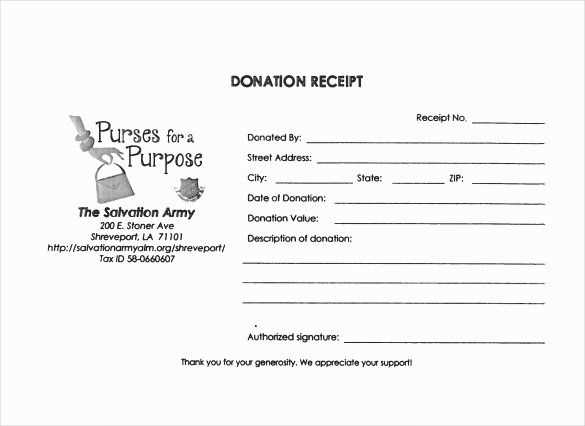
Next, list the donor’s name, the donation date, and the amount donated. It’s helpful to include a brief description of the donation (e.g., “cash donation” or “goods donated”). If the donation is in-kind, specify the items donated and their approximate value.
4. Use Tables for Clarity
Use a table to organize and display the information neatly. Here’s an example layout for a donation receipt:
| Donor Name | Donation Type | Donation Amount | Date |
|---|---|---|---|
| John Doe | Cash | $100.00 | 12/01/2025 |
| Jane Smith | Goods (Clothes) | $50.00 (Estimated) | 12/02/2025 |
5. Include Tax Information
For tax purposes, ensure you add any relevant disclaimers, such as a note about the value of non-cash donations or a reminder that the donor should retain the receipt for tax filing.
6. Final Touches

Before finishing, proofread for any errors and adjust any spacing or alignment issues. Make sure the text is easy to read and that all fields are properly filled out. Once everything is complete, save or print the receipt, and it’s ready to send to the donor.
Use third-party apps to streamline donation receipt generation on your Mac. These apps can save you time by automatically creating professional-looking receipts, tailored to your organization’s needs. Here’s how to do it efficiently:
Choose the Right App
Start by selecting a donation receipt generator like Donorbox, Givebutter, or Receiptable. These apps integrate easily with your donation platform, automatically pulling donor data to create receipts. Donorbox, for example, allows you to customize receipts with your nonprofit’s logo and messaging, saving time for future donations.
Set Up Customization Options
Once you’ve chosen an app, set it up with your organization’s details–like name, address, tax ID, and donation amount. Customize the look of your receipts to match your branding. Many apps allow you to create templates that automatically populate the required fields, making the process much faster.
Once configured, every time a donation is made, the app will instantly generate and send a receipt to the donor, reducing manual effort and the risk of mistakes. Some apps even track donations and send reminders for tax season, ensuring that you’re always prepared with the necessary paperwork.
Donation Receipt Template for Mac

To create a donation receipt template on Mac, you can utilize applications such as Pages or Microsoft Word. Start by opening a new document and set it to a professional layout. Add your organization’s logo at the top for branding purposes.
For the body of the receipt, clearly include the donor’s name, donation amount, and the date of the donation. Make sure the description field is well defined in case of multiple items or contributions. Include a statement confirming that no goods or services were exchanged for the donation to ensure it’s tax-deductible.
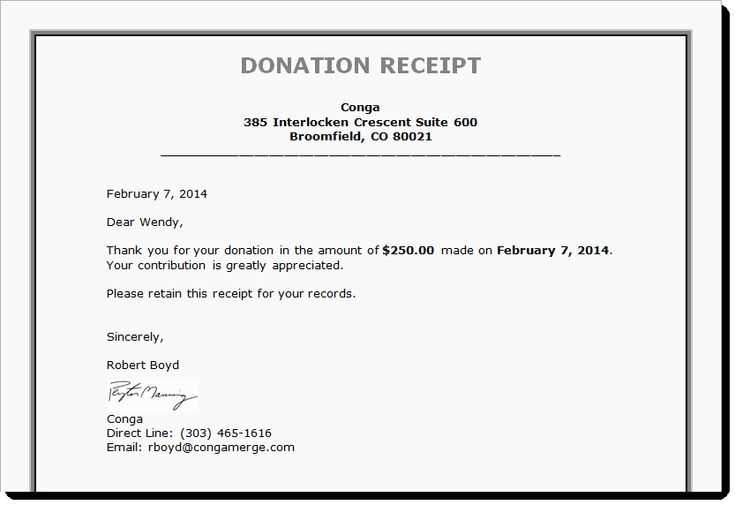
For ease of use, add a section for an official thank you message. Personalize it with the donor’s name and express genuine appreciation. This will not only enhance your brand’s image but also build positive relations with your donors.
Ensure the footer contains all necessary tax information and disclaimers. This includes your organization’s EIN (Employer Identification Number) and any legal disclaimers relevant to charitable contributions.
After completing the template, save it as a reusable file format such as PDF or Word to easily generate future receipts. This saves time and ensures consistency in your donations records.