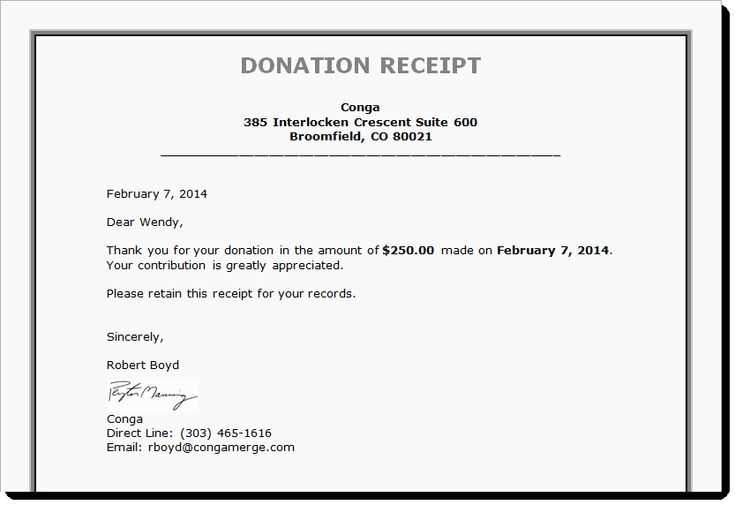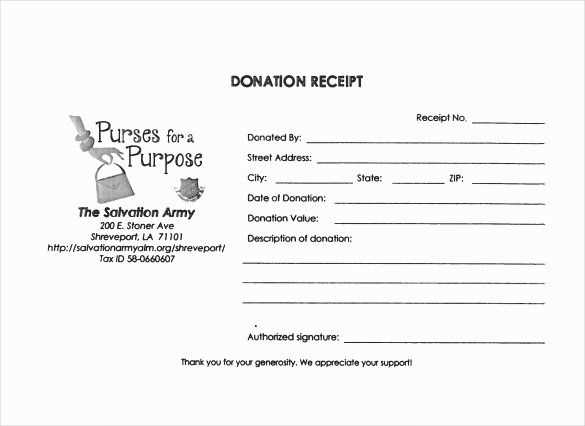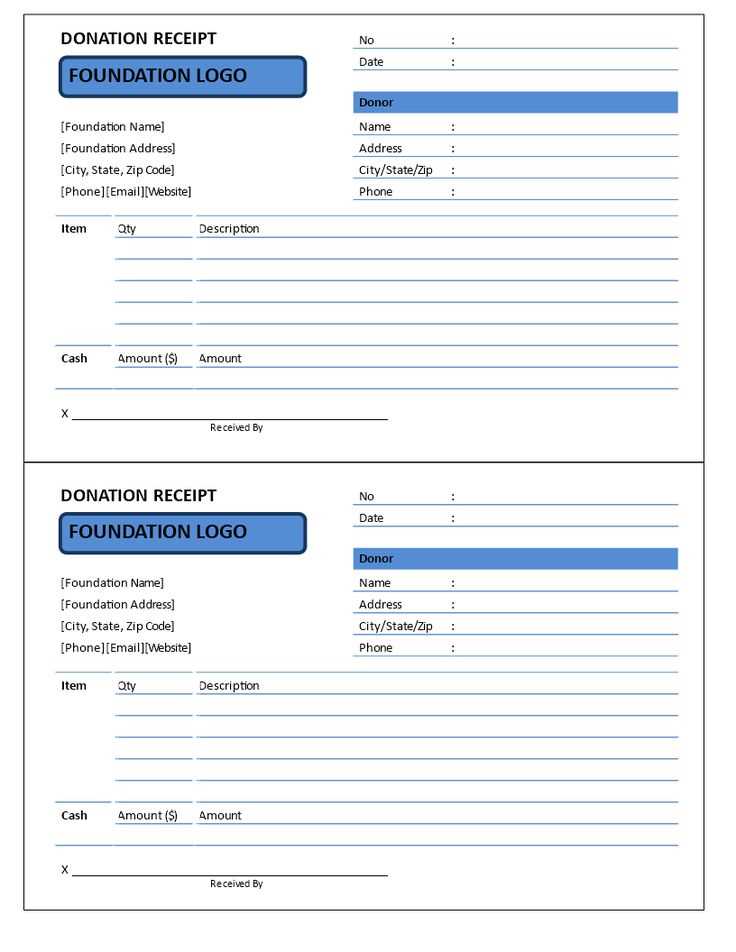
To create an equipment donation receipt in Google Docs, open a new document and begin with a clear heading that identifies the receipt as a donation record. Include the donor’s name, contact details, and the date of the donation. This ensures all relevant information is readily available for both the donor and the recipient.
For easy customization, use tables to organize the donated items. List each piece of equipment along with its description, quantity, and condition. This provides transparency and clarity on what has been given. Make sure to include a statement such as, “No goods or services were exchanged for this donation” if applicable, to comply with tax guidelines.
Finish the receipt by adding a thank-you note and space for both the donor’s and the recipient’s signatures. This small gesture personalizes the document and makes it official. Lastly, save the template in Google Docs so it can be reused with minimal edits for future donations.
Equipment Donation Receipt Template in Google Docs
Creating an equipment donation receipt in Google Docs is straightforward. You can build your own template that captures all necessary details for both the donor and recipient. Follow these steps to quickly set it up:
Step 1: Set up the document layout
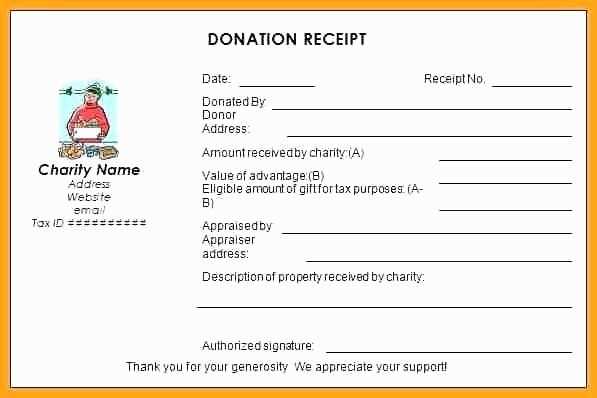
Open a new document in Google Docs. Start by adding the title “Equipment Donation Receipt” at the top of the page. Below the title, include the donation date, donor’s full name, and contact information. Use a clean and simple structure to make the receipt easy to read.
Step 2: Add the details of the donated equipment
Use a table to list the items donated. Include columns for the item description, quantity, and condition. This will help both parties keep track of what was donated.
| Item Description | Quantity | Condition |
|---|---|---|
| Laptop | 1 | Good |
| Office Chair | 2 | Used |
After listing the items, include a statement clarifying that no goods or services were exchanged for the donation. This is an important detail for tax purposes.
Step 3: Add the donor and recipient information
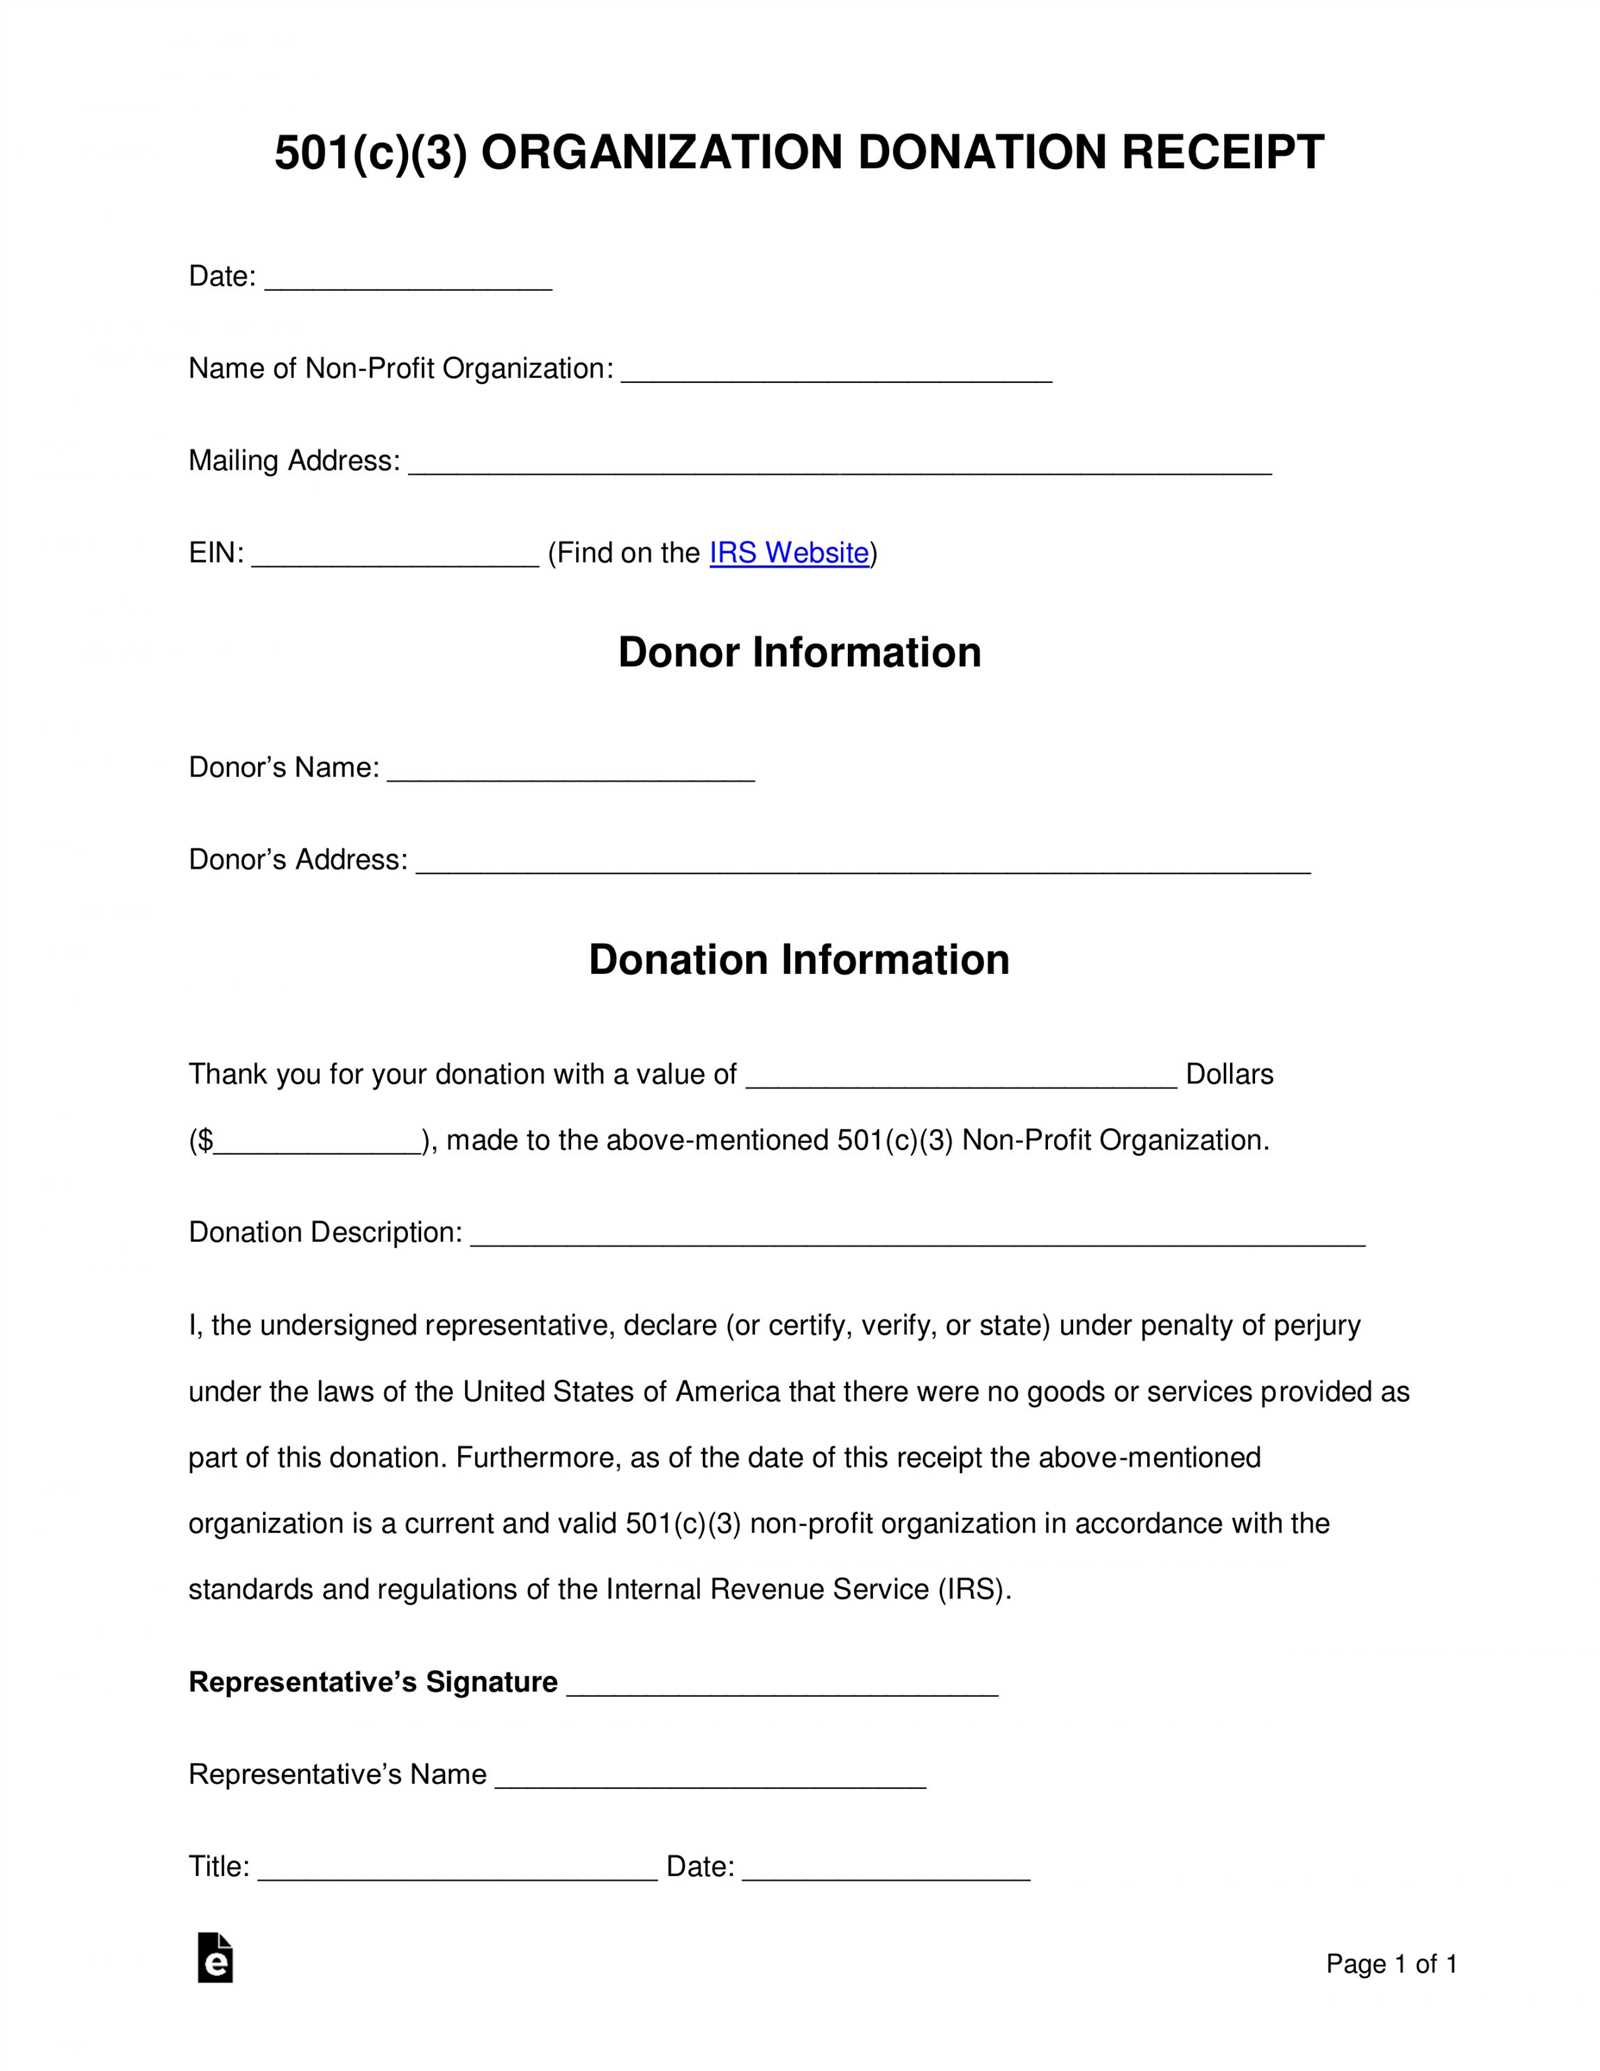
At the bottom of the receipt, include spaces for both the donor and recipient to sign and date the document. This final step ensures both parties have a record of the donation for their records.
By following these simple steps, you can quickly create an equipment donation receipt template in Google Docs that is clear, organized, and ready for use.
Creating a Custom Template in Google Docs
To create a custom template in Google Docs, begin by opening a new document. Design your template with placeholders for the necessary information. This could include text boxes, tables, or checkboxes for any specific fields needed. Ensure that all elements align with your desired format.
Once your document layout is complete, go to the “File” menu, select “Make a copy,” and save it under a relevant name. This copy will serve as your base template for future use.
Steps to Customize Your Template
- Open the document where you want to create your template.
- Insert fields like date, name, and address that can be updated each time you use the template.
- Customize fonts, text sizes, and colors to match the style you want.
- Leave spaces where variable information can be added, such as donation amount or recipient details.
Using Your Template
- After saving your document, share it as a template with others or keep it for personal use.
- To use the template again, simply open the copy and replace the placeholders with current data.
Save your final version of the template in the Google Docs template gallery for easy access, or store it in your Google Drive for future reference. By following these steps, you can quickly adapt the template whenever necessary.
Formatting Tips for Professional-Quality Receipts
Use Clear, Consistent Fonts: Choose a clean, legible font such as Arial or Times New Roman. Stick to one or two fonts for the entire receipt to maintain uniformity. Ensure that the font size is readable, typically between 10pt and 12pt for body text.
Organize Information Logically: Arrange the details in a straightforward manner. Start with the recipient’s name and address, followed by the date of the donation. Then list the items donated, their estimated value, and any other relevant details. Conclude with a thank-you note or signature section.
Align Information Properly: Ensure all text is aligned correctly. Dates and monetary amounts should be right-aligned for clarity. Item descriptions and quantities should be aligned to the left, and totals should be centered or aligned to the right for easy identification.
Include Headers for Clarity: Use headers like Donor Information, Itemized Donations, and Total Value to break up the content. This makes it easier for recipients to quickly find the information they need.
Highlight Important Data: Use bold or italics to draw attention to critical elements like the total value or the name of the donor. Avoid overusing these features to maintain a professional look.
Leave Adequate White Space: Don’t crowd the receipt with too much information. Ensure there’s enough space between each section and leave margins on all sides. This will improve readability and give the document a polished, neat appearance.
Sharing and Storing the Template for Future Use
To share the equipment donation receipt template with others, start by ensuring that the document is easily accessible and editable. Upload the template to Google Drive, set the appropriate sharing permissions, and send the link to those who need access. You can also invite specific people to view or edit the document directly through Google Docs by entering their email addresses in the sharing settings.
Ensure Proper Access Permissions
Choose the correct access level based on the user’s role. If you want others to customize the template, provide editing access. For viewing or printing, share the link with “view only” permissions. This keeps your template protected from unwanted edits while allowing others to use it as needed.
Storing the Template for Future Access
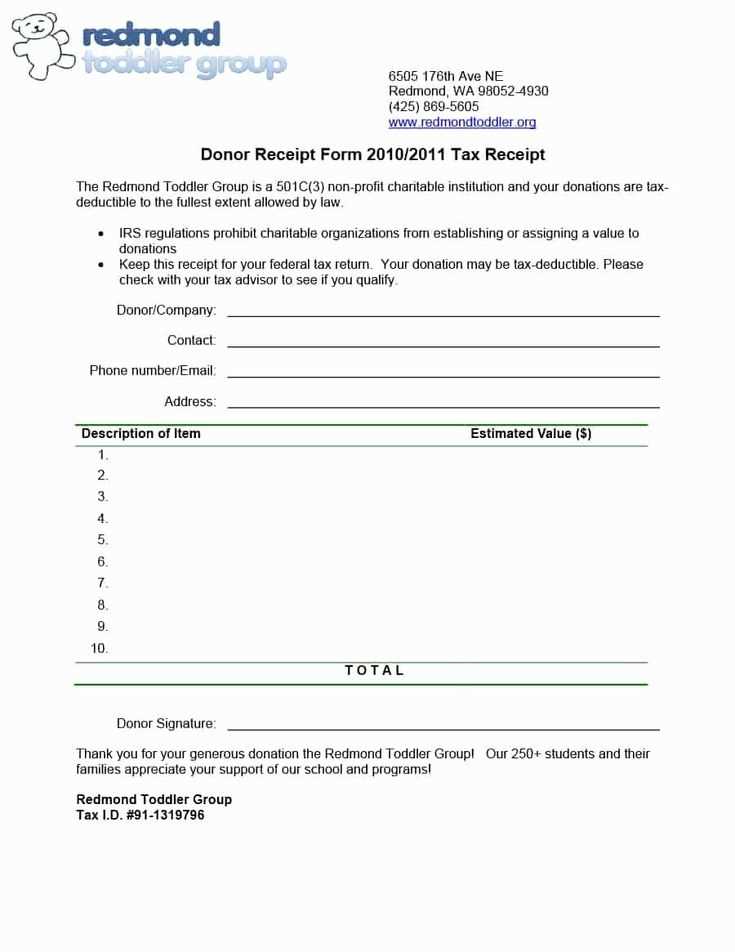
Save the template in an easily identifiable folder within Google Drive for quick access in the future. Organize it with clear file names and categorize it within a dedicated folder for donation-related documents. If you expect multiple people to use the template regularly, consider creating a shared folder with team members to ensure everyone can access the latest version.
For added backup, download the template as a PDF or Word file and store it on your local system or an external storage device. This ensures that you have a copy available offline if needed.
