Using a Microsoft Office donation receipt template is a quick and practical way to create receipts for donations, whether you’re running a nonprofit organization or handling donations for an event. With these templates, you can ensure that all required details are properly included, providing a professional touch while simplifying your record-keeping process.
Microsoft Office offers a variety of pre-designed templates that allow you to customize the donation receipt based on your specific needs. You can easily add donor information, the amount donated, the date, and other key details like tax-exempt status, which is especially important for tax purposes.
If you’re looking for an efficient way to manage receipts, using a template in Word or Excel can save time. Templates are designed to automatically format the content, which helps ensure that all information is clearly presented. You can even save multiple versions for different types of donations, from cash gifts to in-kind contributions.
By using these templates, you streamline your operations and create consistency in your records, which is vital for maintaining accurate financial documentation and building trust with your donors.
Here’s an improved version with minimal repetition:
Use a clear, concise template to ensure your donation receipt is both professional and easy to understand. Follow these steps:
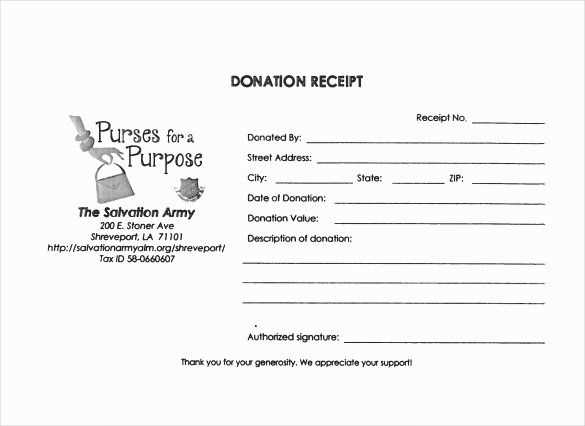
- Title: Include the words “Donation Receipt” at the top for clarity.
- Donor Details: List the donor’s name, address, and contact information, ensuring accuracy.
- Organization Information: Include your organization’s name, address, and IRS tax ID if applicable.
- Donation Details: Clearly state the donation date, amount, and description of donated items or services.
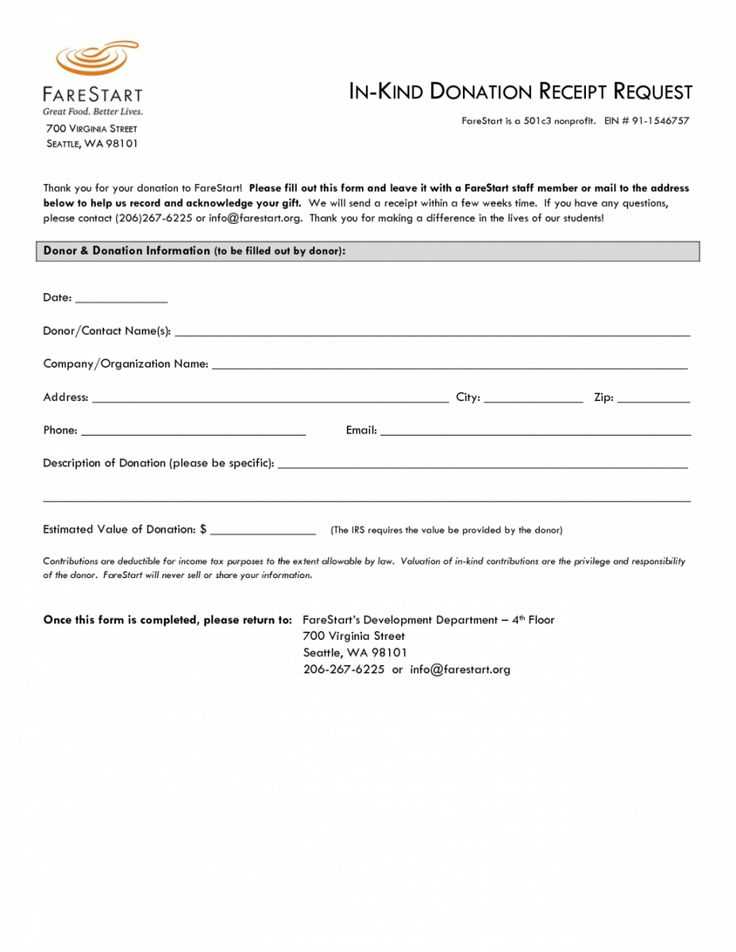
- Non-Cash Donations: If applicable, provide a description of the donated items and their estimated value.
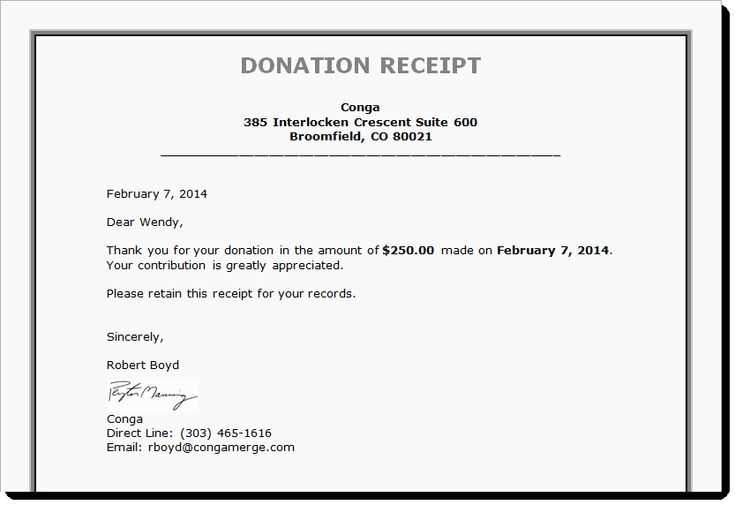
- Thank You Message: Express gratitude for the donor’s contribution in a sincere manner.
- Signature: End the receipt with an authorized representative’s signature for authenticity.
Keep your template simple and easy to update. Ensure that all necessary details are included without overwhelming the reader with unnecessary information.
- Microsoft Office Donation Receipt Templates
Microsoft Office offers various tools to help create professional donation receipt templates quickly. You can use Microsoft Word or Excel to customize and generate receipts that meet your specific needs. For Word, start with a pre-built template designed for donation receipts, and adjust it to include your organization’s details, donation amount, and other necessary information.
Excel is a great option if you need to manage donation data in addition to creating receipts. You can design a template that includes fields for donor name, date of donation, amount, and any other details required for tax purposes. Excel’s built-in formulas can be helpful for automatically calculating totals or generating donor lists.
Both applications provide flexibility, allowing you to customize fonts, colors, and layouts to align with your organization’s branding. To ensure that your receipts are compliant with tax regulations, make sure to include all required information such as the donor’s contact details, donation amount, and a statement confirming whether any goods or services were exchanged for the donation.
For efficiency, consider saving your templates for future use. This allows you to reuse them for each donation and ensures consistency across all receipts. Additionally, both Word and Excel allow for easy printing or digital distribution of the receipts, ensuring that your donors receive them promptly after their contribution.
To access donation receipt templates in Microsoft Word, open the application and click on the “File” tab in the top left corner. From the drop-down menu, select “New.” In the search bar, type “donation receipt” to find relevant templates. You’ll see a range of designs tailored for different needs. Choose the one that fits your requirements and click on it to open the template.
Customize the Template

Once the template is open, you can easily adjust the fields to include your organization’s name, donation details, and donor information. Simply click on the text fields and replace them with the specific details. You can also modify fonts, colors, and the layout to match your branding.
Save and Print

After customizing the receipt, save it on your computer or print it directly from Word. This allows you to provide donors with a professional and clear acknowledgment of their contribution.
Customize your Word donation receipt template by tailoring its layout to reflect your organization’s branding. Start with your logo at the top to ensure easy recognition. Adjust the font style and size to match your website or printed materials, keeping it clear and professional.
Adding Relevant Donation Information
Make sure the donation details are clear and complete. Include the donor’s name, donation amount, date, and the purpose of the donation. If your organization is a charity, specify if the donation is tax-deductible, including the appropriate tax-exempt number or identification.
Personalizing the Acknowledgment

Personalize the thank-you message to make the donor feel valued. A short message acknowledging their generosity can go a long way. Consider including a line like, “Your contribution helps us make a real difference,” followed by a personalized sign-off from your organization’s leadership.
Finally, save your customized template as a reusable file. This allows for quick edits for future donations while maintaining consistency across all receipts.
To add donation details to Excel templates, follow these practical steps for smooth integration:
- Create a Donation Details Section: Set up dedicated columns for each donation component, such as donor name, donation amount, date, and donation method. Use headers like “Donor Name,” “Amount,” “Date,” and “Payment Method” for clarity.
- Input Data: Begin entering donation information row by row. For each donation, ensure data is consistent and accurate. Use Excel’s date and number formatting features to keep the data organized.
- Use Excel Functions: Leverage functions like
SUMto calculate the total amount of donations. For instance, place the=SUM(B2:B10)formula in a cell to sum donation amounts in a specified range. - Incorporate Donation Categories: Add categories if necessary. For example, if donations are for different projects or funds, use a “Category” column to specify which fund each donation applies to. This makes it easier to track specific campaigns.
- Apply Conditional Formatting: Highlight rows based on specific criteria, such as high donation amounts or certain donation types. Use Excel’s “Conditional Formatting” tool to automatically apply color coding.
- Generate Donation Summary: Create a summary section that aggregates totals based on specific criteria like date, category, or donor type. Use pivot tables to provide a more flexible and interactive overview of donation data.
By setting up donation details in Excel efficiently, you can manage and analyze donation records quickly while maintaining clear and organized reports.
To save a receipt template in Microsoft Office, first, create or open your receipt document in Word or Excel. Once your receipt is complete, click “File” in the top-left corner of the screen, then select “Save As.” Choose the desired folder location and select the file format (Word Document, PDF, etc.). For easy retrieval, consider naming your receipt template based on the event or purpose, such as “DonationReceipt_2025.” Click “Save” to store it.
To print the receipt, click “File” again, then select “Print” from the menu. Adjust the printer settings as needed (such as page orientation, paper size, and print range). Before clicking the “Print” button, make sure the document appears correctly on the preview screen. If everything looks good, select the printer and click “Print” to generate a hard copy of your receipt.
If you need to save multiple receipts, use the “Save As” feature to create separate files or keep a master template to quickly generate future receipts. For more flexibility, save the document as a PDF, which can be shared via email or stored digitally with ease.
PowerPoint offers a flexible platform for creating donor acknowledgement receipts, allowing you to incorporate design elements like logos, photos, and customized text, all while keeping things professional and straightforward. The slide-based format helps you easily design a receipt that looks polished without requiring advanced design skills.
Start by setting up a clean, minimalist template with placeholders for donor information. Customize it to match your organization’s brand by adjusting fonts, colors, and adding logos or background images. This not only personalizes the receipt but also makes it memorable for your donors.
To keep track of donations and create receipts efficiently, use tables in PowerPoint to organize donor data clearly. For example, set up a table to display the donor’s name, donation amount, and donation date. This structured layout ensures readability and helps avoid errors.
| Donor Name | Donation Amount | Date of Donation |
|---|---|---|
| John Doe | $500 | February 5, 2025 |
Adding a simple thank-you note or tax-deduction reminder can enhance the donor’s experience, making the receipt not only an acknowledgment but also a useful document for their records. PowerPoint’s flexible design tools allow you to experiment with different layouts and details until the receipt meets your needs.
When you’re ready, save the final design as a PDF to ensure the formatting remains intact. PowerPoint’s export function allows you to quickly convert your slide to a high-quality PDF document that can be easily printed or emailed to your donors. With this method, you save time and ensure a professional appearance with minimal effort.
When creating donation receipts in Microsoft Office, ensure that all required legal components are included. Each receipt should list the donor’s name, the donation amount, the date of the donation, and a description of the donated items if applicable. For monetary donations, specify the amount in both numerical and written form. This makes the receipt legally valid and prevents potential disputes.
In some jurisdictions, receipts must include a statement confirming that no goods or services were exchanged in return for the donation. Add this statement to the receipt template to meet legal obligations. If goods or services were provided, clearly state their fair market value and ensure that the donor understands the deductible amount.
Check if the template complies with local tax laws. Certain states or countries have specific wording requirements for charitable donations, so reviewing the template against those regulations is a proactive step. Customize the receipt in Microsoft Office by adjusting the text fields to reflect your organization’s specific legal obligations, such as the charity’s tax identification number.
Finally, make sure the receipt format remains clear and professional. Using consistent fonts and layout enhances readability and ensures that all critical information is easy to locate. Avoid unnecessary details that could complicate the document, focusing solely on the necessary legal elements to meet compliance requirements.
Donation Receipt Templates in Microsoft Office

If you need a donation receipt template, Microsoft Office offers multiple options that make creating receipts straightforward. Start by using pre-designed templates available in Microsoft Word or Excel. These templates can be customized to fit your organization’s needs, including adding logos, changing fonts, and adjusting fields.
Word templates often include sections for donor information, donation details, and tax acknowledgment, while Excel templates help you manage and track multiple donations with ease. If you’re working on a bulk donation project, Excel might be the best choice to keep things organized.
For a simple donation receipt, follow these key steps:
- Download a receipt template from Microsoft Office’s template gallery.
- Fill in basic fields like donor name, donation date, and amount.
- Add any additional tax or charitable information required for your non-profit.
You can also make your own from scratch by creating a table with the necessary fields. Below is an example layout for a donation receipt in Word or Excel:
| Field | Description |
|---|---|
| Donor Name | Insert the full name of the donor |
| Donation Date | Insert the date when the donation was made |
| Donation Amount | Insert the monetary value of the donation |
| Organization Name | Insert the name of your organization or charity |
| Tax Identification Number (TIN) | Insert the organization’s TIN for tax purposes |
| Thank You Message | Include a message thanking the donor for their generosity |
By following these steps and customizing the template as needed, you’ll have a professional-looking donation receipt ready for your donors. Make sure your organization’s information is clear and easily accessible for tax reporting purposes.