Creating a donation receipt that is clear and legally valid is a straightforward process. Begin by including key details such as the donor’s name, donation amount, date of donation, and a description of the donated items or services. These elements ensure transparency and provide the necessary documentation for tax purposes.
Include a statement confirming that no goods or services were exchanged for the donation, as this is required by law for charitable donations. Make sure the organization’s name and contact details are prominently displayed at the top, as well as the organization’s tax-exempt status if applicable. This will establish trust and ensure the document is recognized by both donors and authorities.
To save time, using a template for donation receipts is an effective option. These templates can be easily customized with specific details for each donation, providing a consistent format that meets legal standards. With the right template, you can streamline your process and ensure every receipt is professionally formatted and legally compliant.
Here are the corrected lines:
Ensure the donation receipt clearly specifies the donor’s name, the donation amount, and the date. Include a statement that the donation is tax-deductible if applicable. Provide a description of the goods or services provided in return for the donation, if any. Always include your organization’s name and address at the top for easy identification.
For multiple donations, list each one separately with its corresponding date and amount. This helps avoid confusion during tax filing. Make sure the donation receipt is signed by an authorized representative of the organization to validate it.
Use a clean, professional layout to increase clarity. A well-organized receipt makes it easier for the donor to keep track of their contributions and for your organization to maintain accurate records.
- Receipt of Donation Templates
To create an effective donation receipt template, include key information that ensures legal compliance and transparency. Start with a clear title such as “Donation Receipt” or “Charitable Contribution Receipt.” This helps the donor understand the purpose of the document at a glance.
List the donor’s name and contact information at the top of the receipt, followed by the organization’s name and contact details. These identifiers are necessary for record-keeping and tax purposes. Include the date of the donation and the amount or description of the items donated, along with their estimated value, if applicable.
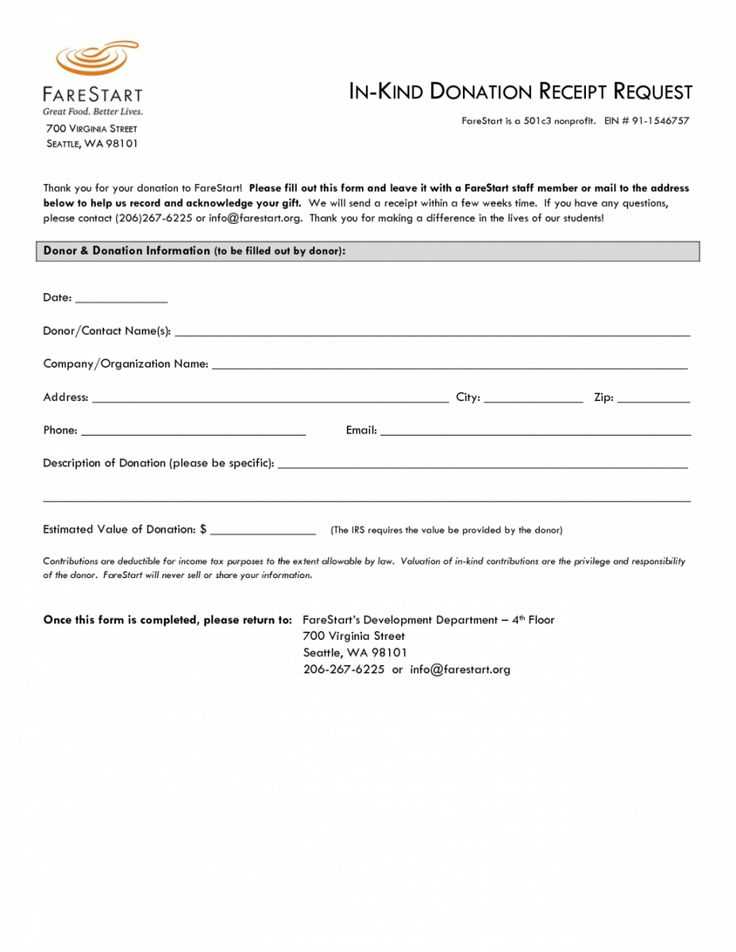
Be sure to specify whether the donation was in the form of cash, check, or goods. For non-cash donations, include a description of the donated items without placing a value on them, as the IRS requires the donor to assess their own value for tax deductions.
Include a statement that the organization did not provide any goods or services in exchange for the donation, or if it did, describe them. This disclosure is crucial for tax deductibility under IRS rules.
Finally, include a disclaimer at the bottom, such as “No goods or services were provided in exchange for this donation,” to clarify the nature of the contribution for tax filing. Make sure the document is signed and dated by an authorized representative of the organization.
To create a receipt template for nonprofit donations, ensure it meets both legal requirements and donor expectations. Include the following key elements:
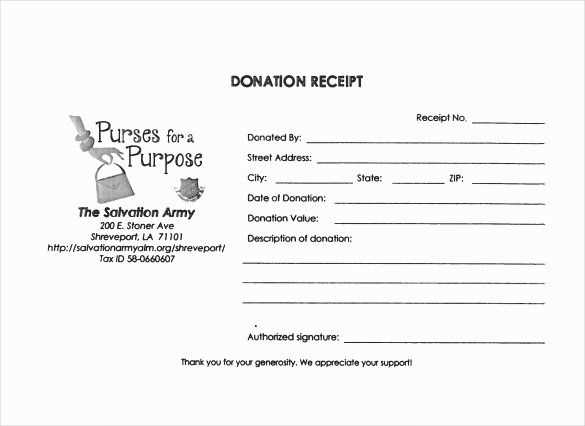
- Donor Information: Include the donor’s name and contact information. This helps both parties for record-keeping and tax purposes.
- Organization Details: Clearly list the nonprofit’s name, address, and contact details.
- Donation Date and Amount: Specify the donation date and the exact amount contributed. This is necessary for the donor’s records and tax filings.
- Tax-Exempt Status: Include a statement confirming the organization’s tax-exempt status, such as “501(c)(3)” if applicable. This confirms the donor’s eligibility for tax deductions.
- Contribution Description: Describe the nature of the donation. If it’s monetary, list the amount. If it’s an in-kind donation, detail the items donated, their condition, and approximate value.
- Non-Refundable Notice: Mention that donations are non-refundable, as this is common for charitable contributions.
Formatting Tips

- Use a clean, professional layout. Include the nonprofit’s logo at the top for brand recognition.
- Consider adding a unique receipt number to each donation receipt for tracking purposes.
- Use a clear, readable font and ensure adequate spacing between sections for easy reading.
Sending the Receipt

- Provide a digital version via email or offer a physical copy depending on the donor’s preference.
- Ensure all receipts are sent promptly to maintain transparency and build trust with donors.
Customize your donation receipts by tailoring them according to the donation type to provide accurate information to donors and streamline the process. Different donation methods require specific details to ensure clarity and compliance.
For One-Time Donations
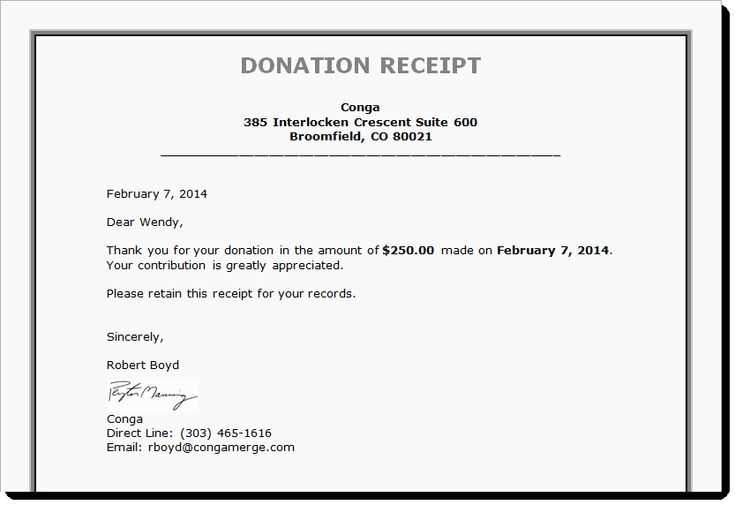
For single donations, ensure the template highlights the exact donation amount, the date of the transaction, and a clear thank-you message. Include the donation method (credit card, check, cash) to give a full picture of the transaction. It’s helpful to add any relevant tax information or instructions on claiming deductions if applicable.
For Recurring Donations

For recurring donations, include details of the frequency (e.g., monthly, quarterly), the total donated amount for the year, and dates for each contribution. Make sure the donor can easily track their total contributions over time. If a donor chooses to end or pause their subscription, include a clear note of the changes to their account and upcoming payments.
Tailoring Templates for specific donation types is a great way to enhance donor experience and ensure transparency. The customization of each template based on donation frequency or method helps avoid confusion and ensures the donor’s details are correctly presented for tax purposes.
Distribute donation receipts as soon as possible after the transaction is completed. This not only ensures that donors receive timely acknowledgment but also helps in maintaining an organized record for tax purposes. Send receipts through email or physical mail based on the donor’s preference and the type of donation.
Store all donation receipts securely in a digital or physical database. Digital storage is a cost-effective and easily accessible option, allowing for faster retrieval when needed. Utilize encrypted cloud services or secure local servers for storing sensitive donor information.
Ensure that all donation receipts contain key details: the donor’s name, donation amount, date, and a statement clarifying whether the donation is tax-deductible. If applicable, include any other relevant information such as the donor’s contact information and the purpose of the donation.
Regularly back up your digital records and audit them to avoid any potential discrepancies. This helps ensure that all receipts are accounted for, and errors can be identified and corrected quickly.
For physical receipts, keep them in a safe, organized filing system with clear labels and categories. Consider using fireproof filing cabinets to protect sensitive data from damage.
Maintain transparency by offering donors clear instructions on how to access their receipts and providing an easy way for them to request duplicates or corrections if necessary.
For crafting donation receipt templates, ensure you include the donor’s name, donation amount, and the date. Clearly state the type of donation–whether it’s monetary, goods, or services–and provide a description of what was donated. This will clarify the transaction and make it easier for both parties to keep track of records.
Be transparent about the tax-exempt status of your organization. If your non-profit is eligible, include a statement indicating that the donation is tax-deductible under the relevant tax laws. Always mention whether any goods or services were provided in exchange for the donation, as this may affect the amount that qualifies for tax deduction.
To improve clarity, list the donation in a format that is easy for the donor to reference later. If applicable, include a unique receipt number for future tracking. Keep the language straightforward, using concise phrasing to avoid confusion or ambiguity.
Finally, always make sure your receipt includes the organization’s name, address, and contact details. This allows donors to reach out in case they need more information or have questions about their donation.