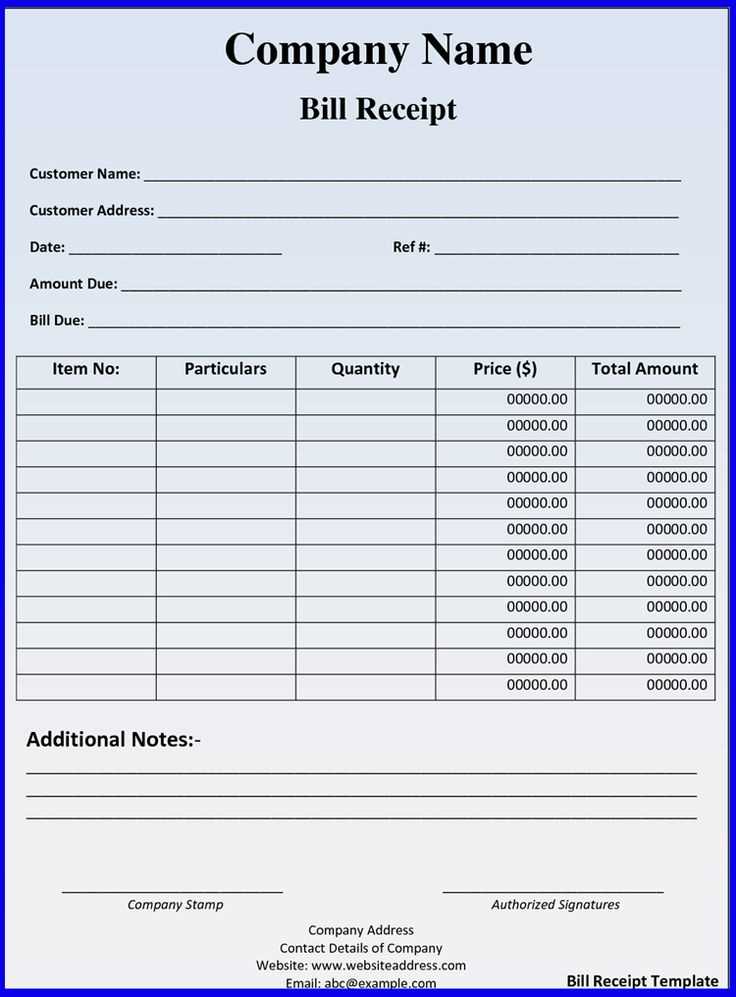
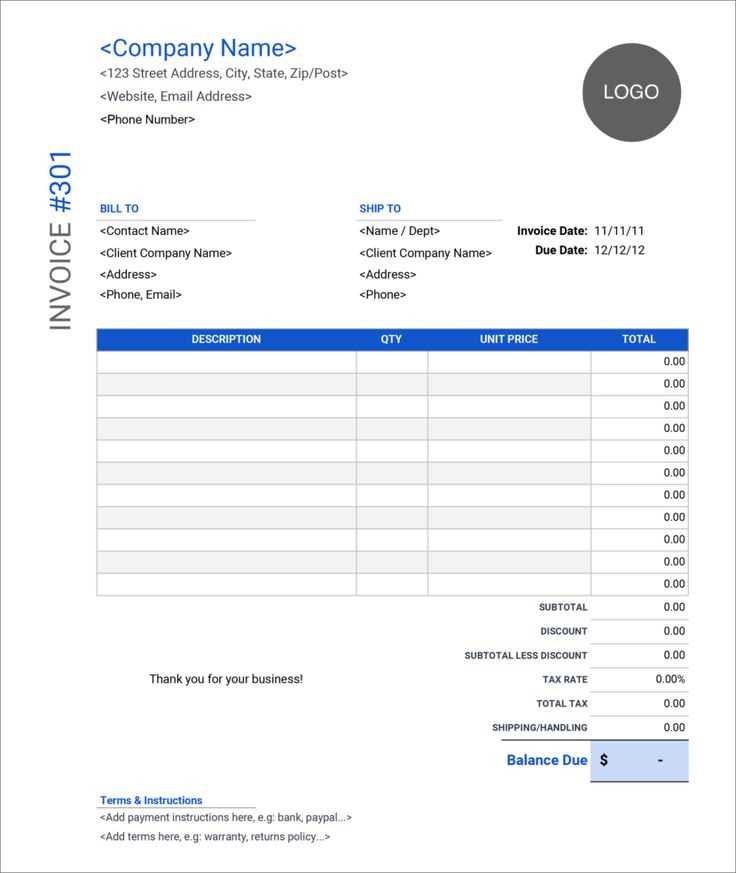
Save time and keep your records organized with a ready-made bill receipt template in Excel. Instead of creating invoices from scratch, use a structured spreadsheet that calculates totals, applies taxes, and formats data automatically.
Excel templates allow customization to fit different business needs. Adjust the layout, insert company details, and modify formulas to match specific billing structures. With built-in functions, such as SUM and IF, these templates reduce manual calculations and minimize errors.
Whether you need a simple receipt for a small transaction or a detailed invoice with itemized costs, Excel provides flexibility. Choose from templates with automatic tax calculation, discount fields, and customer details. Save completed receipts as PDFs or share them via email directly from Excel.
Using a structured template ensures accuracy and consistency in financial documentation. Explore different formats, add your branding, and streamline billing with a pre-designed Excel receipt template.
- Bill Receipt Template Excel: How to Design and Personalize
Start with a structured layout. Use clear columns for item descriptions, quantities, unit prices, taxes, and totals. Align numbers to the right for easy readability and ensure text labels are distinct.
Customize fonts and colors. Stick to professional, legible fonts like Arial or Calibri. Use subtle shading for headers to differentiate sections without overpowering the content.
Include a company logo. Insert it in the header using Insert > Pictures. Resize and position it properly to maintain a clean look.
Add automatic calculations. Use formulas like =SUM() for totals and =A1*B1 for item calculations. Protect formula cells to prevent accidental edits.
Incorporate dynamic date and invoice numbers. Use =TODAY() for automatic date updates and a sequential numbering system for receipts.
Save as a reusable template. Go to File > Save As, select Excel Template (*.xltx), and store it for quick access.
Choose an Excel format that aligns with your billing structure. For itemized invoices, use a table with separate columns for descriptions, quantities, rates, taxes, and totals. If you handle recurring payments, consider a template with automated date calculations and payment tracking.
Key Features to Include
Use formulas to calculate totals, taxes, and discounts automatically. Apply data validation to prevent entry errors. If multiple team members handle invoices, enable sheet protection to lock critical fields while allowing necessary edits.
File Format Considerations
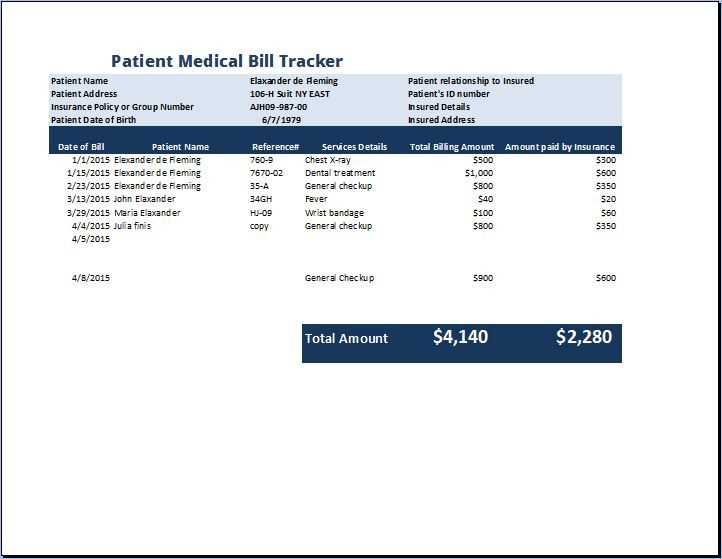
Save your template as an .xlsx file for full functionality, including formulas and drop-down lists. If sharing with external parties, export a copy as a .pdf to ensure formatting remains intact.
Use Excel formulas to automate calculations and reduce manual input errors. Start by selecting the cells where calculations should apply. For a total amount including tax, enter =B2*(1+C2), where B2 holds the subtotal and C2 contains the tax rate.
To calculate discounts, apply =B2-D2, where D2 represents the discount amount. If using a percentage discount, modify it to =B2*(1-D2). For conditional discounts, use =IF(B2>100,B2*0.9,B2) to apply a 10% discount on amounts over 100.
Ensure correct rounding with =ROUND(B2,2) to limit decimal places. If working with multiple currencies, apply =B2*E2 where E2 holds the exchange rate.
To track overdue payments, compare dates using =IF(TODAY()>D2,"Overdue","On Time"), where D2 is the due date. Automate totals with =SUM(B2:B10) and count invoices with =COUNTA(A2:A10). These formulas streamline financial records and improve accuracy.
Place your company logo at the top of the bill receipt to ensure instant recognition. The logo should be clear and proportional to fit within the available space without overwhelming the document. Use high-resolution images to maintain quality when printed or viewed digitally.
Positioning the Logo
The logo should be placed in the top-left or top-center of the receipt, depending on your layout preference. This is where customers will naturally look for branding elements. Make sure there is enough padding around the logo so it stands out and doesn’t blend with other text or details.
Incorporating Branding Colors and Fonts
Alongside the logo, use your company’s branding colors and fonts for consistency. This creates a uniform appearance across all documents and helps reinforce brand identity. Choose complementary colors for headings and subheadings, ensuring readability while keeping the visual appeal intact.
| Element | Recommendation |
|---|---|
| Logo Placement | Top-left or top-center for easy recognition |
| Logo Size | Large enough to be clear, but not overpowering the content |
| Brand Colors | Use company colors for headings, borders, or highlights |
| Font Style | Utilize company-approved fonts for text and numbers |
Adding your branding details like this creates a consistent, professional appearance while maintaining the individuality of your company. This approach strengthens the connection between your brand and your customers, making the receipt feel more personal and official.
Integrating Tax and Discount Sections
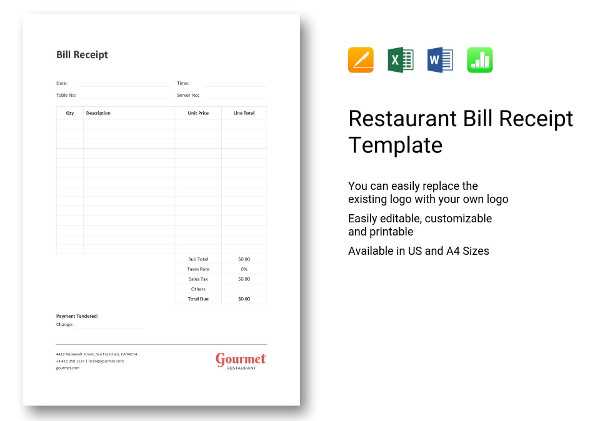
To create a practical and user-friendly bill receipt in Excel, integrate clear tax and discount sections to streamline calculations and improve accuracy. Here’s how you can set it up:
- Tax Section: Add a row below the subtotal where the tax percentage will be calculated. Multiply the subtotal by the tax rate and display the result in a separate cell. This ensures transparency for the customer.
- Discount Section: Include another row to apply any discounts. Use a formula to subtract the discount percentage from the subtotal, ensuring it’s calculated correctly before taxes are applied. The final amount should reflect this adjustment.
- Ensure Flexibility: Allow users to input different tax rates and discount percentages as variables so that the template can adapt to various scenarios.
- Clear Labeling: Label each section clearly to avoid confusion, using terms like “Tax Amount,” “Discount Applied,” and “Total After Discounts” for easy understanding.
By structuring these sections properly, you can provide accurate billing information while making the process smooth for both the seller and the customer.
To export your bill receipt template from Excel, click on the “File” tab and select “Save As.” You can choose from several file formats, such as .xlsx, .csv, .pdf, or .xls, depending on your needs. If you need to print the receipt, select the “Print” option from the File menu. You can adjust print settings, including page size, orientation, and margins, to ensure the document fits your preferred format. For PDF exports, select “Save as PDF” from the available options, which is ideal for sharing or archiving the receipt.
When working with the template, ensure that your data is formatted correctly to avoid printing errors. Use page breaks and adjust columns to make the receipt clear and professional. Additionally, you can customize the template to include a logo or company name, and these elements will appear when exporting or printing the document. This process helps in providing a polished and ready-to-share receipt in various formats.
To ensure your bill receipt template is always accessible and organized, use cloud-based storage platforms like Google Drive or Dropbox for easy sharing. These platforms allow you to share documents instantly with colleagues, clients, or stakeholders via links. Ensure proper permissions are set, such as “view only” for those who do not need editing access.
Version Control for Accuracy
Maintain version control by regularly saving updated versions with clear timestamps. This way, you can track changes and restore older versions if necessary. Tools like Google Sheets automatically save previous versions, offering peace of mind in case of errors or disputes.
Archiving for Long-Term Storage
For long-term documentation, create a dedicated folder or directory specifically for archived receipts. Categorize receipts by year, month, or client for easier retrieval. Consider creating backups on external drives or using encrypted cloud storage for added security and long-term accessibility.
How to Use a Bill Receipt Template in Excel
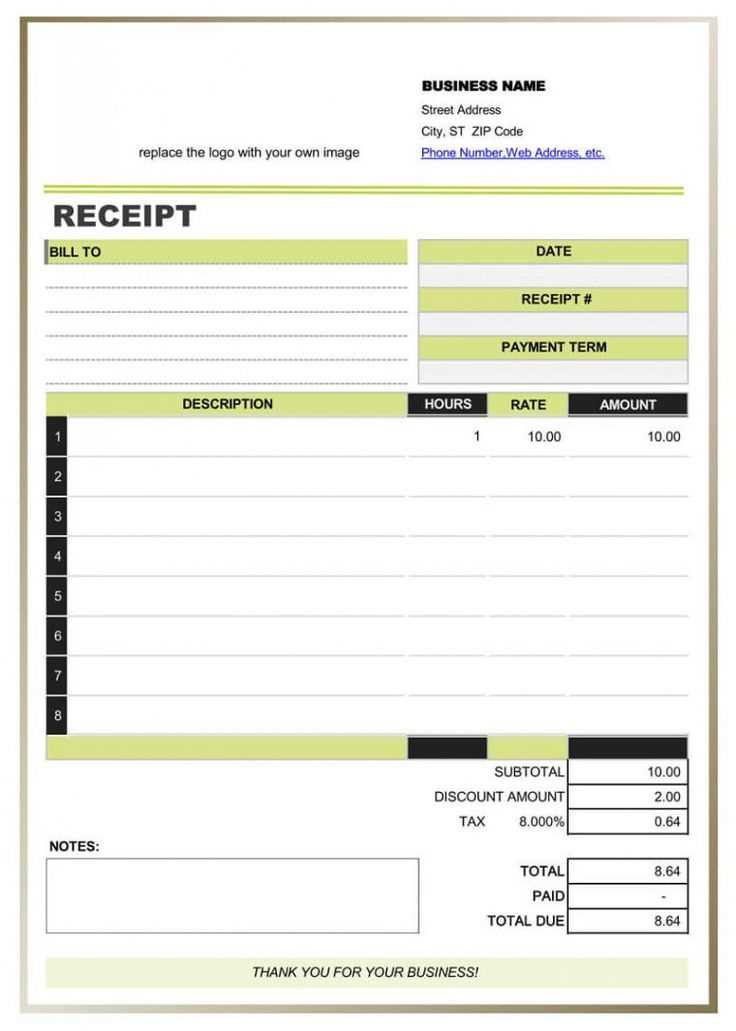
For quick and accurate bill receipt management, Excel templates provide a great solution. Use a template to ensure all essential details are included, saving time on each transaction.
- Start with the basic structure: Begin by setting up columns for date, transaction ID, customer name, item or service description, amount, and payment method.
- Include a section for taxes: Make sure there’s space to calculate taxes separately. This will help clarify the total amount due and make future accounting simpler.
- Provide a space for notes: Add a small area for any relevant details or comments about the transaction that might be useful later.
- Use formulas for calculations: Implement simple Excel formulas to automatically calculate totals, taxes, and any discounts to minimize errors.
- Customize for your needs: Adjust the template to fit the specific requirements of your business, whether it’s for products or services.
How to Save Time with Excel Templates
- Save as a template: After creating your ideal receipt, save it as an Excel template. This will allow you to quickly open a new copy each time you need one, streamlining the process.
- Use pre-made templates: If you’re short on time, start with an existing template from Excel’s template gallery and modify it to fit your needs.


