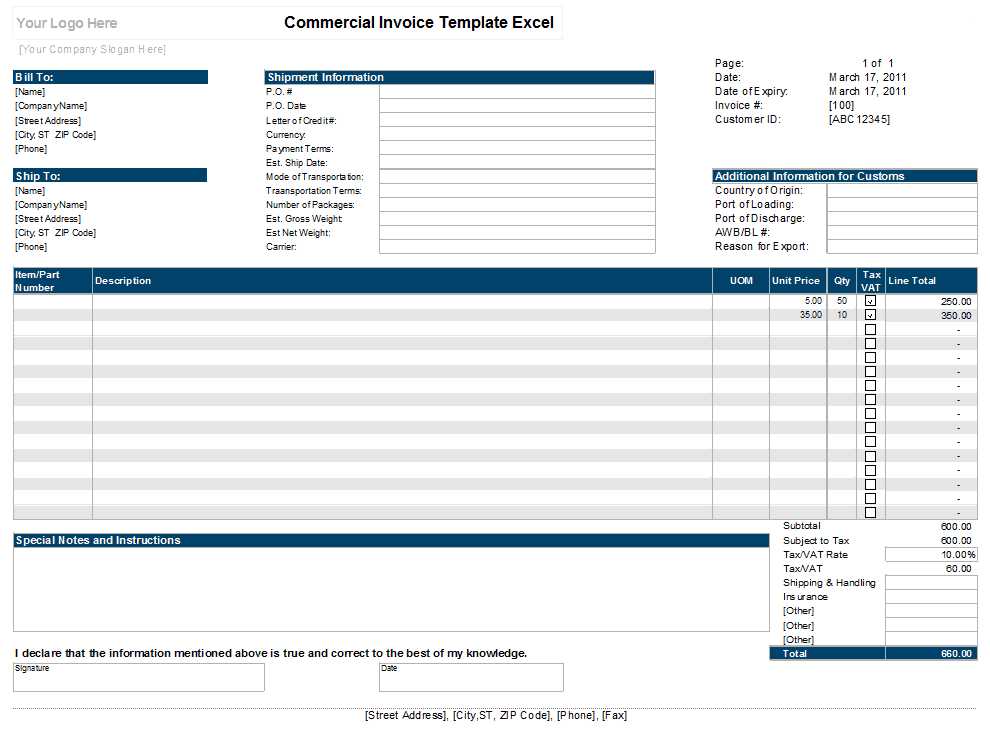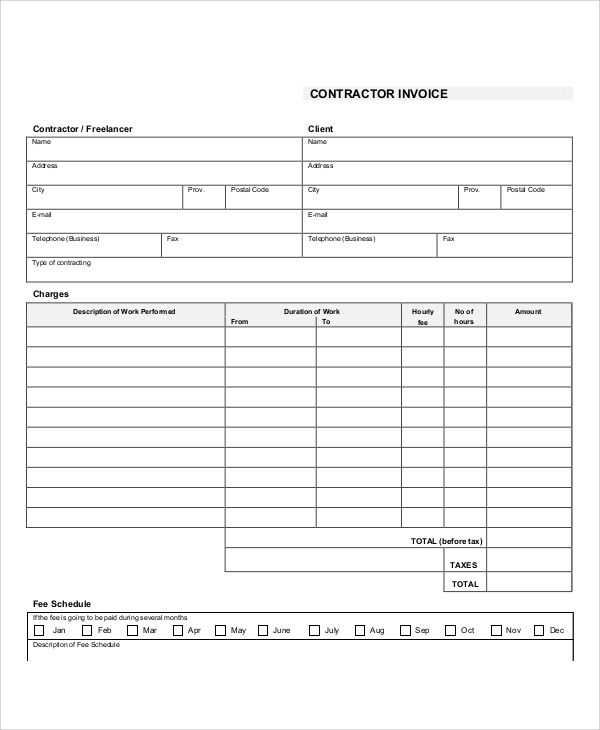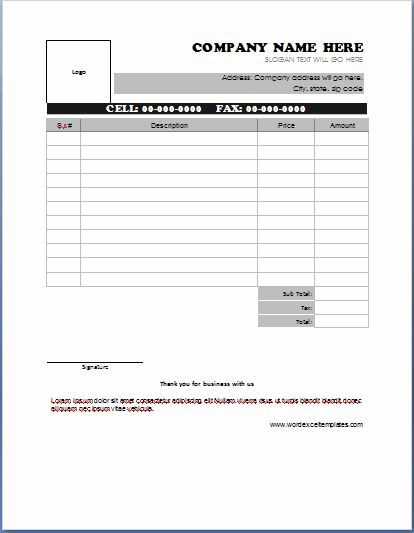
If you’re running a business, creating accurate and clear receipts is a must. A business receipt template in Excel is a practical solution for streamlining this process. With an Excel template, you can efficiently track payments, sales, and provide professional-looking receipts to your clients. It offers flexibility to adjust details such as items, quantities, and prices, while automatically calculating totals and taxes.
Using a well-structured Excel template for receipts allows you to maintain consistency across transactions. You can customize it to include company branding, payment terms, and detailed item descriptions. Excel’s built-in functions, such as sum and tax calculation formulas, simplify the process and minimize errors, saving you valuable time.
To make your business receipt template even more effective, ensure that it includes all necessary fields: date, receipt number, customer information, itemized list of purchased goods or services, and payment method. This will not only ensure accuracy but also help in keeping organized financial records for accounting and tax purposes.
Business Receipt Template in Excel: Practical Guide

To create a simple and functional business receipt template in Excel, begin by setting up a clean layout with clear labels for all the necessary fields. A well-organized template should include sections for the business name, contact details, receipt number, date, itemized list of products or services, price, tax, and total amount. Excel’s built-in functions, such as SUM and CONCATENATE, can help automate calculations and reduce errors. Create headers for each column and adjust column widths to fit the information neatly.
Steps for Building the Template
1. Start by entering the business information in the header section. This includes the business name, address, phone number, and email. Format the text to make it stand out, like bolding the name and increasing the font size.
2. Add the “Receipt Number” and “Date” fields below the business details. Use Excel’s date format to ensure consistency.
3. In the next rows, create columns for “Description”, “Quantity”, “Unit Price”, “Total” (Quantity x Unit Price), and “Tax”. Use Excel formulas to automate the total calculation and tax calculations.
4. Finally, create a section for the “Grand Total”, which includes the subtotal plus tax. Use the SUM formula to calculate the total amount automatically.
Customizing the Template
Excel allows you to customize your template by adding a company logo or adjusting fonts and colors for visual appeal. If you need to print the receipt, ensure your layout fits the standard paper size by adjusting margins. Set up cell borders to clearly separate the different sections for a neat appearance. Consider adding dropdown lists for common items or services to speed up data entry. Keep the template simple and easy to update by using fixed text for recurring information like the business address and dynamic cells for variable details such as items and prices.
Customizing Template Layout for Specific Business Needs
Adjust the layout of your receipt template to match the specific requirements of your business. Begin by assessing the key elements that need to be highlighted, such as your company logo, payment terms, or special instructions. Make sure these elements are positioned clearly and consistently throughout the template.
Adding Relevant Fields
Include sections that reflect the unique aspects of your business. If you’re running a service-based business, consider adding a field for the description of services provided or a breakdown of hours worked. For product-based businesses, ensure there’s enough space for item numbers, quantities, and detailed product descriptions.
Customizing the Layout for Branding
Incorporate your business’s colors and font styles to make the receipt visually aligned with your branding. Adjust margins and spacing to maintain a clean and professional look while making sure the document remains legible on both printed and digital formats. This small tweak will help create a more cohesive experience for your clients.
Integrating Date and Payment Information Automatically
Use Excel’s built-in functions to automate the input of date and payment data in your business receipt template. Leverage the TODAY() function to automatically insert the current date whenever the document is opened or updated. This will eliminate the need to manually type the date for each transaction.
Automating Payment Entry with Formulae

To automatically calculate the payment amounts, use Excel’s SUM() function for any transaction totals. By setting up a table with predefined cells for individual item costs, you can sum them up automatically in the payment field. Additionally, if payment methods vary, consider using a conditional formula like IF() to display specific payment details based on the input method, such as “Cash” or “Credit Card.”
Streamlining Invoice Details
For recurring payments, utilize Excel’s auto-fill feature combined with formula references to prepopulate payment amounts and dates for future invoices. Adjust these values automatically by creating a reference table for your clients, ensuring accurate and timely documentation without repetitive data entry.
Setting Up Itemized Lists for Goods and Services
Use clear and precise descriptions for each item in the list. Make sure to include the quantity, unit price, and any applicable taxes or discounts. This allows for transparent billing and helps customers understand what they are being charged for.
Organize the list in a table format, with each row representing a different item or service. Include columns for the item name, quantity, unit price, total price, and any additional information like product codes or service dates.
| Item Description | Quantity | Unit Price | Total Price | Notes |
|---|---|---|---|---|
| Product A | 2 | $50.00 | $100.00 | Delivery included |
| Service B | 1 | $150.00 | $150.00 | Includes installation |
| Product C | 3 | $30.00 | $90.00 | Discount applied |
Provide subtotal, tax, and total amount at the bottom of the list. This breakdown makes it easy to verify charges.
| Subtotal | $340.00 |
|---|---|
| Tax (8%) | $27.20 |
| Total | $367.20 |
This structure ensures clarity and reduces errors in billing.
Creating Custom Formulas for Tax Calculations
To calculate taxes effectively in an Excel business receipt template, create formulas that automatically apply the appropriate tax rate to the amounts in your invoice. For instance, use a simple formula like this:
=A2 * B2
Where A2 is the amount being taxed, and B2 is the tax rate (expressed as a decimal, for example, 0.15 for 15%). This formula will multiply the price by the tax rate and give you the tax amount.
Applying Different Tax Rates
If different items have different tax rates, you can create a conditional formula that checks the item type and applies the corresponding rate. Use the IF function for this:
=IF(C2=”Product”, A2 * 0.1, A2 * 0.15)
In this example, the formula checks whether the value in C2 is “Product.” If it is, it applies a 10% tax rate, otherwise, it applies a 15% rate. Adjust the tax rates and conditions as needed based on your specific requirements.
Adding Tax to Total Amount
Once you calculate the tax, you can easily add it to the total amount. Use the following formula:
=A2 + D2
Here, A2 is the original amount, and D2 is the tax amount. This adds the tax to the original price, giving you the total cost including tax.
Formatting for Professional Presentation and Readability
Organize information with clear section breaks using bold headers. Make each section easily distinguishable from others by spacing out rows and columns. This helps to guide the viewer’s eye smoothly through the document.
Text Alignment
Align text to the left for descriptions, and use right alignment for numerical values. This approach ensures clarity and makes it easier to follow financial figures. Always center the header titles to create a clean, balanced look.
Font Style and Size
Choose simple, readable fonts like Arial or Calibri. Set the font size of the main content to 10-12 pt and headers to 14-16 pt. Avoid using more than two different font types in one document to maintain a professional, cohesive appearance.
- Keep font color dark, such as black or navy, to ensure readability against a light background.
- Use subtle color highlights for totals or important information to draw attention without overwhelming the reader.
Highlight headers and totals with bold or slightly larger text to make them stand out. This helps emphasize key points without cluttering the layout.
Gridlines and Borders
Use gridlines for structure, but avoid overly thick borders around cells. Thin, subtle borders provide a clean look while still distinguishing individual cells. Avoid using heavy borders around the entire document, as it can appear too rigid.
- Apply alternating row colors for tables to make data easier to scan.
- Leave ample white space between columns for a less cramped, more readable layout.
Finally, ensure the overall design is balanced, with equal margins on all sides, and maintain consistent spacing between rows and columns to improve readability and appearance.
Saving and Sharing Receipts in Multiple Formats
Use Excel’s built-in export options to save your receipt templates in multiple formats. Whether you’re sending a file via email or storing it for later use, saving your receipts in different file types ensures accessibility across various platforms.
- Excel Format (.xlsx): This is the default option, preserving all formulas and formatting. It allows recipients to make edits and updates.
- PDF Format: Save your receipt as a PDF to ensure the layout remains consistent across all devices. PDFs are ideal for professional communication or archiving.
- CSV Format: For simplicity and data analysis, export your receipt as a CSV file. This option strips formatting but retains the data for easy integration into databases or spreadsheets.
For sharing, choose the format based on the recipient’s needs. If they require further edits, send the file in Excel format. If you need to print or send a secure version, PDF is the better choice. For sharing raw data without complex formatting, CSV works best.


