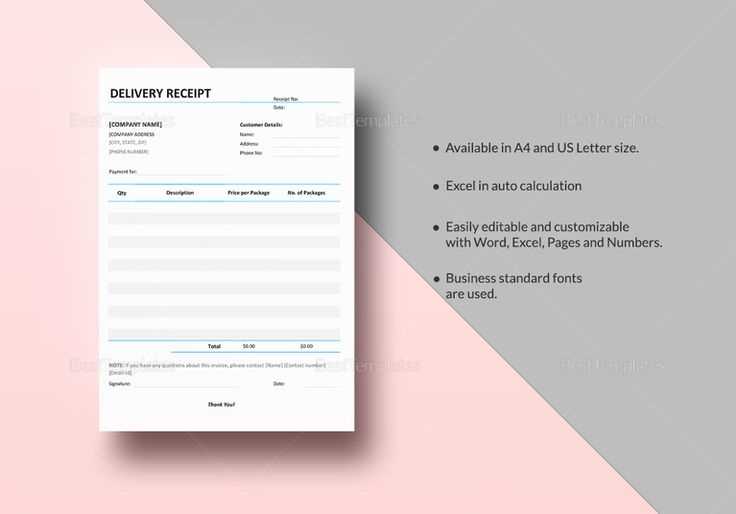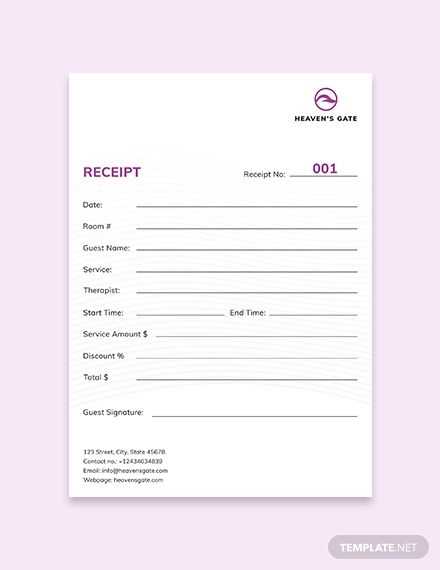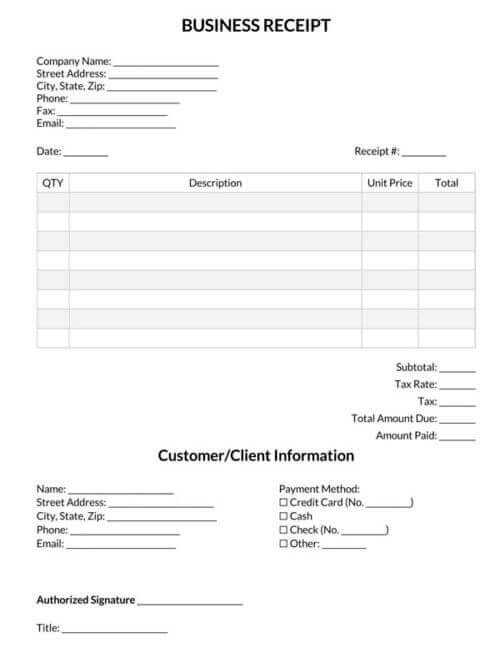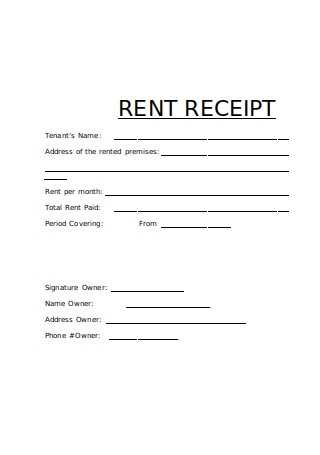
If you’re managing finances, keeping track of receipts can be a tedious task. An editable receipt template in Excel can help simplify this process by allowing you to quickly input and modify receipt details as needed. This method ensures consistency and accuracy, especially when handling a high volume of transactions.
Creating or using an Excel receipt template enables flexibility. You can easily customize fields like item description, quantity, price, and taxes. You can also adjust the layout to fit your business style or personal preferences. Excel’s built-in formulas and functions allow automatic calculations, reducing the chances of errors and saving time.
Whether you need a simple template for personal use or a more complex design for business, Excel offers all the tools required. From adding logos to inserting tax rates or discounts, the level of customization is unmatched. With just a few clicks, you can turn a standard receipt into a tailored document that meets your exact needs.
Editable Receipt Template for Excel

To create an editable receipt template in Excel, start by setting up a basic layout with fields that can be customized. Begin with rows for company details, such as name, address, and contact information, followed by sections for transaction data like the date, receipt number, item descriptions, quantities, and unit prices.
Designing the Layout
Use clear headings for each section. Label rows for individual items with columns for the description, quantity, unit price, and total price. Ensure that each row can be adjusted for different transaction sizes. Include a formula for calculating totals automatically as the quantity and price fields are updated. You can use Excel’s built-in SUM function to total the amounts in the column, allowing for easy updates without manual calculation.
Customization and Flexibility
To enhance the template’s flexibility, incorporate dropdown menus for predefined values like payment methods or tax rates. This allows quick selection while keeping the format clean and organized. Add formatting options like bold or italics to highlight key information, such as total amounts and tax breakdowns, making them stand out on the receipt.
How to Customize Your Template for Different Needs

Adjusting your receipt template for various purposes involves modifying key elements based on your specific requirements. Begin by selecting the correct layout that fits the information you need to include, whether it’s for retail, services, or any other use. You can adjust the width and positioning of columns to accommodate different data types such as item descriptions, pricing, taxes, or payment methods.
Incorporate your company logo or any branding elements. You can easily add a logo by adjusting the header section. Customize font types and sizes to match your brand identity and make the receipt more readable. Pay attention to spacing to ensure the information is not cramped and is easy to follow for customers.
Include custom fields as needed. If you are providing additional services, such as delivery, you might want to add a “Delivery Address” or “Service Charge” section. For specific tax requirements, create separate fields for sales tax or VAT, ensuring that the template matches the legal requirements of your region.
Use formulas for automatic calculations. If your template includes multiple items, set up a formula to calculate totals, taxes, or discounts. This ensures accuracy and reduces the chances of manual errors. Additionally, setting up dynamic date fields helps in automatically updating the date on each receipt.
If you’re working with multiple currencies or languages, make the template adaptable by adding drop-down menus or separate currency fields. This will allow the template to cater to different geographical locations or customer preferences.
Finally, test the template regularly. Make sure that all the changes work seamlessly and that all the information aligns correctly. Check the print preview to ensure it looks good on paper or digital formats.
Steps to Automate Data Entry in Excel

Use Excel’s built-in data validation feature to ensure consistency in data entry. Set rules for each column, such as limiting input to numbers or specific date formats, to reduce errors. This step helps keep the data structured correctly without manual intervention.
Leverage Excel Forms for more user-friendly data input. Create a form linked to a spreadsheet, where users fill out fields instead of directly editing cells. The form automatically places the information into the correct rows and columns, minimizing errors and speeding up the process.
Implement Macros to automate repetitive tasks. Record a series of actions in Excel, such as formatting, calculations, or data entry, and save them as a macro. You can assign these macros to buttons or shortcuts for quick access, saving time when performing routine data-entry tasks.
Use Power Query to import and manipulate data from external sources. With Power Query, you can automate data extraction, transformation, and loading processes from various databases or online sources. This allows for real-time updates without manual input.
Set Up Drop-Down Lists to standardize entries. By providing predefined choices in a drop-down list, you limit the possibility of inconsistent data entries. This step is useful for fields where there are a limited set of options, such as categories or statuses.
Utilize Flash Fill to automatically fill in data based on patterns. When entering data that follows a recognizable pattern (like names or phone numbers), Excel can automatically detect and suggest the continuation of the pattern as you type. This speeds up data entry without the need for complex formulas.
Take Advantage of Data Linking to connect multiple sheets or workbooks. By linking cells between different sheets, any update in one sheet automatically reflects in the linked cells, reducing manual updates and keeping data synchronized across the workbook.
How to Save and Share Editable Receipts

To save an editable receipt, begin by ensuring the template is properly filled out with all necessary details. After completing the fields, save your work in a widely accepted file format like Excel (.xlsx) or CSV (.csv) for easy access and editing in the future.
- Click “File” on the top menu bar.
- Select “Save As” from the dropdown options.
- Choose your preferred file format (Excel or CSV) and location on your device.
- Click “Save” to store the editable receipt for future use.
Sharing the receipt is straightforward once saved. If you’re working with someone who also needs to edit the document, consider using cloud-based storage solutions like Google Drive, Dropbox, or OneDrive.
- Upload the file to your cloud storage account.
- After uploading, right-click the file and choose “Share.”
- Enter the recipient’s email address and adjust permissions (view or edit).
- Click “Send” to share the receipt securely with others.
If you’re sending the receipt for review or approval, simply attach the saved file to an email and send it to the intended recipient.


