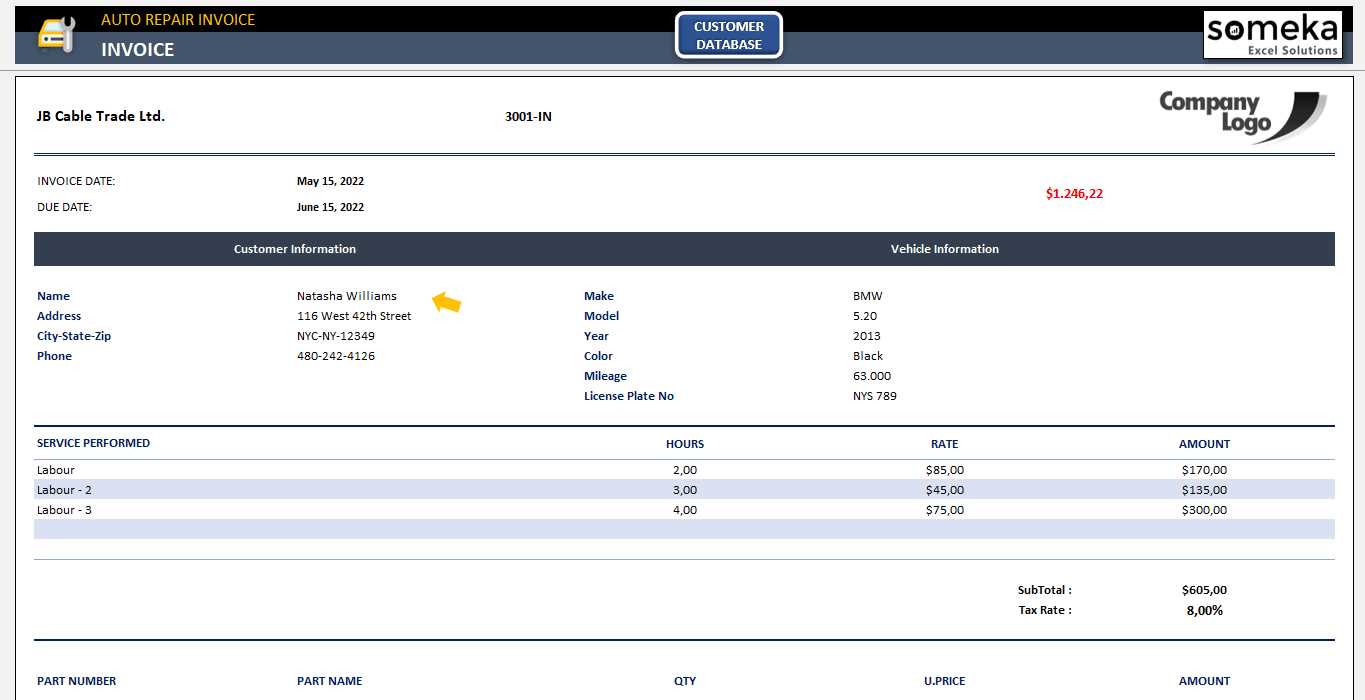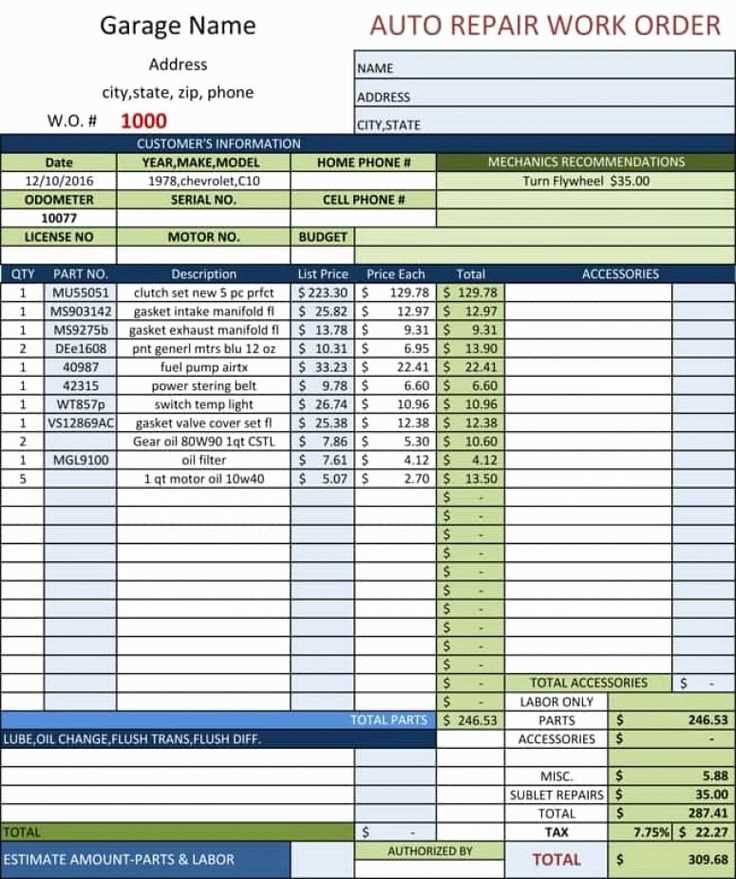
Using a tailored Excel template for auto repair receipts streamlines the invoicing process and reduces the risk of errors. A well-structured template ensures clear communication of charges, services rendered, and customer details. You can quickly adjust the layout to suit different types of repairs, saving time with each new job.
Focus on including key fields such as the customer’s name, repair services, parts used, labor hours, and tax calculations. This will keep both your client and your records organized. An itemized breakdown enhances transparency, making it easier to track repairs and manage finances.
It’s a good idea to add customizable sections for discounts, payment methods, and any warranty information. A section for notes helps clarify specific details related to the repair, like recommended follow-ups or unique parts used. Excel’s built-in features like formulas for tax and total calculations can further reduce manual effort and increase accuracy.
Adjusting this template to fit the branding of your shop can add a professional touch. Customizable fields and formatting tools help you create a receipt that represents your business, ensuring a smooth process from service to payment.
Excel Auto Repair Receipt Template
To create a functional auto repair receipt template in Excel, begin with clear sections that identify the service provider and the customer. Include spaces for the business name, contact details, and the date of service. Ensure the customer’s name, contact information, and vehicle details are easily visible.
Key Elements for the Template
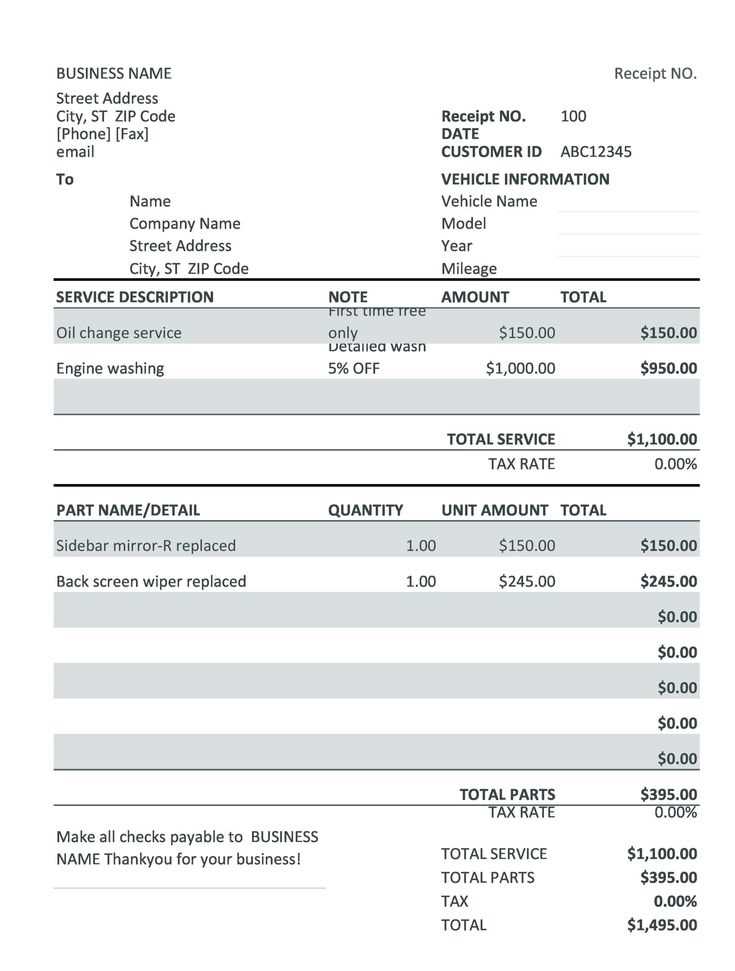
- Service Description: Provide a detailed list of repairs or services performed, including labor hours and part costs.
- Total Amount: Include a clear breakdown of charges, such as labor, parts, taxes, and any additional fees.
- Payment Method: Specify whether payment was made via cash, credit card, or check.
- Warranty Information: Add a section for any applicable warranty on parts or labor, with duration details.
How to Structure the Receipt
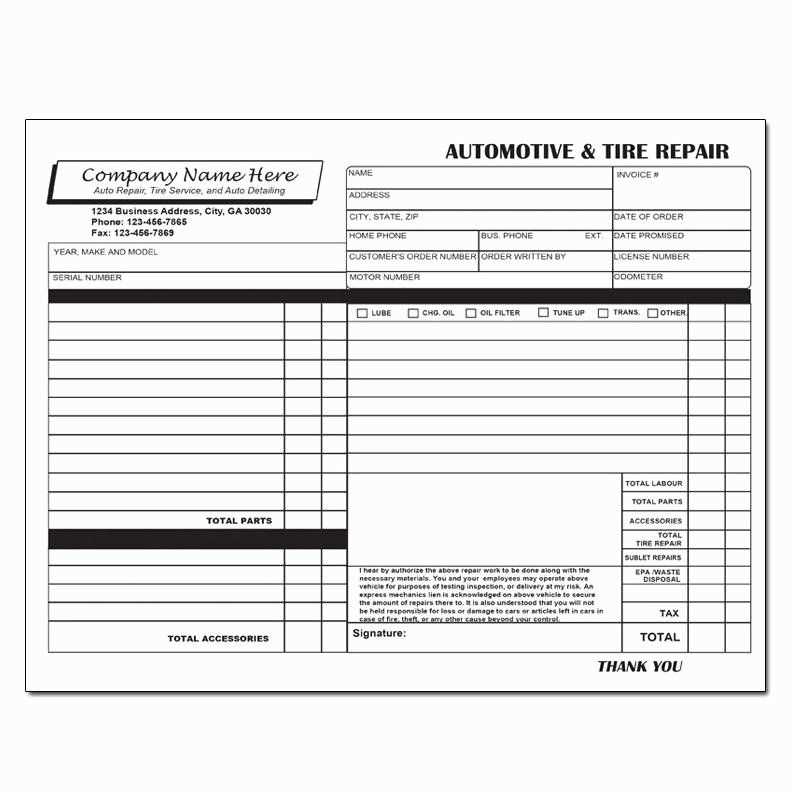
- Header: Place your business logo and contact information at the top for easy reference.
- Itemized List: Below the header, include a column for parts and labor, with a description, quantity, unit price, and total for each item.
- Summary Section: At the bottom, include fields for the subtotal, taxes, total amount, and payment method.
By organizing the information in these sections, the receipt will be both professional and easy to understand for customers. You can further customize the layout with borders and shading to enhance readability and improve the overall presentation.
Designing a Customizable Template for Service Invoices
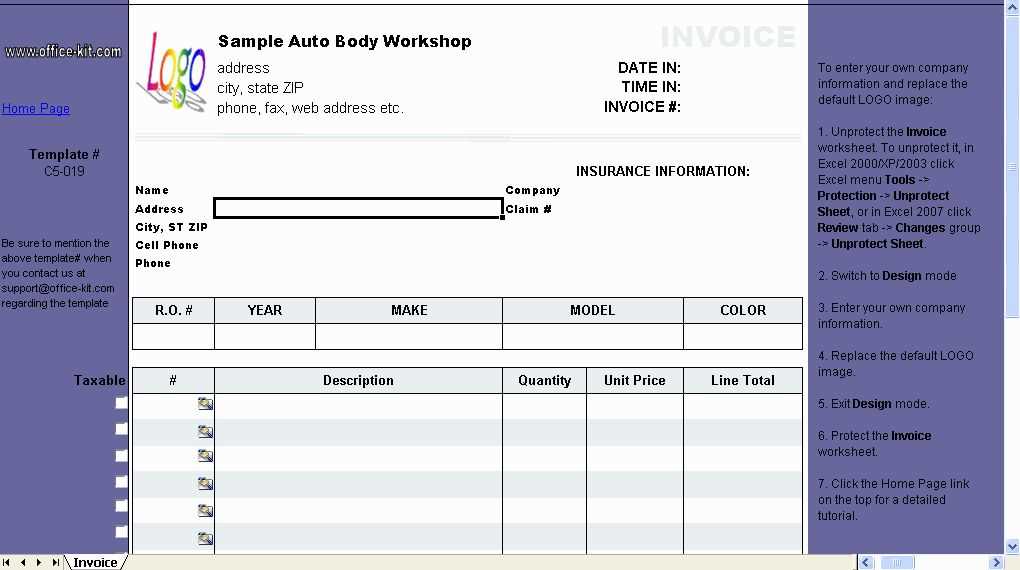
Set up fields that allow easy entry of client information, such as name, contact details, and address. This ensures the invoice remains personalized and clear for each transaction.
Use dynamic placeholders for item descriptions, quantities, and prices. This way, you can quickly adjust the list of services and their corresponding rates, without needing to rewrite sections of the document.
Include a section for discounts or promotions, with a flexible percentage or fixed amount field. This helps apply special offers to specific invoices without additional calculations.
Design the template with a section for tax calculations. Use formulas that automatically compute taxes based on predefined rates, which simplifies the process and reduces errors.
Incorporate clear headings and consistent font choices. This ensures the invoice looks professional and is easy to read, even with complex data.
Make the payment terms and due date prominent. These are key details that need to stand out on every invoice to avoid confusion or delay in payment.
Finally, ensure that the template can be easily saved in different formats, such as PDF or Excel. This ensures compatibility with various systems and allows for easy sharing and archiving.
Integrating Automatic Calculations for Labor and Parts Costs
Set up formulas in Excel to automatically calculate labor and parts costs based on input values. Start with defining hourly rates for labor and unit costs for parts. In the labor section, multiply the number of hours worked by the hourly rate. For parts, multiply the quantity used by the unit price. Use Excel’s SUM function to add up totals for each category. Create separate cells for labor and parts totals, and reference these values in a final cost calculation cell. This setup ensures accurate and quick calculations as data changes.
For a more advanced approach, use Excel’s IF function to handle discounts or price variations. If a discount is applicable, apply it automatically to the part cost. You can set up conditional formatting to highlight any significant changes in total cost or labor hours, making it easier to track adjustments. Additionally, implementing drop-down menus for part selection and labor categories simplifies data entry and reduces the risk of errors.
Link your template to an inventory or pricing sheet to automatically pull updated part prices, ensuring your calculations reflect the most current costs. This integration minimizes manual updates, keeping your calculations accurate over time.
Ensuring Compatibility with Client Payment Systems
Choose a template that supports a wide range of payment methods, such as credit/debit cards, PayPal, or direct bank transfers. Make sure the template can be customized to include fields for transaction IDs, payment method, and any relevant reference numbers. This ensures clients can easily correlate their payments with their receipts.
Integrate with Popular Payment Gateways
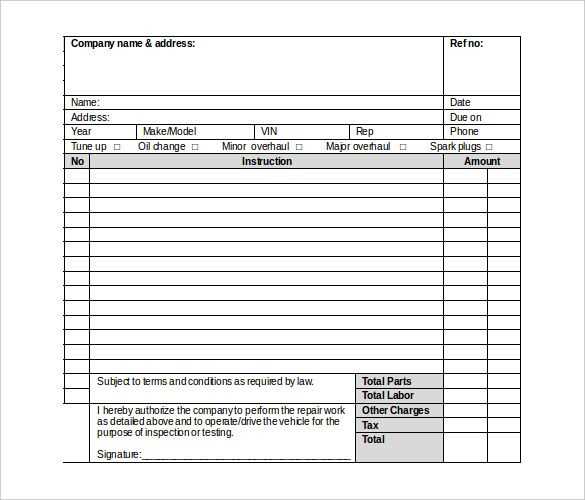
If you’re dealing with online transactions, integrate your template with well-known payment gateways like Stripe, Square, or PayPal. This allows you to automatically generate and track receipts based on real-time payment data, minimizing errors and manual entry.
Test Compatibility Regularly
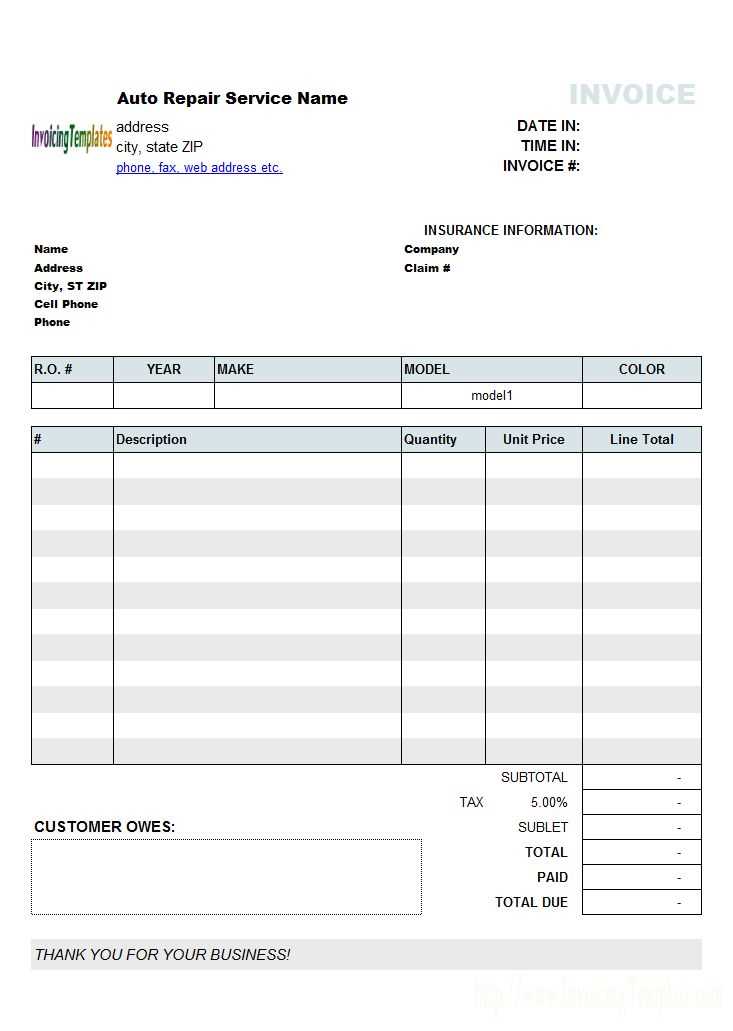
Regularly test the template’s functionality with different payment platforms to ensure it remains compatible. As payment systems update or introduce new features, staying ahead of potential issues guarantees smooth client interactions and avoids disruptions in your billing process.
