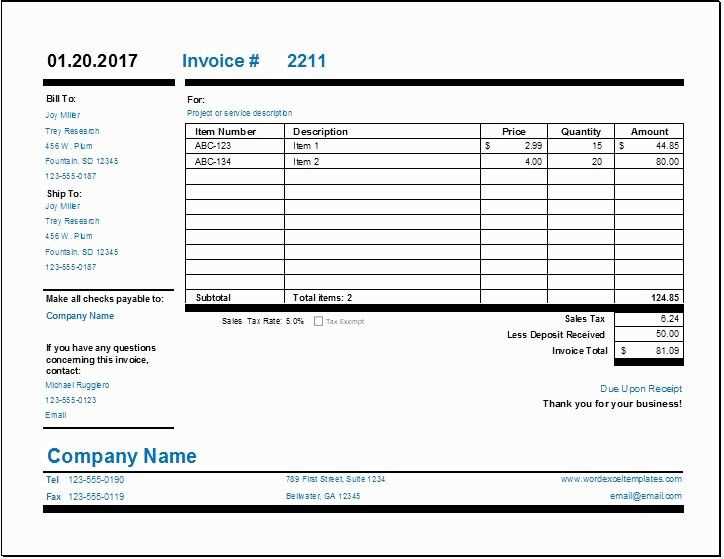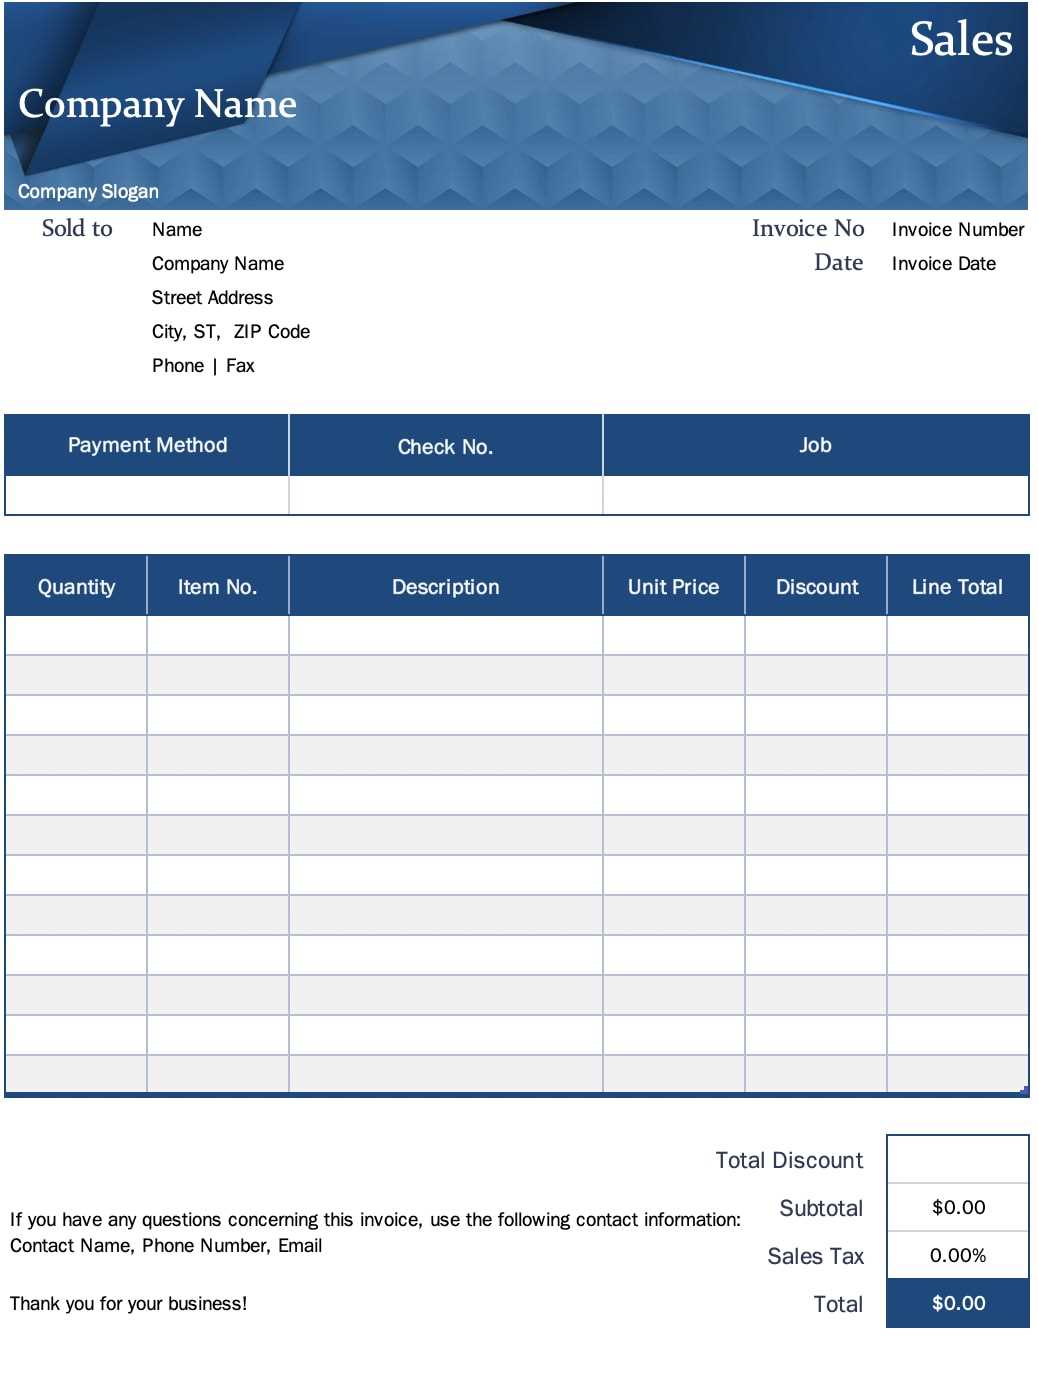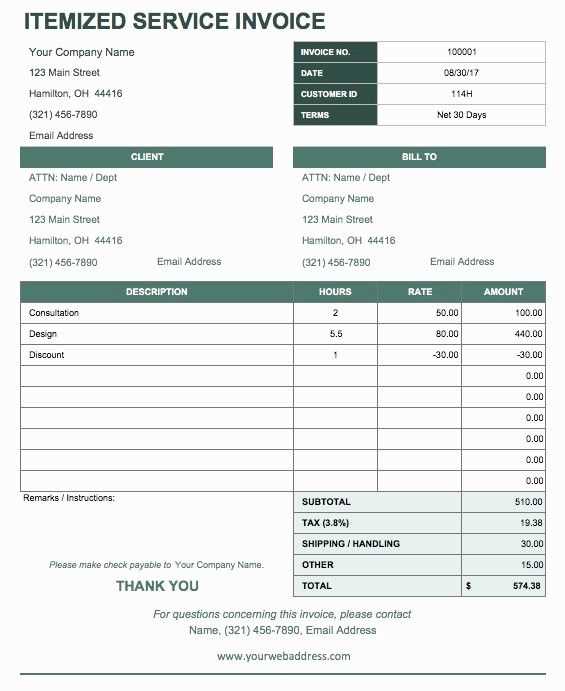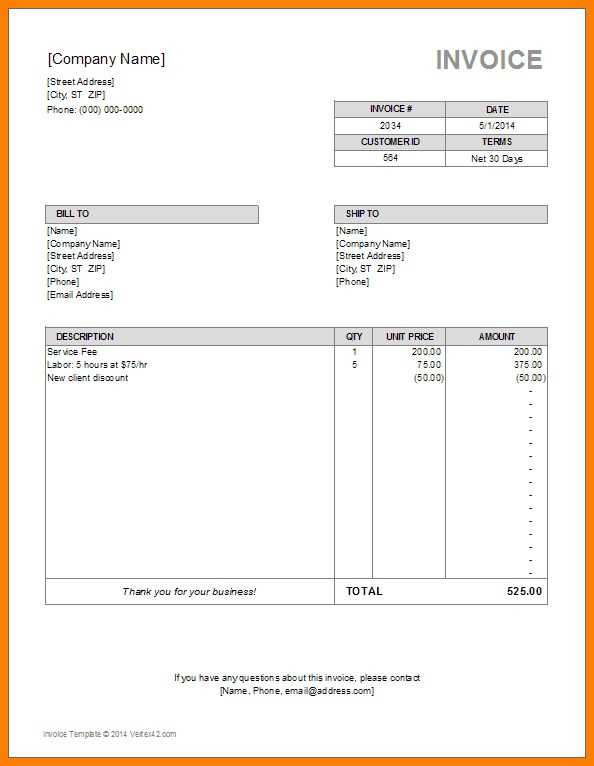
A well-structured business receipt template in Excel can simplify financial tracking and provide clear documentation for your transactions. To get started, create a basic table that includes essential columns such as date, transaction number, item description, quantity, unit price, and total cost. This layout ensures all necessary details are captured for both parties involved.
To enhance usability, use Excel’s built-in functions to automate calculations. Apply the =SUM function to calculate totals and =IF formulas to handle tax rates based on different regions. Formatting cells with appropriate currency symbols also improves the readability of the template.
Don’t forget to brand your receipt by adding your company logo and contact information. Use Excel’s header section to neatly position this information, ensuring it remains visible when printed. This not only adds professionalism but also builds trust with clients.
Finally, protect your template by locking key cells and enabling editing only for input fields. This precaution prevents accidental changes and maintains data integrity. With these adjustments, your business receipt template becomes a powerful tool for managing transactions efficiently.
Excel Business Receipt Template
Use an Excel business receipt template to simplify your invoicing process and ensure professional, accurate receipts every time. Start by customizing a basic template to fit your needs: include your business name, contact information, and logo at the top. Add fields for the receipt number, date, and customer details to track each transaction clearly.
For a streamlined experience, include columns for item descriptions, quantities, unit prices, and total amounts. Calculations can be automated using simple Excel formulas, so you don’t have to manually calculate totals. Consider adding tax and discount columns as well, if applicable, to handle more complex transactions easily.
Ensure the template is formatted for readability by using bold headers and separating different sections with borders. This makes the receipt visually appealing and easy to understand for your clients.
For added convenience, set up Excel’s automatic number formatting to display currency symbols and decimal points correctly, keeping everything neat and professional. You can also use conditional formatting to highlight overdue invoices or important details.
Once customized, save the template as a reusable file, so you can quickly generate new receipts whenever needed. Regularly update your template as your business needs evolve, ensuring it stays aligned with current requirements.
How to Customize an Excel Receipt Template for Your Business

Adjust the layout to fit your company’s style. Add your logo and business name at the top for quick recognition. You can do this by clicking on the header section and inserting an image or typing your details.
Update the fields to match your services or products. Modify columns such as “Item”, “Quantity”, and “Price” to reflect what you offer. Include any extra categories that are relevant, like “Discount” or “Tax Rate”, to make sure all necessary details are covered.
Set up a clear total section. Excel allows you to create formulas that will automatically calculate the total based on inputted data. Use the SUM function to add up the values in the “Price” and “Quantity” columns, ensuring accuracy and saving time on manual calculations.
Incorporate your payment terms and contact information. Place this section at the bottom of the receipt. Be sure to include your phone number, email, and any specific payment instructions like accepted methods or due dates.
Ensure the receipt is professional and easy to read. Adjust fonts and cell sizes to improve visibility. Align text and numbers for consistency across all rows and columns. You can also use bold or color to highlight important sections such as the total or business name.
Save your customized template for future use. Once you’ve tailored it to your business needs, save it as a reusable template to avoid starting from scratch every time. You can also save it as a PDF for easy sharing with clients.
Key Formulas and Functions for Automating Receipt Calculations

Use the SUM function to quickly add up the total price of items in your receipt. For instance, to sum up a list of prices in cells B2 to B10, input =SUM(B2:B10) in the total cell. This ensures that your calculation stays accurate as new items are added.
The IF function can automate tax calculations. For example, if you need to apply a 10% tax on amounts above $100, use =IF(A2>100, A2*0.10, 0) to calculate the tax only when the condition is met.
Incorporate VLOOKUP for dynamic pricing. If you have a list of products and prices in a separate table, =VLOOKUP(A2, ProductList, 2, FALSE) will pull the price of a product from the list based on its name, which is in cell A2.
To calculate discounts, combine IF with percentage calculations. For example, use =IF(A2>200, A2*0.15, 0) to apply a 15% discount if the total is above $200.
For automatic date and time tracking, use the TODAY or NOW functions. =TODAY() will update the receipt date automatically, ensuring it reflects the current day without manual input.
Lastly, the ROUND function can ensure that your receipt amounts are neat and rounded. Use =ROUND(A2, 2) to round any calculation to two decimal places for a clean final total.
Best Practices for Storing and Organizing Receipts in Excel
Use separate sheets for different categories of receipts, such as office supplies, travel expenses, or client payments. This will help you quickly locate the necessary information without wasting time searching through a single, overcrowded sheet.
Organize by Date and Vendor
Label each receipt with the date and vendor’s name. Sort them by date in chronological order. This organization makes tracking your expenses easier and ensures that no transaction is overlooked.
Include Relevant Details

Make sure to add columns for essential details like item description, amount, payment method, and receipt number. This way, you can filter and analyze your receipts by these criteria when needed.
Set up simple formulas for summarizing totals in each category, such as adding up the expenses for a particular month. This will streamline your budgeting and reporting process.
Lastly, back up your files regularly to prevent data loss. Storing receipts in Excel is convenient, but without proper backups, you risk losing valuable financial records.


