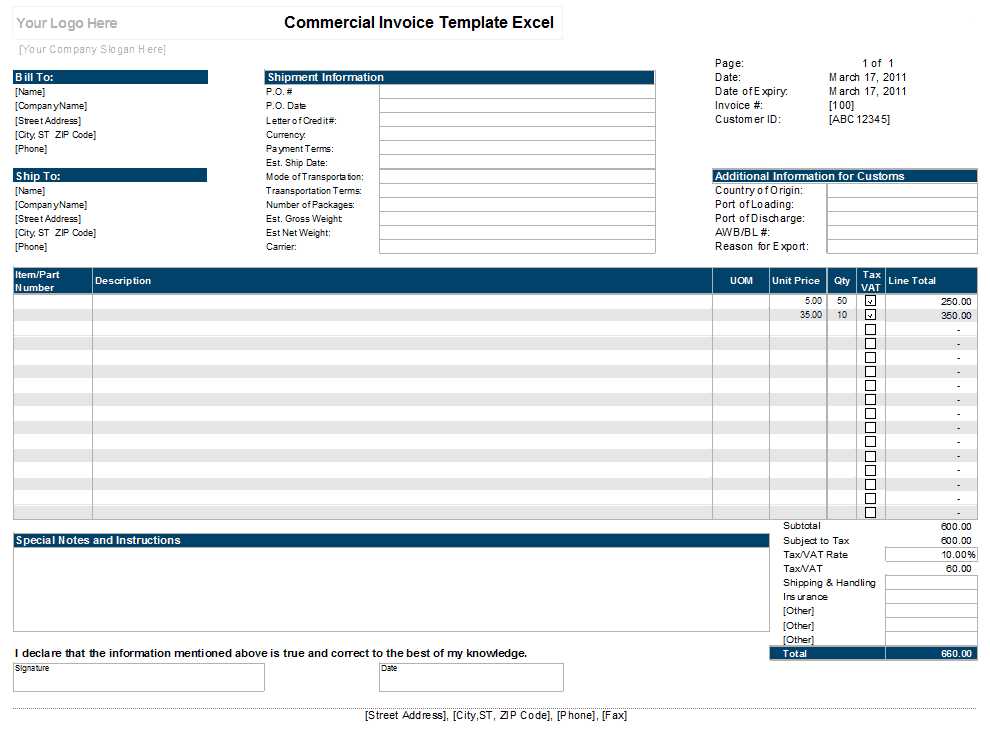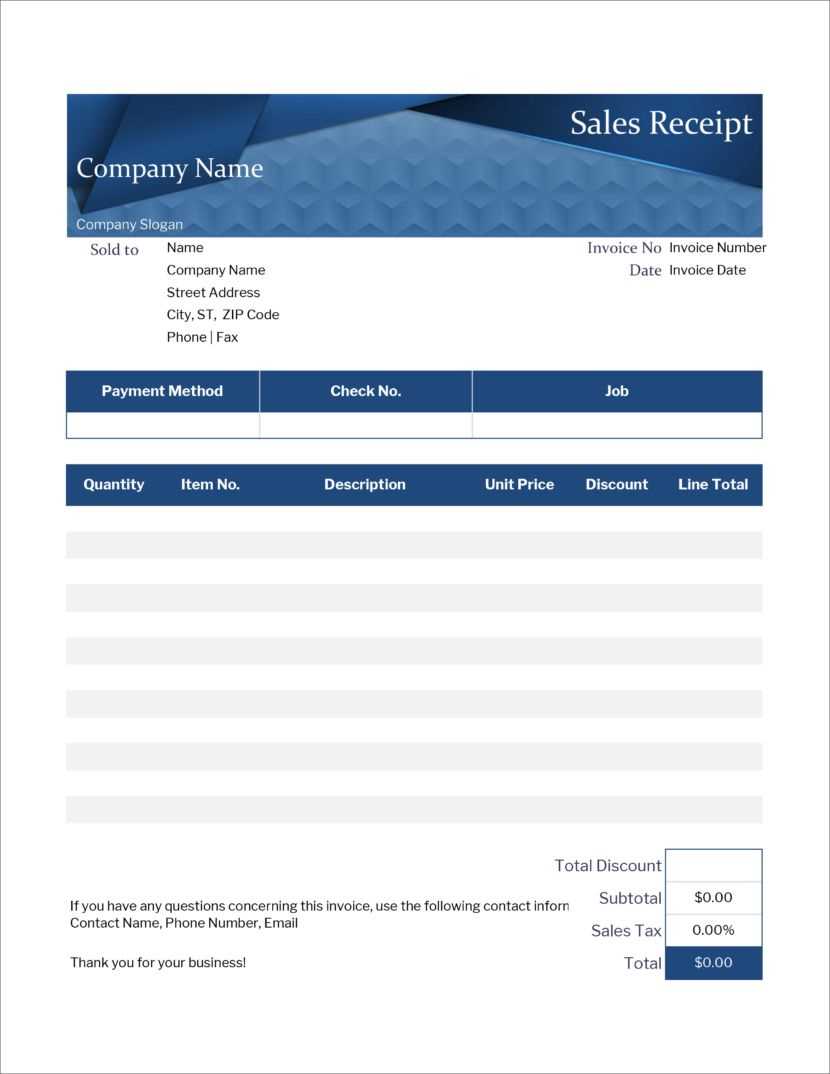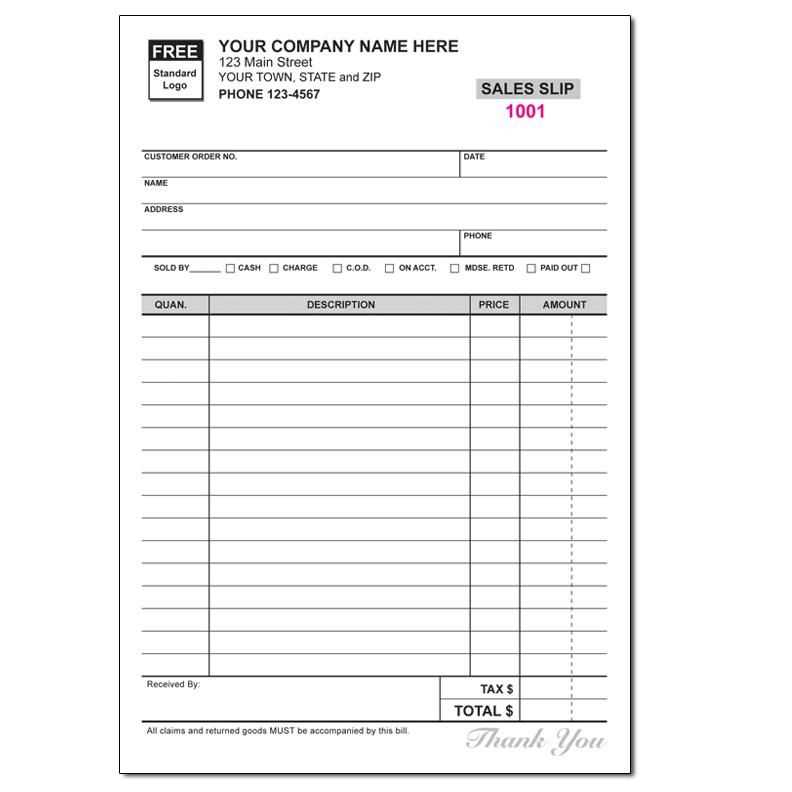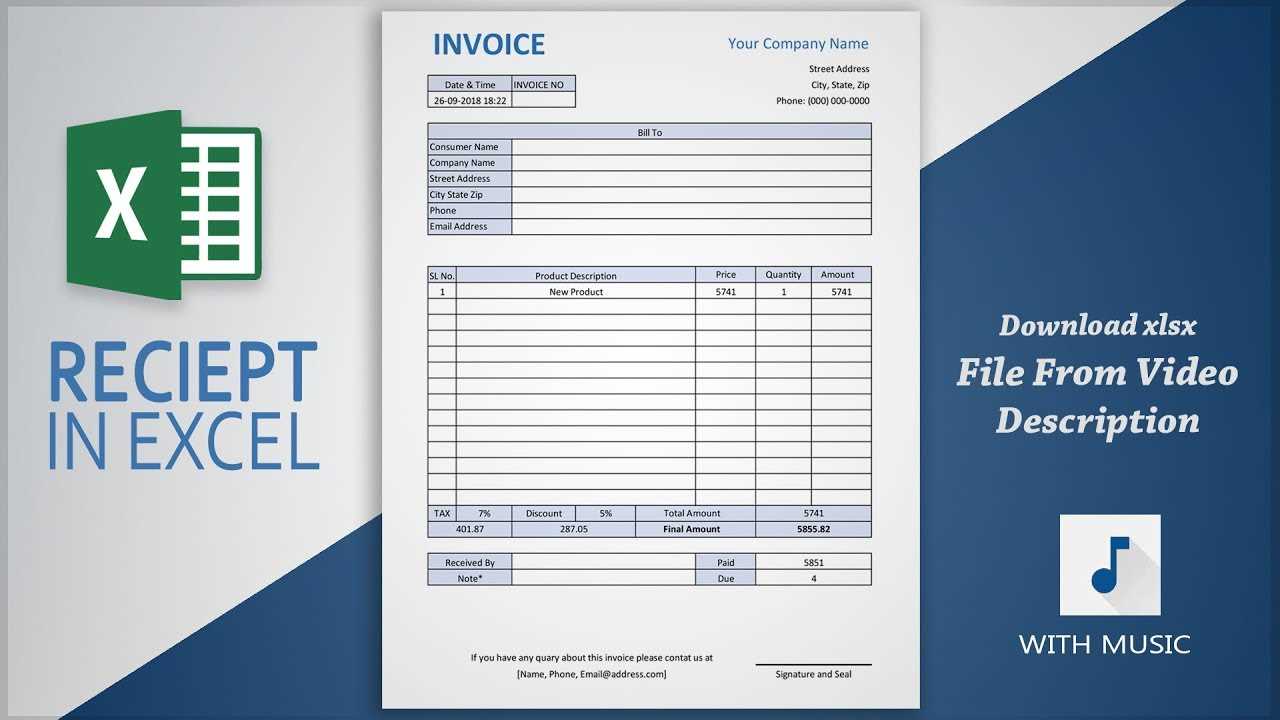
If you’re looking to streamline your receipt tracking, an Excel template is an excellent choice. It offers simplicity, flexibility, and quick access to all the details you need. Start with a clean and organized layout that fits your needs, allowing you to enter transaction data swiftly.
Make sure to include columns for transaction date, description, amount, payment method, and other key details. This layout ensures that you can easily track all financial exchanges without losing important information. Customize the template further by adding totals and automatic calculations for a smooth and efficient process.
By using Excel, you gain the ability to filter and sort receipts for future reference. You can create a system that aligns perfectly with your business or personal tracking needs. Whether you’re managing a small business or just keeping personal records, an Excel receipt book template keeps everything in one place, making your bookkeeping simpler and faster.
Excel Receipt Book Template

To create an Excel receipt book template, focus on clarity and easy customization. Begin by setting up columns for essential receipt details: date, receipt number, customer name, description of goods or services, amount, and total. You can easily adjust the template to suit specific needs, such as adding columns for payment method or sales tax. Ensure each receipt has a unique identifier by using an automatic numbering system in Excel. This helps maintain organization and prevents duplication.
Customization and Formatting Tips

Customize the design to match your business’s branding. Add a logo or company name at the top for a professional look. Use bold or colored fonts to highlight important information like totals. Excel’s cell formatting options allow you to control text alignment, font size, and cell borders, creating a polished, easy-to-read document. Apply conditional formatting to alert you if any fields are left empty or incorrect.
Automation Features
For added efficiency, use Excel’s formula features to automatically calculate totals and sales tax based on the item amounts. This eliminates manual calculations and reduces errors. Utilize dropdown menus for frequently used payment methods or services to speed up data entry. With a few simple formulas, you can create a template that’s both user-friendly and functional, saving time and minimizing mistakes.
Creating a Basic Receipt Layout

Begin with setting up a clean, organized layout. Use a clear title at the top to indicate it’s a receipt. Position it centrally or left-aligned for balance.
Company Information
Place the company name, address, phone number, and email at the top or in the header section. Make sure the font size is slightly larger than the rest of the text for emphasis. This ensures your clients can easily contact you if needed.
Transaction Details
Under the company information, add fields for the transaction details. Include the date, receipt number, and the name of the customer. Use bold text for headings like “Date” or “Receipt Number” to make these easy to spot.
In the main body, create a table with rows for items or services provided. Include columns for quantity, description, unit price, and total. Make sure all columns are properly aligned for clarity.
At the bottom, include a total amount section. Highlight the total price in a larger, bold font to distinguish it from the rest of the information. Consider leaving a space for any additional notes or a thank-you message to add a personal touch.
Customizing for Different Use Cases
To tailor the receipt book template for various needs, adjust the columns to capture relevant details. For a retail setting, include fields for item description, quantity, price, and discount. If you’re dealing with services, a section for hours worked or specific services rendered can be added. Depending on the nature of the transactions, consider incorporating custom tax rates, payment methods, or customer IDs for easy reference.
Incorporating conditional formatting can make data more accessible. Use color-coding for different payment types, such as cash, card, or digital payments, to quickly identify transaction categories. For businesses that require multiple receipts per transaction, design the template to handle bulk entries while maintaining clarity in layout.
Custom formulas are another useful tool. Automatically calculate totals, taxes, and any discounts directly within the template, reducing manual errors. If your business deals with inventory, create an integration where receipt entries update stock quantities as new sales are made.
Automating Calculations and Data Entry

Leverage Excel’s built-in functions to streamline calculations and reduce manual data entry. Use formulas like SUM, AVERAGE, and IF to automatically process values based on user inputs. This reduces errors and saves time, allowing users to focus on key tasks.
Set Up Formulas for Automatic Calculation
Ensure all fields that require calculations are linked with the appropriate formulas. For instance:
- SUM: Calculate totals by using
=SUM(A2:A10)to add all values in a specified range. - AVERAGE: Find the average of a range using
=AVERAGE(B2:B10). - IF: Use logical checks like
=IF(C2>100, "High", "Low")to categorize data based on conditions.
Utilize Data Validation for Consistent Entries
Implement data validation rules to restrict the type of data that can be entered. For example, set up dropdown lists for predefined options such as payment methods or receipt categories. This minimizes errors and ensures uniformity in data entry.
- Go to Data > Data Validation to set rules for each cell or range.
- Set criteria for text, numbers, or dates to match specific patterns or ranges.
- Use Input Message to guide users on the data required for each cell.
By automating calculations and data entry, you reduce manual tasks and increase the reliability of your receipt book template. Excel’s features allow for seamless tracking and organization, making your tasks simpler and faster.


