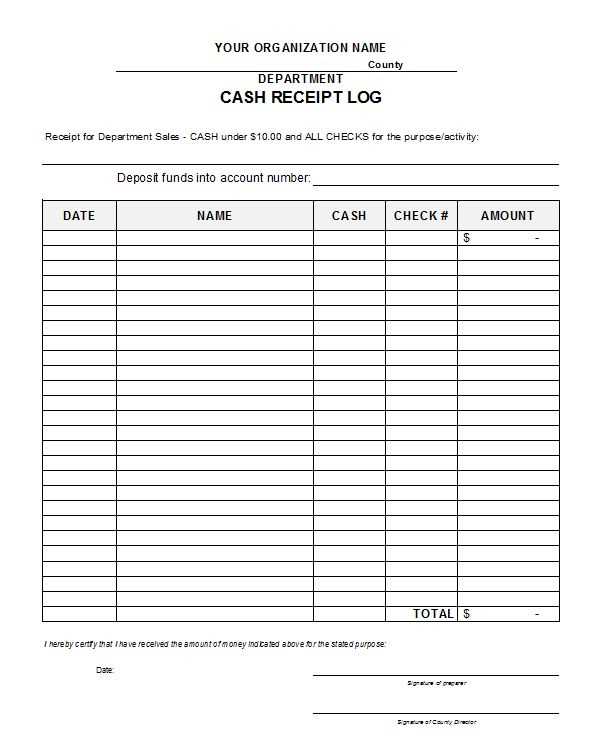
Creating an organized record of receipts is one of the most efficient ways to manage personal or business expenses. Using an Excel receipt log template allows you to track every transaction easily and stay on top of your financial situation. Whether you’re keeping tabs on work-related expenses or household spending, an Excel log simplifies the process of logging and categorizing receipts.
Set up your template to capture key information: date of purchase, vendor, amount spent, category of expense, and a brief description of the transaction. You can also add a column for the payment method, making it easier to match receipts with bank or credit card statements. With Excel’s built-in functions, you can automatically calculate totals and even create graphs to visualize spending patterns.
Customize your log to fit your needs. You might want to include additional fields, like tax amounts or reimbursement status, for more detailed tracking. Once your template is set up, maintaining it becomes a quick and straightforward task, saving you time and effort. With this simple tool, you can keep a thorough record of your expenses and stay organized with minimal effort.
Excel Receipt Log Template: A Practical Guide
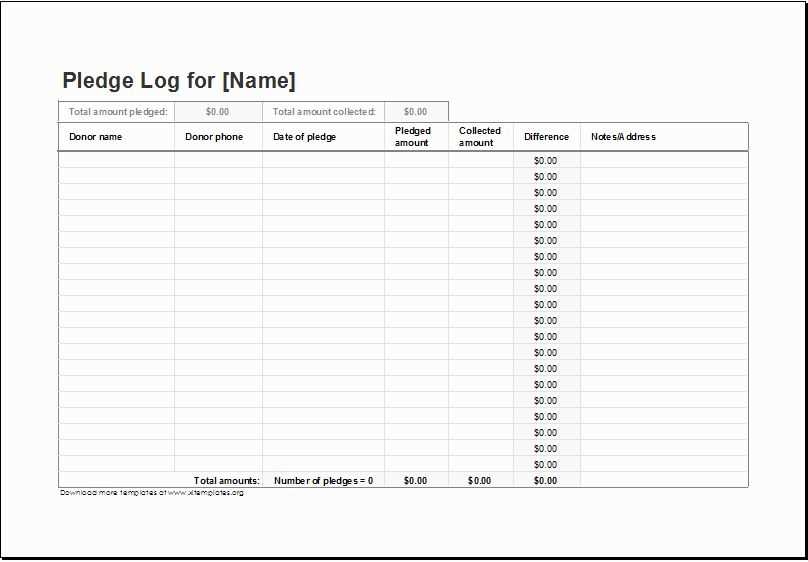
To efficiently track receipts and manage expenses, create a simple but well-organized Excel receipt log. Start by setting up columns for key data points such as the date, receipt number, vendor, amount, payment method, and a brief description of the purchase. This structure ensures quick reference and simplifies categorizing expenses later.
Basic Structure of the Template
Begin by labeling the first row of the spreadsheet with column headings. The most common fields include:
- Date: The date of the purchase.
- Receipt Number: A unique identifier for each transaction.
- Vendor: The name of the supplier or store where the purchase occurred.
- Amount: Total cost of the item or service.
- Payment Method: Cash, credit card, debit, etc.
- Description: A short note to clarify what the purchase was for.
Ensure that each new entry has its own row. This simple format allows for easy sorting and filtering when you need to review your records by date, vendor, or category.
Advanced Features for Enhanced Tracking
Once your basic log is set up, you can take advantage of Excel’s built-in functions to streamline your tracking process:
- Auto-sum for Totals: Use Excel’s SUM function to automatically calculate the total expenses from all your entries. This eliminates the need for manual addition.
- Data Validation: Set up drop-down lists for the payment method and vendor fields. This reduces the chance of errors and ensures consistency.
- Conditional Formatting: Highlight certain transactions, such as high-cost purchases or overdue payments, with different colors for quick identification.
By using these tools, you can easily maintain an accurate and organized record of all receipts, which is crucial for budgeting or tax purposes.
How to Create a Custom Excel Template for Tracking Receipts
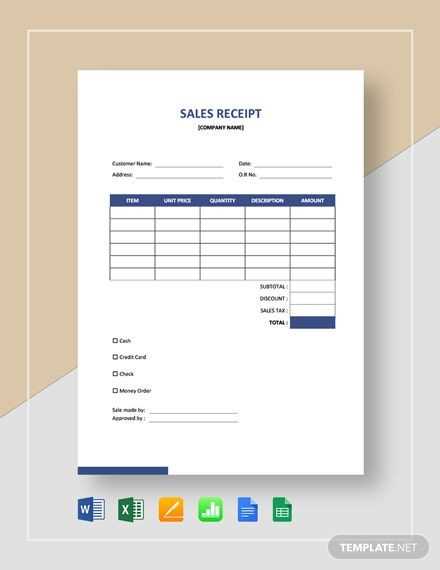
Design a simple and efficient Excel template by focusing on key receipt details. Begin with essential columns: date, vendor name, amount, payment method, and category. These are the most important pieces of information you’ll need for organizing and sorting receipts later.
Step 1: Set Up Column Headers
Label the first row with clear headers: “Date,” “Vendor,” “Amount,” “Payment Method,” and “Category.” This will allow you to filter or sort by any of these fields later. If you want to track specific items purchased, add another column for “Description” or “Item.” These labels can be adjusted to suit your needs, but keep them consistent for easy navigation.
Step 2: Format the Date and Amount Columns
To avoid mistakes when entering data, format the “Date” column to show the date properly. Select the entire column, right-click, and choose “Format Cells.” Pick “Date” from the list of categories. For the “Amount” column, use the currency format so that the numbers are automatically displayed with the correct symbols and decimal places.
Step 3: Use Data Validation for Consistency
Set up data validation rules for the “Payment Method” and “Category” columns to ensure consistency. This can be done by selecting the columns, then clicking on “Data” and selecting “Data Validation.” Create a dropdown list with predefined options, such as “Cash,” “Credit Card,” and “Bank Transfer” for payment methods, or categories like “Office Supplies,” “Travel,” and “Meals.” This prevents typos and makes sorting easier.
Step 4: Create a Totals Row
At the bottom of the sheet, add a row that automatically sums the total amount spent. To do this, click on the cell where you want the total to appear and type the formula =SUM( followed by the range of the “Amount” column (for example, A2:A100). This will give you a running total that updates automatically as you add new receipts.
Step 5: Protect Your Template
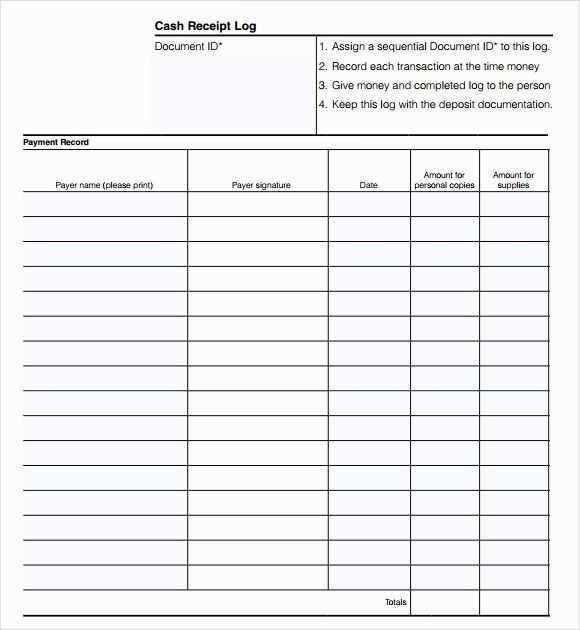
If multiple people are using the template, protect the sheet to prevent accidental changes to the structure. Go to the “Review” tab and click on “Protect Sheet.” You can choose to allow certain actions, like entering data, while blocking others, such as changing the column headers.
Step 6: Save as a Template
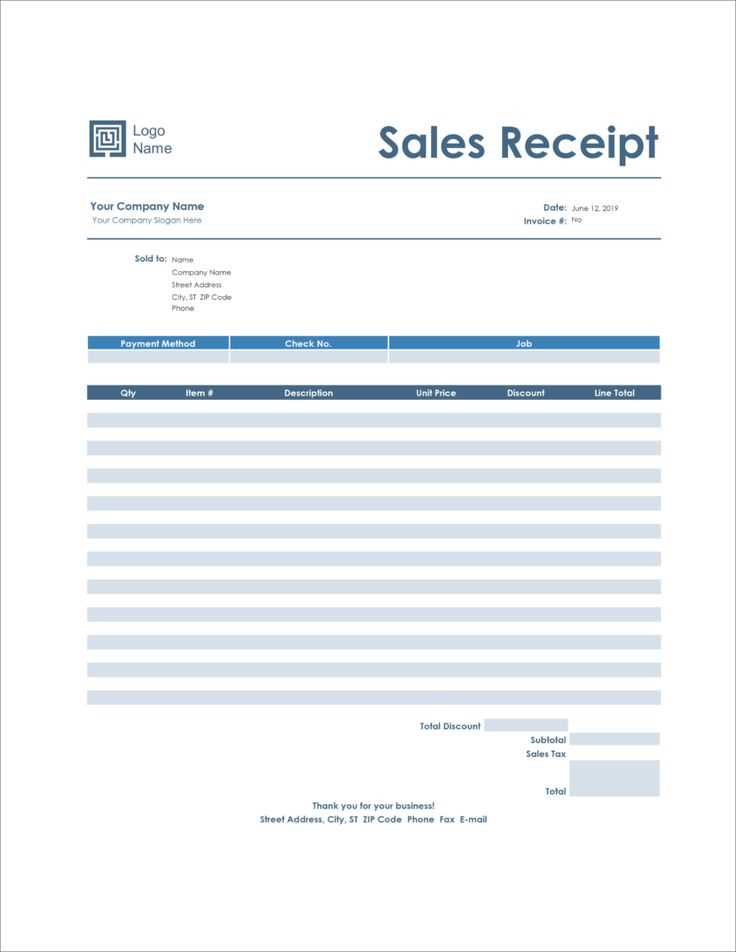
Once you’ve set up your custom template, save it as an Excel template file (.xltx) so you can reuse it. This will allow you to create new receipts logs without overwriting your original template.
Key Features to Include in Your Receipt Log for Better Organization
Make sure your receipt log is clear and straightforward. Including the right features will help you stay organized and avoid unnecessary confusion.
Date and Time
Track the exact date and time of each transaction. This allows you to quickly reference purchases and monitor spending trends over time.
Receipt Description
Include a brief description of the item or service purchased. This helps distinguish different receipts, especially when similar items are bought repeatedly.
Amount Paid
Record the total amount paid, including taxes and discounts. This ensures that all financial information is captured accurately.
Payment Method
Note the method of payment (cash, credit card, etc.). This will help you differentiate between your spending categories and make tracking easier.
Vendor Information
Include the vendor name and contact information (if available). It’s useful for returns, warranty claims, or reference when needed.
Category for Expense
Assign a category to each expense (e.g., food, travel, office supplies). This simplifies the process of tracking specific types of purchases for budgeting or tax purposes.
Receipt Number or ID
If the receipt has a unique ID or number, record it. This adds an extra layer of detail in case you need to reference the specific transaction in the future.
Digital Copies
If possible, attach digital copies of receipts. Scanning or photographing receipts can help preserve information in case the paper receipt fades or gets lost.
Notes Section
Provide space for any additional notes or details that may be relevant, such as reasons for a return, discounts applied, or special circumstances surrounding the purchase.
Clear Organization and Searchability
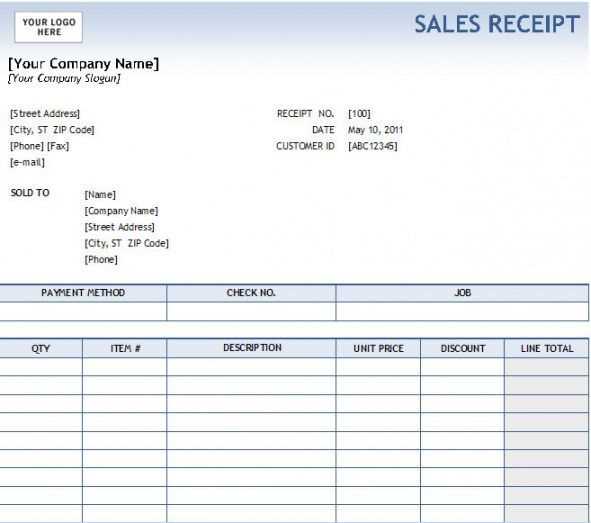
Organize your log in a way that allows for quick searches. Group receipts by date, category, or vendor to find the information you need without sifting through a pile of paper.
How to Use Excel Formulas to Automate Receipt Log Calculations
To automate receipt log calculations in Excel, start by setting up a basic structure with columns for date, description, category, amount, and total. Excel formulas can handle repetitive tasks like summing up values, calculating taxes, or converting currencies, saving you time and effort.
Use the SUM formula to automatically calculate the total amount for all receipts. In the “Total” column, simply enter the formula =SUM(B2:B100) (adjust the range based on your data). This will add up all the values in column B, where the receipt amounts are listed. Whenever you add a new receipt, the total updates instantly.
If you want to apply tax calculations, use a formula like =B2*0.1 (where 0.1 is the 10% tax rate). This will calculate the tax for each receipt amount listed in column B. Adjust the tax rate to fit your needs.
To track expenses by category, use the SUMIF formula. For example, to calculate the total expenses for “Travel” in column C, use =SUMIF(C2:C100, "Travel", B2:B100). This formula will sum all amounts in column B that are marked as “Travel” in column C.
For currency conversion, create a column to enter the exchange rate. Then, use a formula like =B2*D2, where B2 contains the receipt amount and D2 contains the exchange rate. This will convert the amount from one currency to another automatically.
Excel’s built-in date functions can also streamline your receipt log. To filter receipts by date, use the =IF function. For example, =IF(A2>=DATE(2025,1,1),B2,0) will sum all receipts from January 1, 2025, onwards.
These formulas simplify the management of receipt logs, allowing you to focus on analysis rather than manual calculations. Regular updates and adjustments ensure accurate tracking and reporting with minimal effort.


