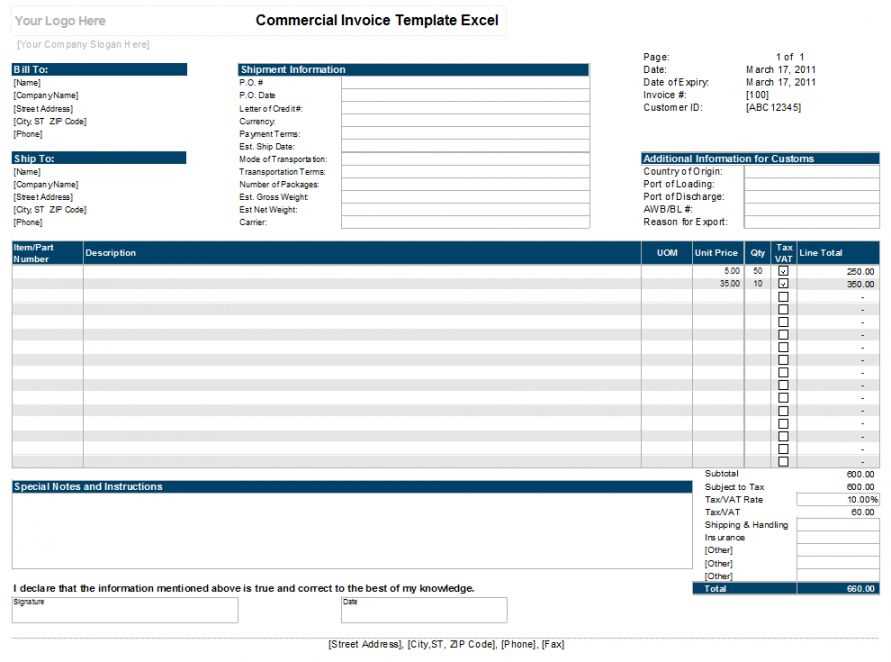
Use an Excel receipt template to create professional and organized receipts in minutes. With preformatted tables and automated calculations, you can ensure accuracy and consistency in every transaction.
Modify the template to fit your needs by adjusting tax rates, currency formats, and branding elements. Adding your company logo and customizing color schemes makes receipts more recognizable and professional.
Built-in formulas help with subtotal, tax, and total calculations, reducing manual errors. Protect sensitive data by using password-protected sheets and limiting editing permissions.
Save time by automating entries with drop-down lists and predefined categories. Convert completed receipts to PDF for easy sharing via email or cloud storage.
An Excel receipt template simplifies record-keeping, improves transaction tracking, and enhances customer trust. Keep all receipts in a structured format to streamline accounting and reporting.
Excel Receipt Template: Practical Guide
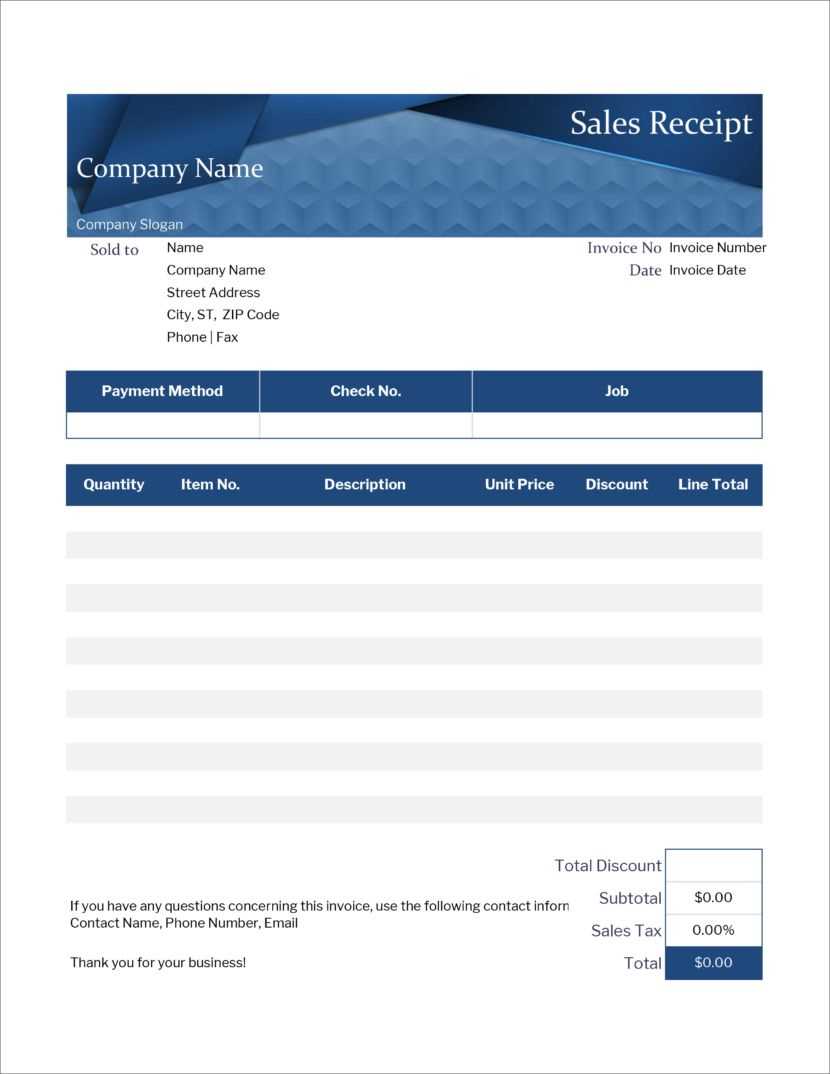
Use pre-designed Excel templates to save time and ensure accuracy. Many versions include automatic calculations, reducing manual input errors. Choose a format with clearly labeled sections for easy customization.
Structuring the Template
- Header: Include your business name, logo, and contact details.
- Date and Receipt Number: Use a unique identifier to track transactions.
- Customer Information: Name, address, and contact details for reference.
- Itemized List: Columns for description, quantity, unit price, and total.
- Tax and Discounts: Separate fields for automatic percentage calculations.
- Payment Details: Indicate the method used (cash, credit, etc.).
- Footer: Add terms, return policies, or a thank-you note.
Automating Calculations
Use Excel formulas to speed up data entry:
- Total Price:
=B2*C2(Multiply quantity by unit price) - Subtotal:
=SUM(D2:D10)(Sum all item totals) - Tax:
=D11*0.10(Adjust percentage as needed) - Grand Total:
=D11+D12(Subtotal plus tax)
Apply conditional formatting to highlight overdue payments or missing details. Lock formula cells to prevent accidental edits. Convert the sheet to PDF before sharing for a professional look.
Choosing the Right Format for Your Receipt
Use a structured table for clarity. A well-organized table ensures that key details like date, amount, and payment method are easy to read. Stick to clear column headers and avoid excessive styling that may clutter the layout.
Prioritize Compatibility
Ensure your format works across devices. A PDF export locks formatting, preventing accidental edits, while an Excel file keeps calculations dynamic. If you need real-time updates, a shared spreadsheet may be the best choice.
Balance Simplicity and Detail
Avoid excessive fields that slow down data entry. At the same time, include necessary elements like tax breakdowns and itemized lists when relevant. A well-balanced template saves time while maintaining professionalism.
Customizing Columns and Fields for Your Needs
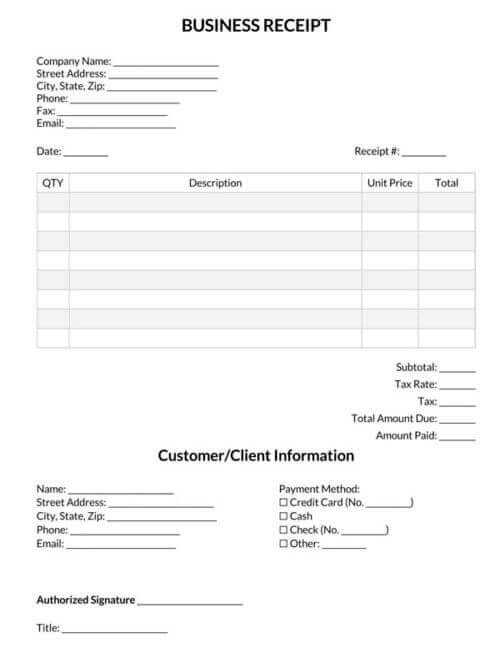
Adjust column widths to ensure all data remains visible without unnecessary space. Double-click the right edge of a column header to auto-fit, or drag it manually for precise control.
Renaming and Reordering Columns
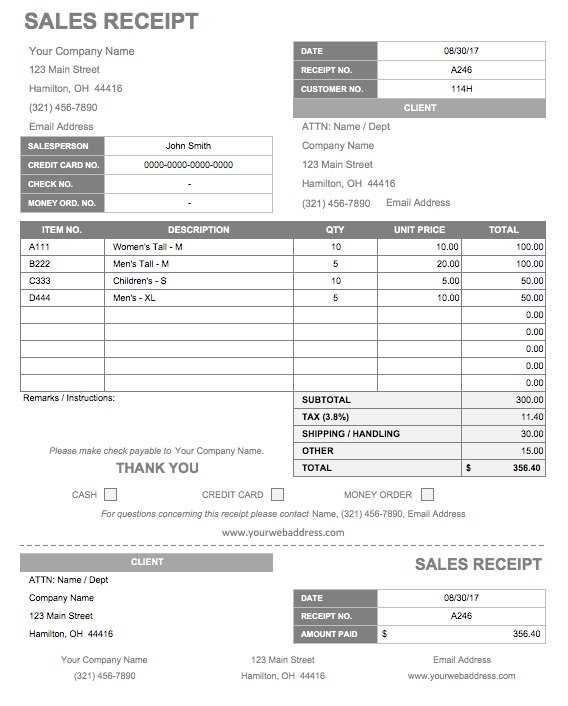
Click on a column header and type a new name to make field labels clearer. To rearrange columns, select one, hold down the left mouse button, and drag it to the desired position.
Adding Custom Fields
Insert a new column by right-clicking a header and selecting Insert. Customize field names based on transaction details, such as “Discount” or “Tax Rate.” Use formulas like =A2*0.1 to automate calculations.
Hide unnecessary fields by selecting a column, right-clicking, and choosing Hide. This keeps the layout clean while preserving data for future use.
Automating Calculations Using Formulas
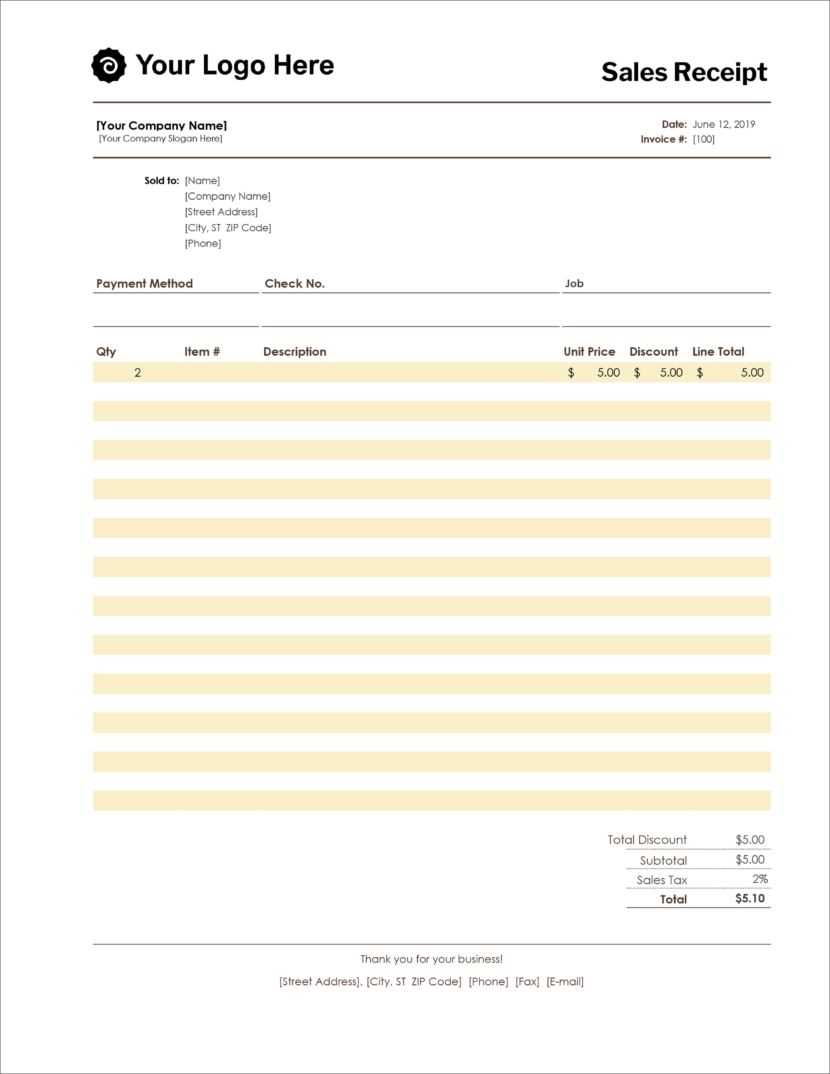
Use formulas to eliminate manual calculations and reduce errors. Excel supports a wide range of functions for automating totals, taxes, and discounts.
For automatic totals, enter this formula in a cell:
| Calculation | Formula |
|---|---|
| Subtotal | =SUM(B2:B10) |
| Tax (10%) | =B11*0.1 |
| Grand Total | =B11+B12 |
For percentage-based discounts, apply this formula:
=B11*(1-DiscountRate) |
Replace DiscountRate with a cell reference to adjust values dynamically.
Speed up data entry with conditional calculations. If tax applies only when total exceeds $100, use:
=IF(B11>100, B11*0.1, 0) |
Ensure accuracy with rounding. To round totals to two decimal places:
=ROUND(B11, 2) |
Use named ranges for clarity. Instead of =SUM(B2:B10), define “ItemsTotal” and write:
=SUM(ItemsTotal) |
These formulas streamline calculations and minimize mistakes.
Adding Branding Elements Like Logos and Colors
Insert your company logo by selecting the header or footer section in Excel. Click “Insert,” choose “Picture,” and upload your logo. Adjust its size and position for a clean, professional look.
To apply brand colors, use the “Page Layout” tab. Click “Colors” in the “Themes” group and select a predefined scheme or create a custom one that matches your branding. Ensure consistency by applying these colors to text, borders, and background fills.
For font consistency, choose a branded typeface under the “Home” tab in the “Font” group. Save the customized template as a theme for future receipts by clicking “Save Current Theme” in the “Themes” menu.
Saving, Printing, and Exporting Receipts Correctly
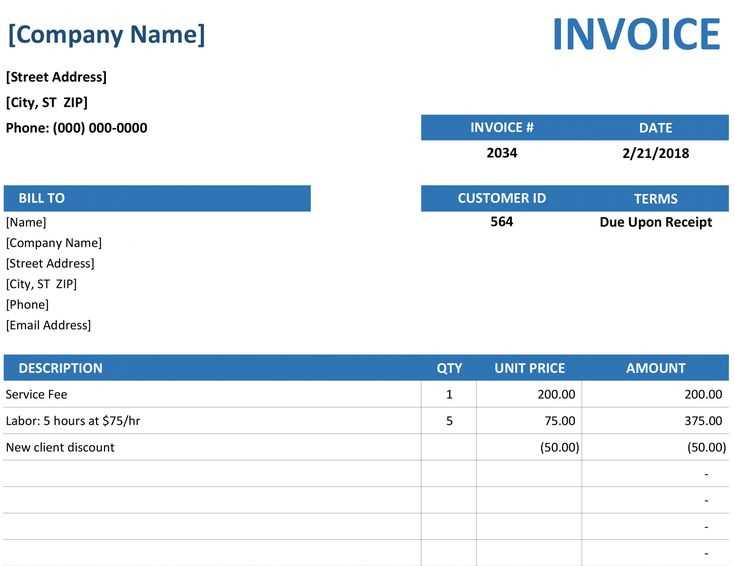
Save your receipts in a dedicated folder to keep everything organized. Use a consistent naming convention, such as Receipt_YYYYMMDD_ClientName, to locate files quickly.
- Save as PDF: Go to File > Save As, select PDF, and adjust settings for optimal quality.
- Print with precision: Check margins and scaling under Print Preview to avoid cropped content. Choose the correct paper size and orientation.
- Export to other formats: Use File > Export to save in CSV or XML for accounting software compatibility.
Double-check file integrity before sharing. Open the document to ensure formatting remains intact, especially after exporting. Automate the process with macros for efficiency.
Preventing Errors and Ensuring Data Accuracy
Use data validation tools to limit input errors. For example, apply drop-down lists for categories or specific number ranges to prevent incorrect entries. This ensures that the user selects from a predefined set of options, minimizing manual input mistakes.
Incorporate conditional formatting to highlight values that fall outside of expected ranges. For instance, use red formatting for receipts that contain negative amounts or exceed a certain threshold, making discrepancies immediately visible and easy to address.
Ensure that formulas are properly locked and protected to avoid accidental changes. If someone inadvertently modifies a formula, it can lead to incorrect calculations. Protecting cells with formulas guarantees their integrity and prevents unauthorized adjustments.
Use consistent and clear labeling for all data fields to avoid confusion. Labels should be straightforward and self-explanatory, guiding users to enter the correct data. This small step helps prevent errors that might arise from misunderstanding the purpose of a particular field.
Regularly back up your Excel files to avoid data loss. If a mistake occurs or the file gets corrupted, having a backup allows for easy restoration without losing critical information. It also provides a safety net in case you need to trace past versions of the data.


