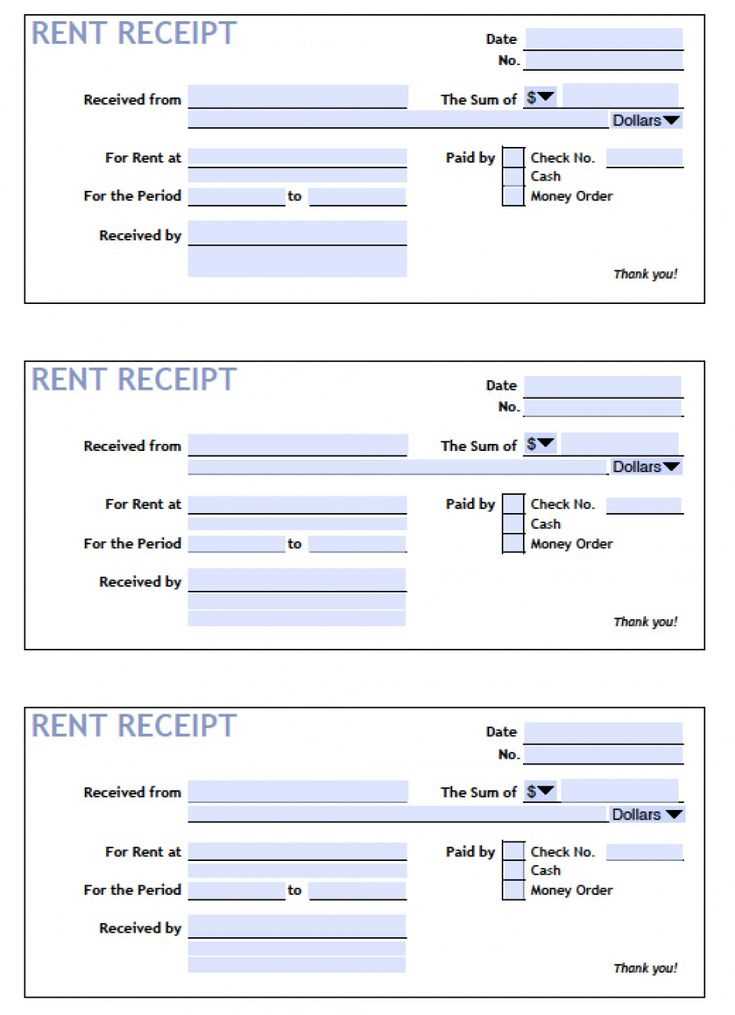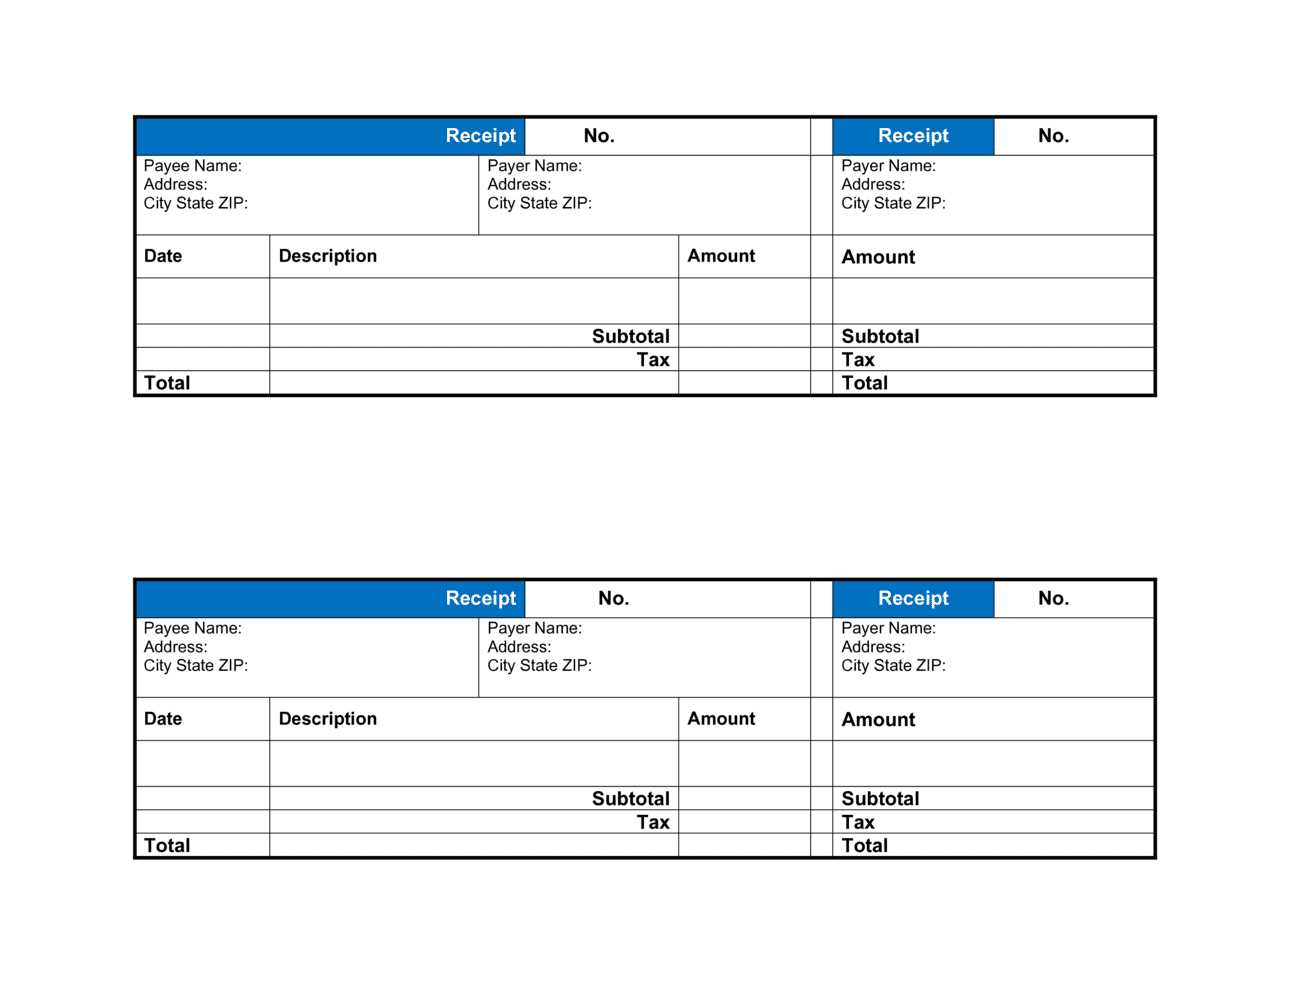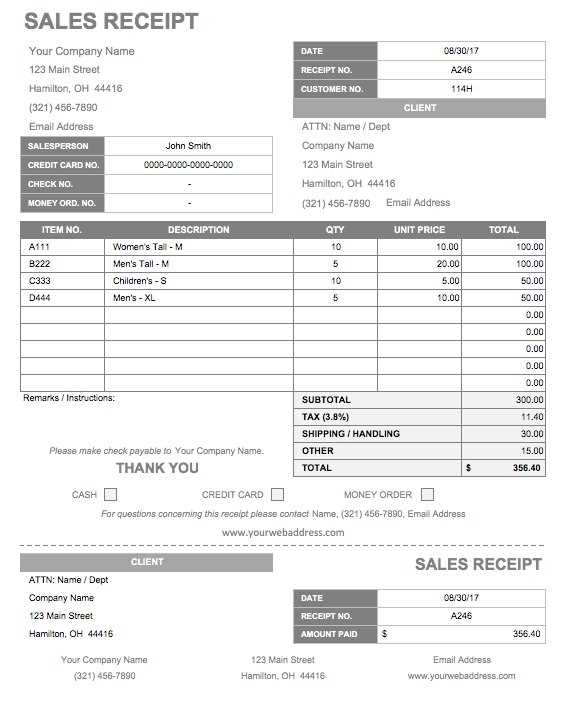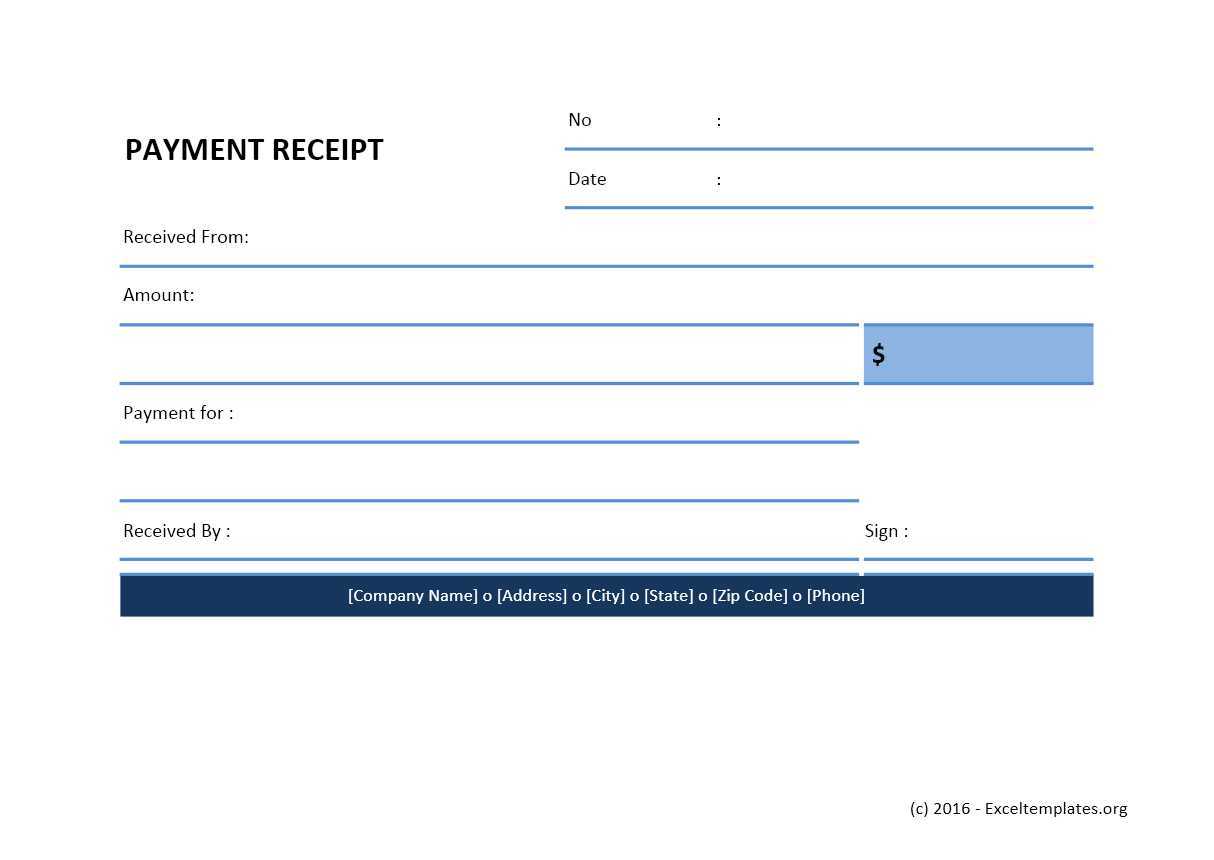
Creating a receipt in Excel for goods or services provides clear, easy-to-manage documentation. An organized template simplifies the process by reducing the time spent on formatting, allowing you to focus on the details that matter most, such as accurate pricing and transaction information.
The template should include key sections such as Item Description, Quantity, Unit Price, and Total Amount. Each column should be designed to calculate totals automatically, which eliminates errors and streamlines the process for repeated use.
Incorporate formulas for tax and discount calculations to adjust prices automatically based on specific values. For example, use SUM and IF functions to compute totals with taxes or discounts applied. Adding customizable fields for payment methods, transaction IDs, or customer information also ensures you can tailor the receipt to fit your business needs.
To enhance usability, include a section for the date and invoice number. This allows for easy tracking and ensures consistency in documentation. Consider adding a logo or business name in the header to personalize your receipts, reinforcing your brand identity every time you issue one.
Excel Template Receipt for Goods or Services
To create a practical receipt template in Excel for goods or services, follow these guidelines:
- Basic Information: Start with the date of the transaction and unique receipt number. This helps track purchases and maintain organization.
- Seller and Buyer Details: Include the seller’s name, address, and contact details. For the buyer, list the name, address, and any relevant contact information.
- Itemized List: Include a column for each item or service. Provide a description, quantity, unit price, and total amount for each. You can create formulas to calculate totals automatically.
- Taxes and Discounts: Add separate rows for any applicable taxes or discounts. Use Excel’s formula functions to calculate tax amounts and apply discounts to the total sum.
- Total Amount: Display the total after taxes and discounts in a large, bold font to make it stand out.
- Payment Information: Include the payment method, whether it’s cash, card, or another form, along with any payment terms if applicable.
- Notes Section: Leave space for additional comments or terms, such as return policies or delivery details.
Once the template is set up, save it as a reusable format. Each time a new transaction occurs, you can quickly fill in the details without starting from scratch. Adjust the columns and rows according to your specific needs, ensuring that all necessary data is included for clear, professional receipts.
Customizing the Template for Specific Business Needs

Adjust columns to match the details your business frequently needs. For example, add a “Discount” column if you often provide promotions or modify the “Quantity” section for bulk items. Ensure that the template reflects the specific information you require to track sales or services.
Consider adding a “Tax” section that automatically calculates the correct rate based on your location. This will help streamline invoicing and prevent errors. Customize fields like “Payment Terms” and “Due Date” to fit the payment schedules your clients prefer.
If your business offers different types of goods or services, create separate templates for each category. This way, each document includes only the relevant data fields, improving clarity and efficiency.
Adjust the “Item Description” field to provide space for detailed descriptions. Some products may require additional technical specs or features, which can be crucial for client understanding.
Incorporate a “Notes” section for any custom agreements, special instructions, or reminders. This keeps important details in one spot for easy reference, reducing the risk of miscommunication.
Use conditional formatting to highlight specific information, like overdue payments or urgent orders. This makes it easy to spot priority items at a glance, helping with quicker decision-making.
Test the template regularly to ensure that it continues to meet your evolving business needs. Keep an eye on feedback from your team or clients, as they might provide insight into other fields or functions that could improve the template’s usability.
Incorporating Payment Terms and Tax Calculations
Include clear payment terms within your Excel template, specifying due dates and any late fees for overdue payments. For example, set fields for the due date, payment method, and a clause for any interest charged after a certain period. Ensure there is a space to enter payment status and an optional field for part payments if applicable. This structure helps both parties stay aligned on payment expectations.
Setting Up Tax Calculations

Incorporate tax fields that calculate automatically based on the subtotal. Use Excel’s formula features to apply the correct tax rate depending on the location. Set up a column for tax rates, which can be adjusted as needed. If dealing with multiple tax types, such as state and federal, break them into separate lines, making it easy to track and review the totals.
Applying Discounts and Adjustments
For templates offering discounts, create a section where percentage-based or flat-rate discounts can be entered. Automatically calculate the discounted amount and update the total cost accordingly. Similarly, include a space for any other adjustments, such as handling fees or special promotions, to ensure transparency in the final amount due.
Automating Data Entry and Record Keeping
Use Excel formulas and functions like VLOOKUP, INDEX-MATCH, and data validation rules to streamline data entry. These tools can automatically pull information from predefined lists, reducing the need for manual input and minimizing human error. Set up drop-down lists for common entries such as payment methods or product names, so users can quickly select from a set of predefined options.
Leverage Macros for Repetitive Tasks
Macros are a powerful way to automate repetitive tasks. Create macros to handle actions such as calculating totals, formatting data, or generating new records. By recording a macro for common processes, you save time and ensure consistency across your records. Assign macros to buttons for one-click operations, simplifying the process for users.
Linking Data Across Multiple Sheets

Link related data between different sheets within the same workbook. For example, link a “Sales” sheet to an “Inventory” sheet to automatically update stock levels when a sale is recorded. This ensures that all relevant information stays synchronized, reducing the need for manual cross-referencing and updates.


