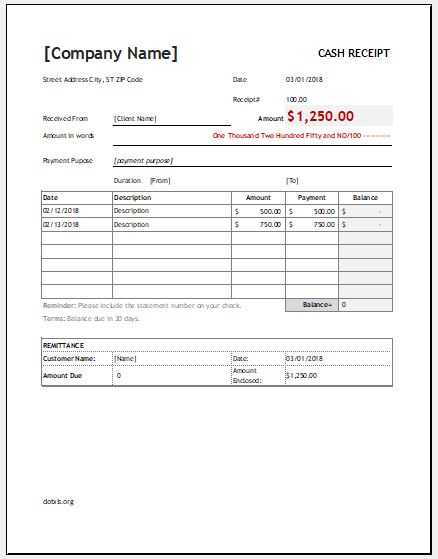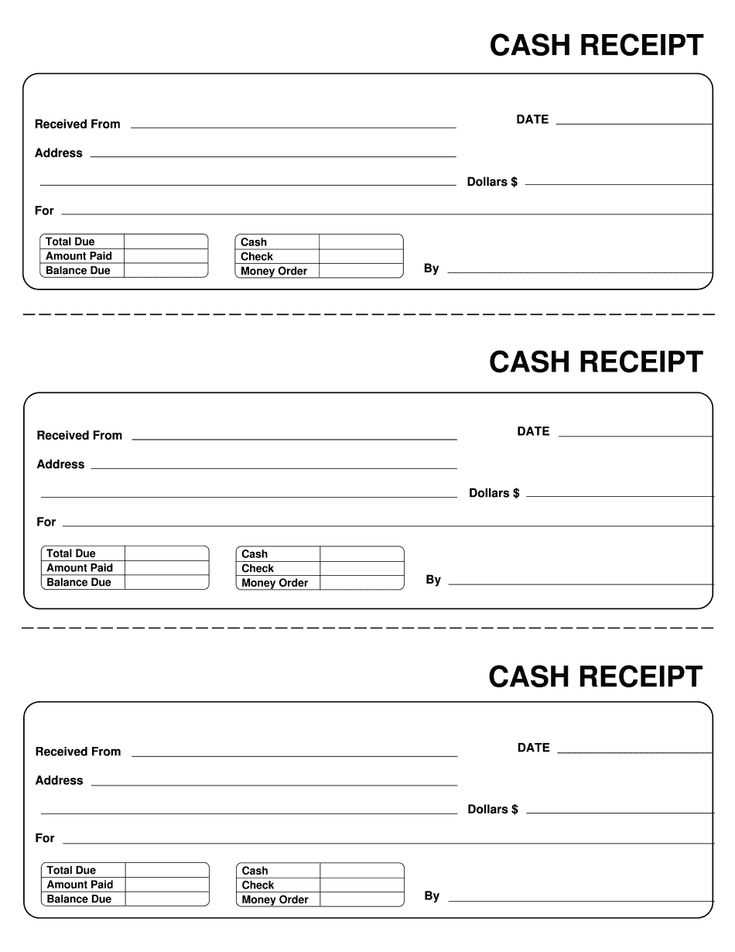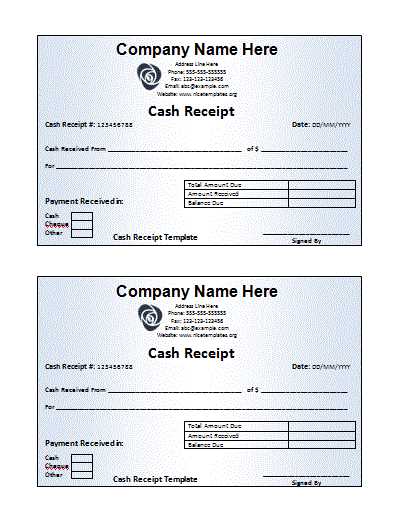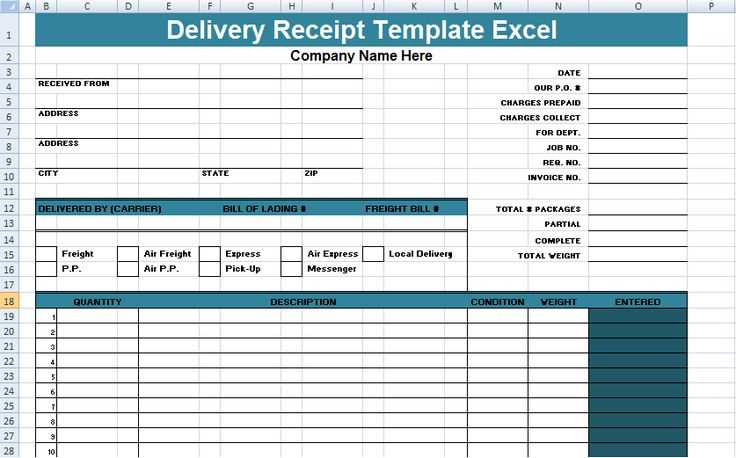
To create a receipt template in Excel, first open a new workbook and set up a clean, organized layout. Use rows and columns to structure the key components: business name, address, date, item description, quantity, unit price, and total amount. Keep the design simple, using clear borders to separate sections and make the receipt easy to read.
Start by entering your business details in the top section of the template. For example, include the company name, contact information, and any relevant tax ID or business registration number. Highlight this section with a bold font or background color to make it stand out.
Next, create a table for the items being purchased. Label each column with Item Description, Quantity, Unit Price, and Total. You can use simple formulas to calculate the total price for each item (Quantity * Unit Price) and the grand total at the bottom of the table.
For better usability, format the date field using Excel’s date format. This will ensure that the date is displayed consistently. Also, add a line or two for any additional notes, like payment methods or return policies.
Finally, save your template so you can reuse it. Excel allows you to save the file as a template (.xltx), so it’s easy to generate new receipts whenever needed. This method helps streamline your receipt process and ensures consistency with each transaction.
How to Make a Receipt Template in Excel
Open Excel and create a new workbook. Adjust the column widths to fit the receipt details. Start by labeling your rows for key information such as the company name, address, phone number, and receipt number. Use bold text for headings like “Date” and “Amount” to make them stand out.
In the top row, type the title “Receipt” and format it to be larger or in a different font for clear visibility. Below that, create rows for customer details, including name, contact information, and purchased items. Add a column for item descriptions and another for quantities or prices. Format the cells for easy calculations, such as summing up totals or applying taxes.
Use borders around sections to separate the receipt into distinct parts, like the company information, customer details, and itemized list. In the footer, include space for payment methods and a thank-you note or return policy. Adjust the formatting to fit your style and make the template look neat.
Save your template as a reusable file. Once completed, you can quickly update the details for new transactions without starting from scratch each time. To enhance functionality, consider adding dropdown menus for payment methods or a formula for automatic tax calculation.
Set Up Basic Layout for Receipt
To create a simple and functional receipt layout in Excel, begin by determining the main sections you’ll need: company name, transaction details, item list, and totals. These are the building blocks of the receipt. Start by setting up a clean, uncluttered grid with clear separations between each section.
Define the Header Section
The header should include your business name and contact information. Merge cells across the top of the sheet to create space for this. Bold the text and consider adding a logo or address in the cells beneath the name. Use a larger font size for the company name to make it stand out.
Set Up the Itemized List
Below the header, add rows for item details: description, quantity, unit price, and total price. Use borders to separate each row for clarity. Apply bold formatting to the column headers and adjust column widths to fit the content. Add a row at the bottom to calculate the subtotal, taxes, and final total.
Ensure there is enough space between the sections to keep the receipt looking organized. You can add borders or use shading to distinguish between different parts of the receipt. This layout will provide a neat and readable structure for customers.
Insert Date and Transaction Information Fields

To insert fields for the date and transaction information, begin by selecting the cell where you want to display the date. Use the formula =TODAY() to automatically generate the current date each time you open the document. This ensures that your receipt always shows the accurate date without the need for manual updates.
Customizing the Date Format
If you prefer a specific date format, adjust the cell format by right-clicking on the cell, selecting “Format Cells,” and choosing “Date” under the “Number” tab. Select your preferred style, or click “Custom” to create a custom date format (e.g., “MM/DD/YYYY” or “DD/MM/YYYY”).
Adding Transaction Information
For transaction details, designate cells for the transaction number, items purchased, and total amount. These can be typed directly into the cells or linked to other sections of your spreadsheet where you track purchases. For the transaction number, you can use a simple numbering system, starting with 1 and continuing sequentially as you add receipts.
Incorporate formulas to automatically calculate totals. For example, multiply quantity and price for each item and sum them up to calculate the total. This makes your receipt both functional and accurate.
Define Itemized List for Products or Services

To create a clear and easy-to-read itemized list in your receipt template, list each product or service on a separate row. Include columns for item description, quantity, unit price, and total amount. Be specific in describing each item or service, avoiding vague terms. For example, instead of writing “service,” specify “consulting hours” or “installation fee.”
Item Description: Provide detailed descriptions that leave no room for confusion. Use brief but clear terms that anyone can understand. For a product, include brand, model, and any other distinguishing feature. For services, mention the exact task performed.
Quantity: Specify the number of units purchased or hours worked. If the unit price varies by quantity, ensure the calculation reflects this difference.
Unit Price: List the cost per unit of the item or service. If applicable, show any discounts or special pricing applied to the item.
Total Amount: Multiply the quantity by the unit price to get the total for each item or service. This should be clearly displayed on the receipt for each entry.
By following these guidelines, your itemized list will help customers easily understand what they are being charged for and ensure transparency in the transaction.
Add Total Calculation and Tax Fields

To calculate the total amount and apply taxes to your receipt template, first add the necessary fields. This will allow Excel to automatically compute the total price based on the items listed.
Step 1: Create Total Field

- Identify the row where you want the total to appear (typically at the bottom of your items list).
- Click on the cell in the “Total” column for that row.
- Use the SUM function to calculate the total of the item prices:
=SUM(B2:B10)(adjust the cell range based on your data).
Step 2: Add Tax Field
- In a new row or column, add a label called “Tax” next to the total.
- To calculate tax, use a formula such as
=TotalCell*TaxRate(for example, if your tax rate is 10%, use=B12*0.10).
Once these fields are in place, Excel will automatically update the total and tax whenever you change the values in the item list. This ensures that your receipt is accurate and up-to-date with minimal effort.
Format the Template for Clarity and Readability
Use borders and shading to separate different sections of the receipt. This will help highlight key information like the total amount, date, and items purchased. For instance, apply a light gray background to the header row to distinguish it from the rest of the template.
Adjust the column widths to ensure all text fits comfortably. Narrow columns can make the text look cramped, while wide columns waste space. Find the right balance to make everything legible without unnecessary gaps.
Align text appropriately. For example, left-align item names, center-align quantities and prices, and right-align totals. This helps users quickly scan and interpret the information. Keep the font size consistent for better readability.
Incorporate bold formatting for key elements, such as the total amount, tax, or the receipt title. This draws attention to important details and ensures they stand out clearly.
Use clear, readable fonts like Arial or Calibri in a size between 10 and 12 pt. Avoid using too many different font styles or sizes, as this can make the receipt look cluttered.
Ensure there’s enough space between lines of text. Add extra padding or line breaks in between sections like the header, item list, and footer to make the document easier to read.
Save and Customize for Future Use
Once you’ve created your receipt template in Excel, save it for future use to avoid repeating the process each time. To do this, click on “File” and select “Save As”. Choose a location on your computer or cloud storage where it will be easy to access later. Naming the file with a descriptive title, like “Receipt Template”, will make it easier to find when you need it.
Customizing the Template for Different Needs
As your needs change, it’s simple to adjust your saved receipt template. Open the file, and modify the fields, fonts, or layout to match your updated requirements. You can also add more columns or sections if necessary, like adding a “Discount” field or extra space for detailed descriptions.
Saving Custom Versions
If you want to create different versions of your receipt for various purposes (e.g., for different clients or services), use the “Save As” feature to create a new file. This way, your original template stays intact, and you can adjust the saved version without altering the original.
| Action | Steps |
|---|---|
| Save Template | File > Save As > Choose Location > Name File |
| Customize Template | Open Template > Edit Fields/Fonts > Save As New Version |


