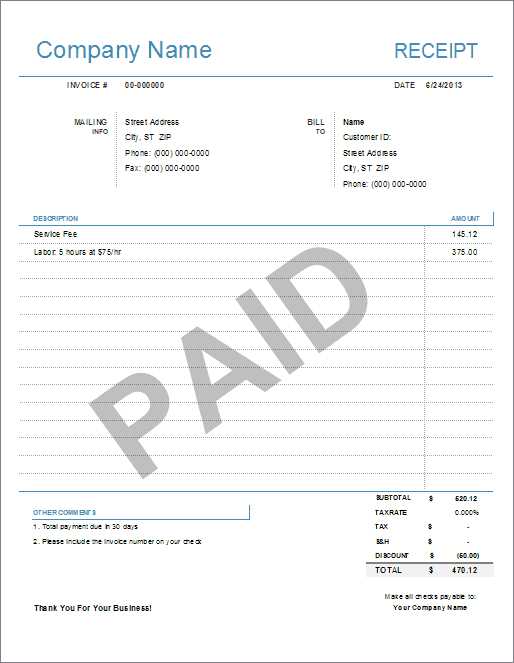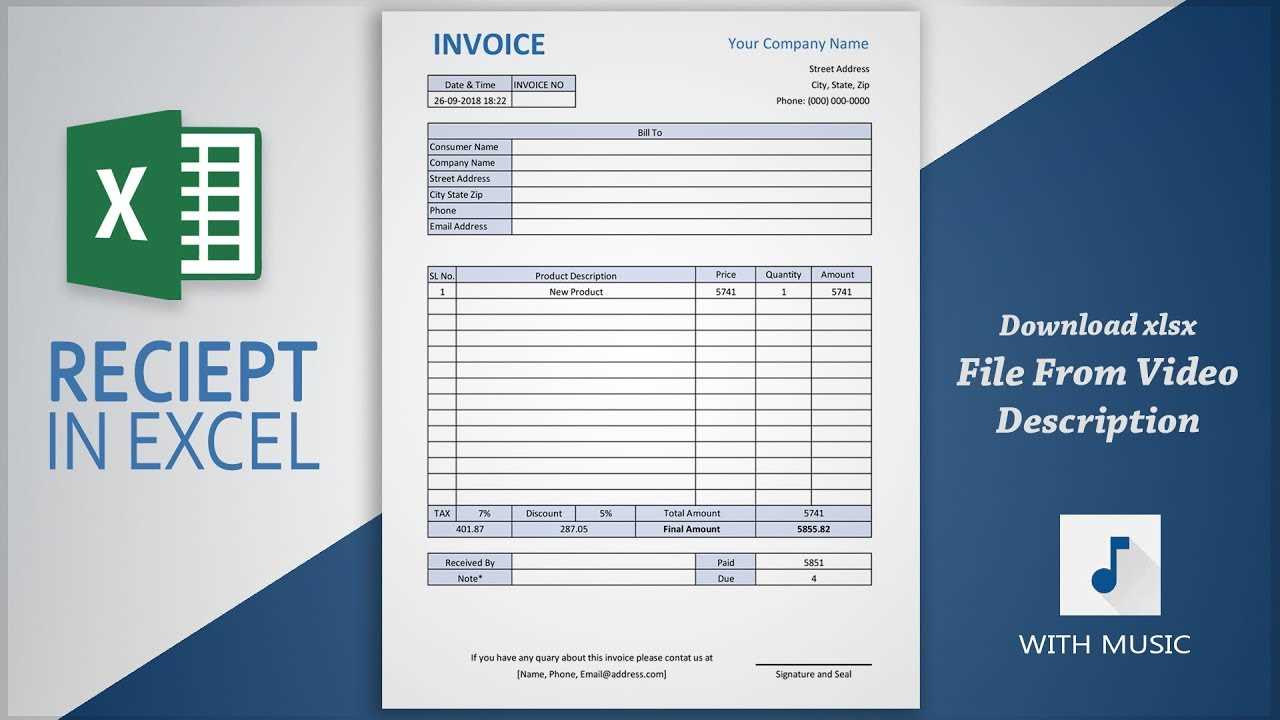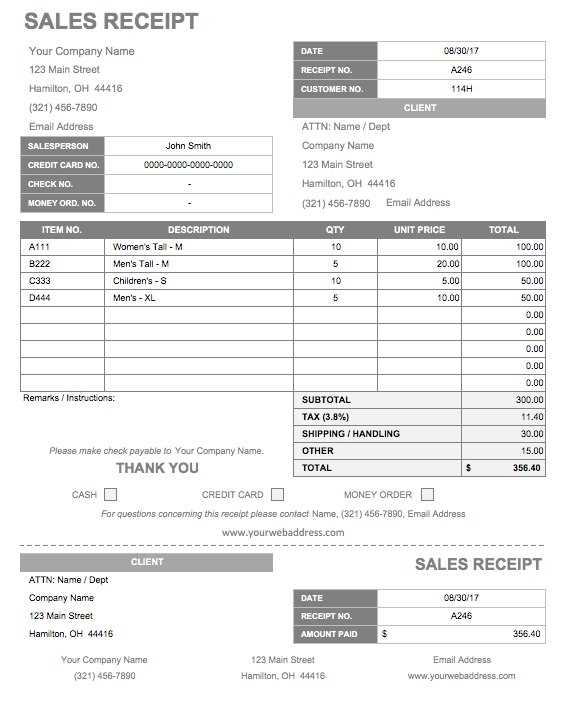
If you want to print receipts in Excel without relying on a template, it’s simple. First, set up your worksheet with the necessary fields such as date, items, prices, and totals. Use cell borders to create separation between the sections. Adjust column widths so the information fits neatly on your receipt.
Next, use Excel’s formatting options to improve the appearance. You can bold or underline headers to make them stand out. For prices, apply currency formatting to keep everything uniform and professional. This allows you to present the data clearly without needing a predefined template.
When it comes to printing, go to the Page Layout tab, select your paper size, and adjust the margins for optimal spacing. You can also check the print preview to ensure everything fits before hitting print. This method gives you full control over the receipt design, making adjustments as needed without being confined to a template.
How to Print Receipts in Excel Without a Template

Set up a receipt in Excel by organizing data in clear columns. Begin with fields like Date, Item Description, Quantity, Price, and Total. Use the formula =Quantity*Price to calculate totals automatically. Adjust column widths for readability and align text for a clean look.
Customize fonts and borders for a professional finish. Highlight key information like totals by using bold or a different color. To add a footer, use the last row for payment details, taxes, or a thank-you note.
Before printing, preview the layout using the “Print Preview” function. Ensure that all essential information fits on one page or adjust margins as necessary. Select “Fit to one page” under page scaling options if needed.
Once satisfied, print the receipt by choosing “Print” from the File menu, selecting your printer, and ensuring the paper size is correct. Save the Excel file as a template for future receipts, so you don’t have to recreate the format each time.
Setting Up Excel for Receipt Printing
Adjust the page size to match receipt dimensions. In Excel, go to the “Page Layout” tab and select “Size”. Choose a custom size or set the dimensions manually under “More Paper Sizes”. Most receipts are small, so 3 inches by 7 inches works well.
Next, set the print area. Highlight the cells that will hold your receipt data, then navigate to the “Page Layout” tab and click on “Print Area” > “Set Print Area”. This ensures that only the necessary data prints on each receipt.
To achieve clean alignment, adjust margins. Go to “Margins” and select “Custom Margins”. Set the top, bottom, left, and right margins to around 0.5 inches for better spacing.
For text formatting, use a large, readable font size like 12 or 14. Choose a monospaced font such as Courier New for consistency in alignment. Avoid complex formatting or colors that can interfere with legibility on the receipt.
Ensure that the text is centered. Select the cell with the main content and choose “Center” alignment both horizontally and vertically from the “Alignment” group in the “Home” tab.
Save your setup as a template for future receipts. After setting up the layout and formatting, save the file as a template (.xltx) to quickly reuse the configuration without needing to adjust the settings each time.
Choosing the Right Fonts and Sizes for Clear Print
Select fonts that are legible and easy to read, such as Arial or Calibri. These sans-serif fonts ensure clarity, especially for smaller text. Avoid overly decorative fonts that may make the text harder to decipher.
For the font size, use at least 10pt for the body text. This ensures that even the smallest details are legible without straining the eyes. For headings, a slightly larger font size of 14pt to 16pt is recommended for better visibility and differentiation.
Maintain consistency throughout the receipt by using the same font and size for similar types of information. You can use bold or italics sparingly for emphasis, but avoid overusing these styles, as it can make the text appear cluttered.
Ensure that there’s enough spacing between lines and elements. A line spacing of 1.2 to 1.5 times the font size provides a clear separation between each section, making it easier to follow the content.
Creating Columns and Rows for Itemized Details
Organize your receipt by setting up specific columns and rows for each item and its details. First, create a column for the item description, then allocate additional columns for the quantity, unit price, and total amount per item.
Set up the first column for “Item Description,” where you’ll list the name of the product or service. In the second column, label it “Quantity” to record the number of items purchased. Next, add a “Unit Price” column for the price of each individual item, followed by a “Total” column to calculate the cost of the item based on its quantity.
| Item Description | Quantity | Unit Price | Total |
|---|---|---|---|
| Item 1 | 2 | $5.00 | $10.00 |
| Item 2 | 1 | $15.00 | $15.00 |
Once the columns are defined, ensure the rows are consistent for each item. Input each product or service on a new row, filling in the corresponding details for quantity, unit price, and total cost. This layout simplifies calculations and ensures clarity for both the user and the recipient of the receipt.
Finally, for better readability, consider formatting the table with borders or shading to distinguish between different items and totals.
Adding Logo and Business Information Manually
To manually add a logo and business details, begin by selecting the cell where you want the logo to appear. Insert the logo by going to the “Insert” tab and choosing “Picture.” This allows you to upload the logo from your files. Resize and position it to fit neatly within your chosen area.
Positioning and Resizing the Logo

Adjust the size of the logo to ensure it doesn’t overwhelm the receipt layout. You can resize the image by clicking on the logo and dragging the corners. Make sure it aligns well with the other content, like the business name and contact info.
Adding Business Information
Enter your business name, address, and contact details directly below or beside the logo. Use the “Text” box or a simple cell entry to add the text. Format the text to make it clear and readable by adjusting the font style, size, and alignment. For the best appearance, keep the text concise and well-spaced, ensuring it blends with the overall design.
Formatting the Print Area for Accurate Layout
To ensure that your printed receipt fits correctly on paper, set up the print area by selecting the range of cells you want to print. Highlight the necessary cells, then go to the Page Layout tab and click on Print Area. Choose Set Print Area to lock the selection for printing.
Adjusting Margins for Precision
Next, adjust the margins to control the space around the printed content. In the Page Layout tab, click Margins and select Custom Margins. This allows you to enter exact measurements for top, bottom, left, and right margins, ensuring the receipt is well-positioned on the page.
Preview Before Printing
Always preview the document before printing. Go to File, then Print to see how it looks. If the layout doesn’t match your expectations, return to the settings and adjust the print area or margins. This step helps you avoid wasted paper and ensures the receipt prints as intended.
Previewing and Adjusting Before Printing
Adjust the page setup and preview your document before printing to ensure everything looks right. Use the “Print Preview” feature to see exactly how your receipt will appear on paper. This allows you to catch any layout or alignment issues early.
- Check page margins to ensure text fits within the printable area.
- Adjust the font size if necessary, so it fits comfortably without truncating text.
- Ensure any logos or images are placed correctly, without being cut off on the edges.
- Examine the spacing between lines and columns to confirm readability.
Make any adjustments in the “Page Layout” tab to tweak margins, orientation, and paper size. Revisit the print preview after each adjustment to confirm the results.
- Switch to “Portrait” or “Landscape” mode based on the layout of your content.
- If the receipt is too large, try reducing the scale in the print preview settings.
- For longer receipts, consider adjusting the row height or shrinking the font size.
Once you’re satisfied with the preview, proceed with printing. If any problems persist, recheck the margins and scale settings before printing again.


